
Microsoft Endpoint Configuration Manager (MECM) is a robust tool that plays a pivotal role in efficiently managing and deploying software across an organization's network. As the backbone of software management, MECM ensures that software updates, applications, and packages are distributed seamlessly to client systems.
However, with the increasing complexity of software deployments and updates, managing the MECM client cache folder has become a critical consideration for ensuring optimal performance and resource utilization. This is part of managing the overall SCCM client health in your organization. If you are interested in other SCCM client health tips, we have posts coveringHow to Check for High Uptime and Pending Reboots andEasy SCCM Client Health Checks. Also, have a look at this post if you are looking toIncrease the SCCM Cache Size. In this blog post, we will delve into the importance of managing the MECM client cache folder.
What is the SCCM client cache folder?
The client cache stores temporary files when MECM clients install applications, programs, and software updates. The default location for the Configuration Manager client cache is %windir%\ccmcache, and the default disk space is 5120 MB unless otherwise configured in the MECM client settings.
Why is it important to clean up the client cache folder?
Unmanaged cache folders can pose several challenges. As the number of software deployments increases, the cache folder can accumulate a significant amount of content, leading to disk space constraints. This can impact the ability to download and store new packages, as well as cause system performance issues. A cluttered client cache folder can lead to software deployment failures, as outdated or corrupted packages might interfere with the installation process. Thus, the proactive management of the SCCM cache folder is essential to maintaining a healthy and efficient software deployment environment.
How to quickly clean up the client cache with MPA Tools
In the examples below, we will use a test virtual machine with a client cache folder configured with a maximum size of 20 GB containing the content for a number of packages representing a typical deployment of Windows with Office 365, additional applications, and software updates.
On any modern-day desktop or laptop, nearly 20 GB of used disk space is negligible and would not typically have any implications unless there are other factors involved. However, for virtual machines, disk space often comes with a premium, and 20 GB of used disk space may very likely have an impact on both cost and performance.
We will walk through how to quickly clear the SCCM client cache in the following scenarios:
- Single computer
- Multiple computers
- Repeatable action sequence for either single or multiple computers
Clean the client cache with MPA Tools for a single computer
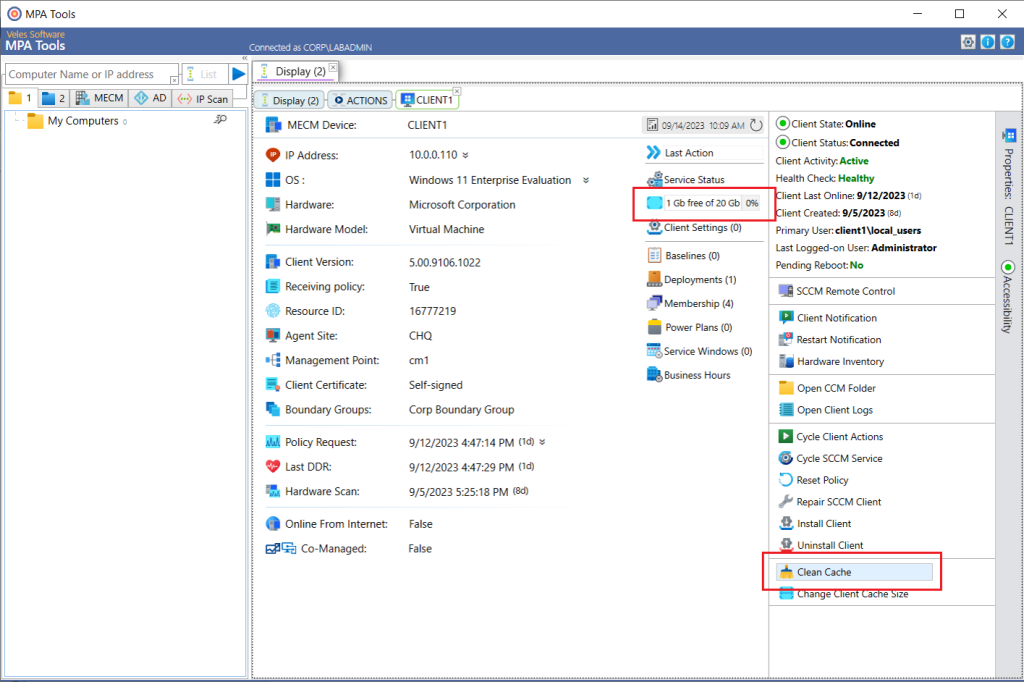
InMPA Tools, select a single client and then click the SCCM client button from the vertical toolbar on the right.

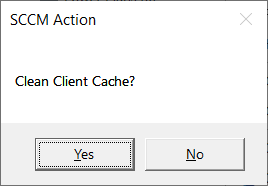
On the right-hand menu, you can see that there is only 1 GB of 20 GB free. Click the Clean Cache button near the bottom, and then click Yes to the prompt to clean the client cache.
After that, the action status for clearing the client cache appears.
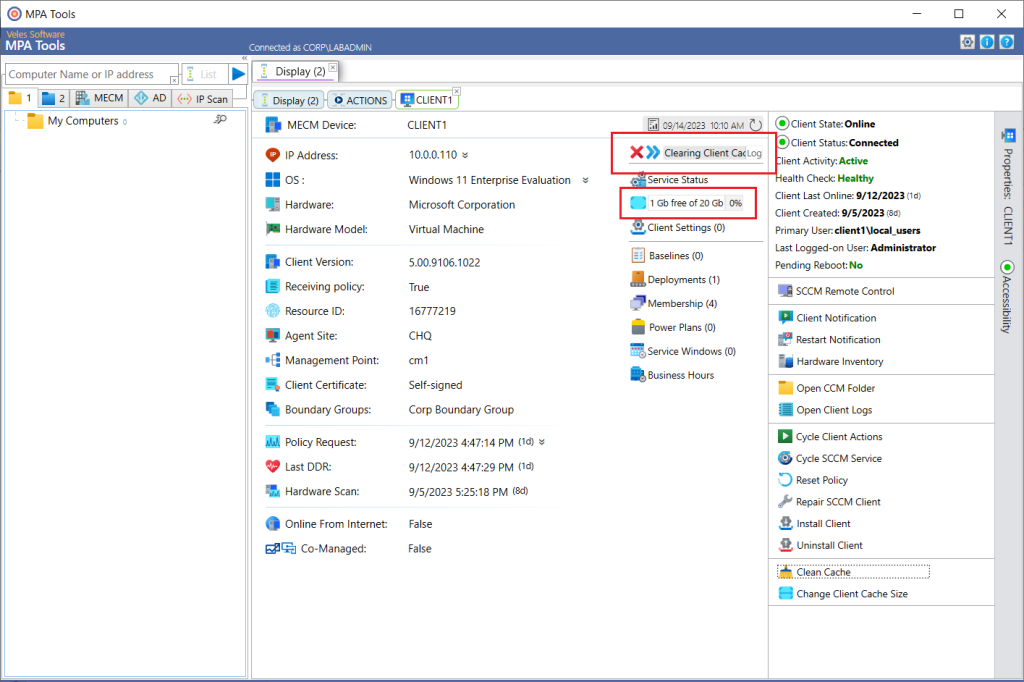
After the clean-up action is complete, there is now 20 GB of 20 GB available.
If we click on the >> button, we can see that the action was a success under the action status.

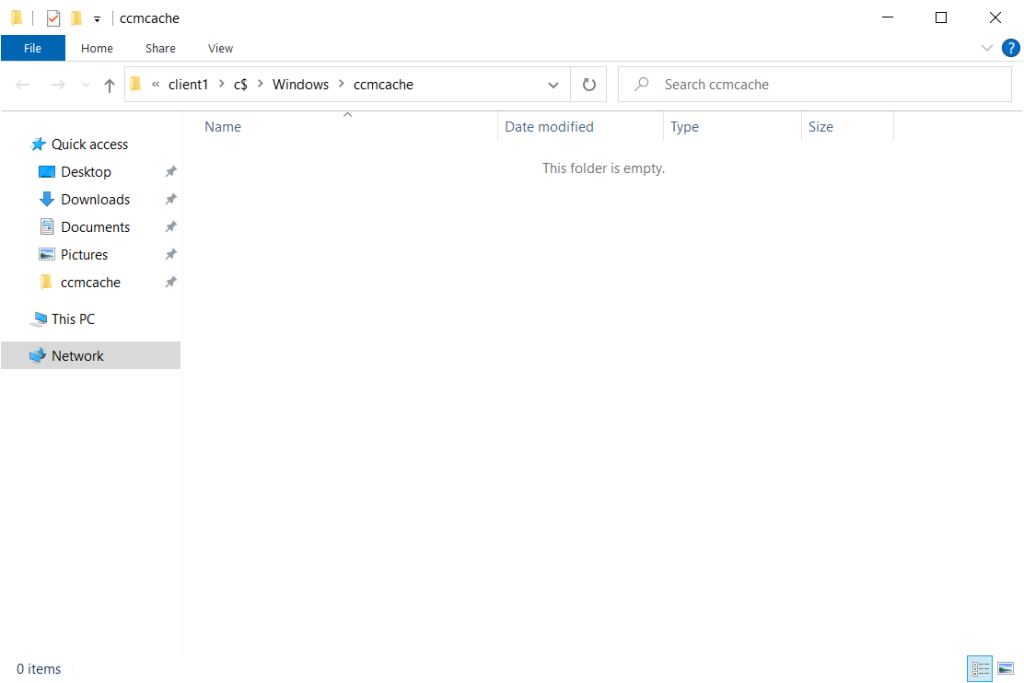
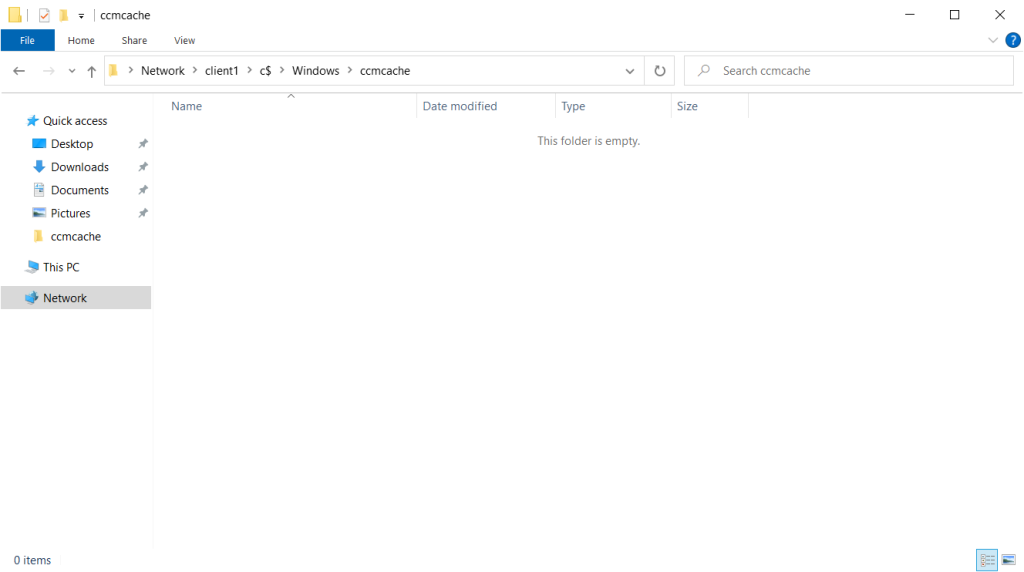
If we navigate to the client cache folder (ccmcache), we can see that there is no longer any content subfolders.
Clean the client cache with MPA Tools for multiple computers
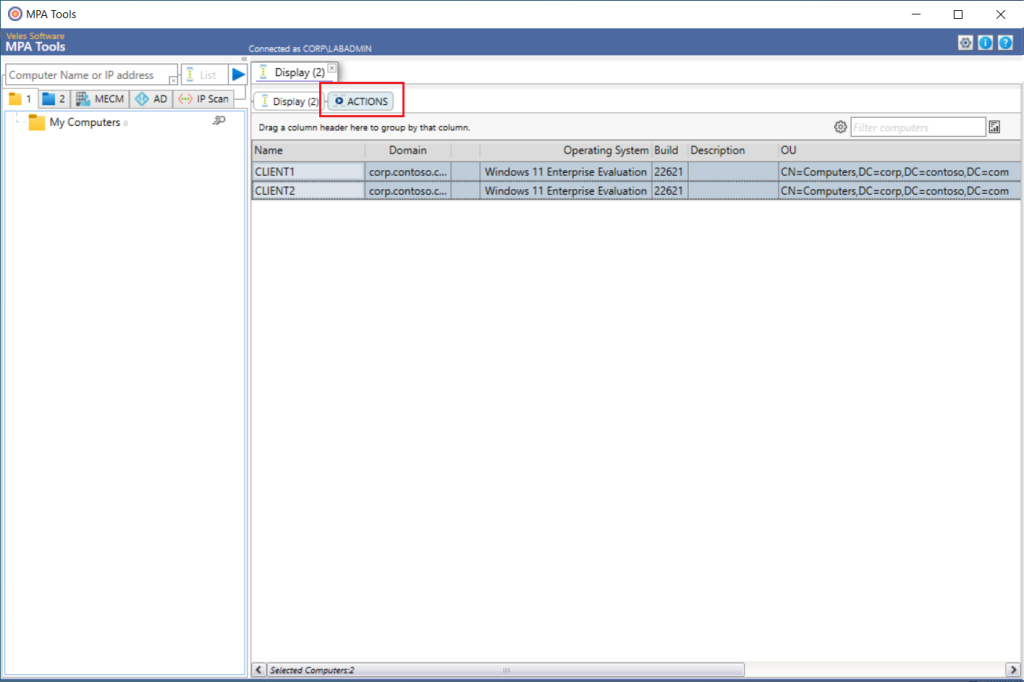
In MPA Tools, select multiple computers and then click the Actions button.
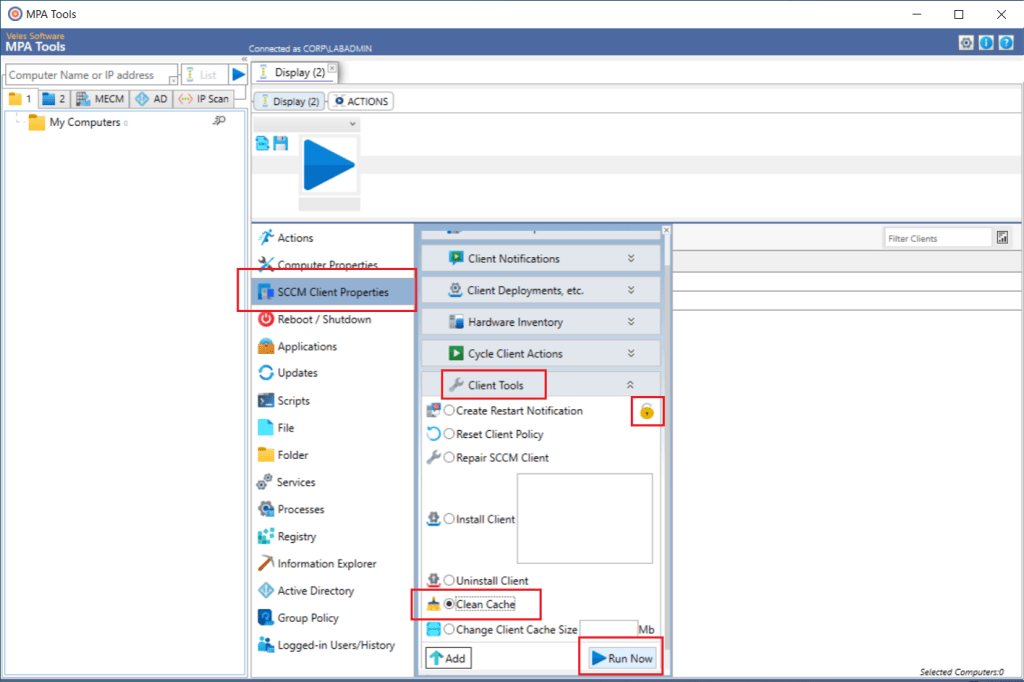
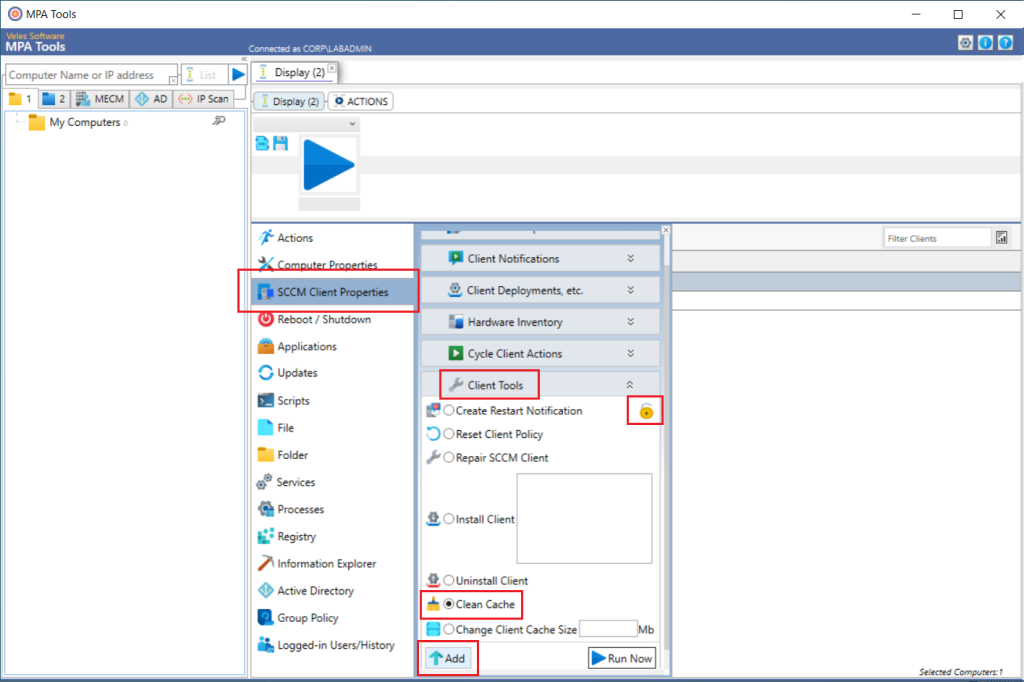
Select SCCM Client Properties from the middle menu. Scroll down to Client Tools and expand the options. Click the lock button to unlock the options, then select the Clean Cache radio button. Then click the Run Now button.
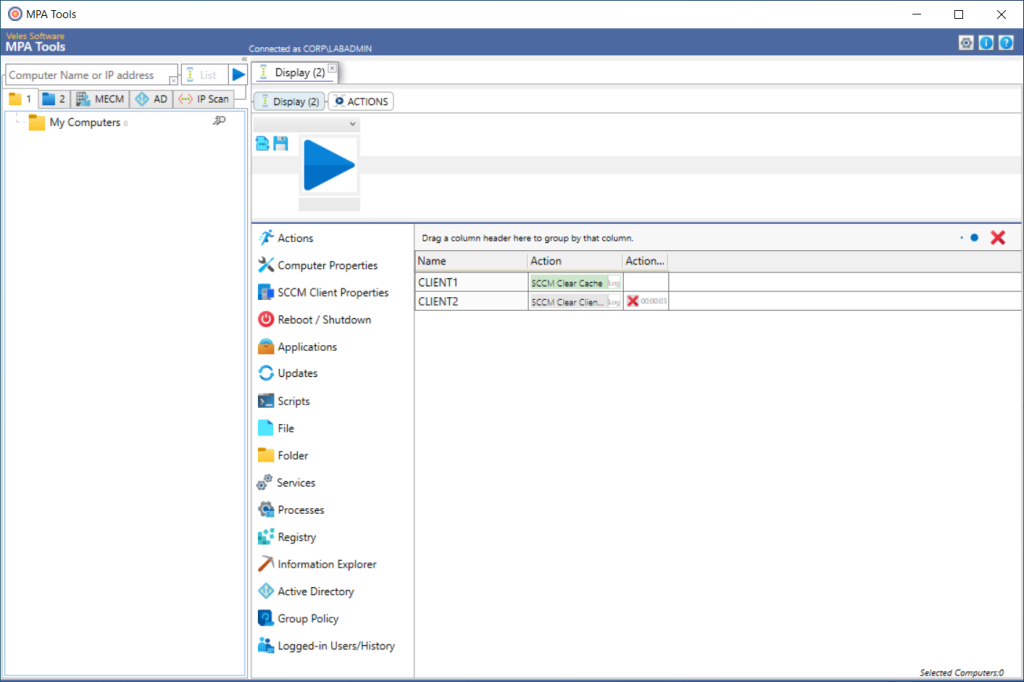
The action status will now appear.
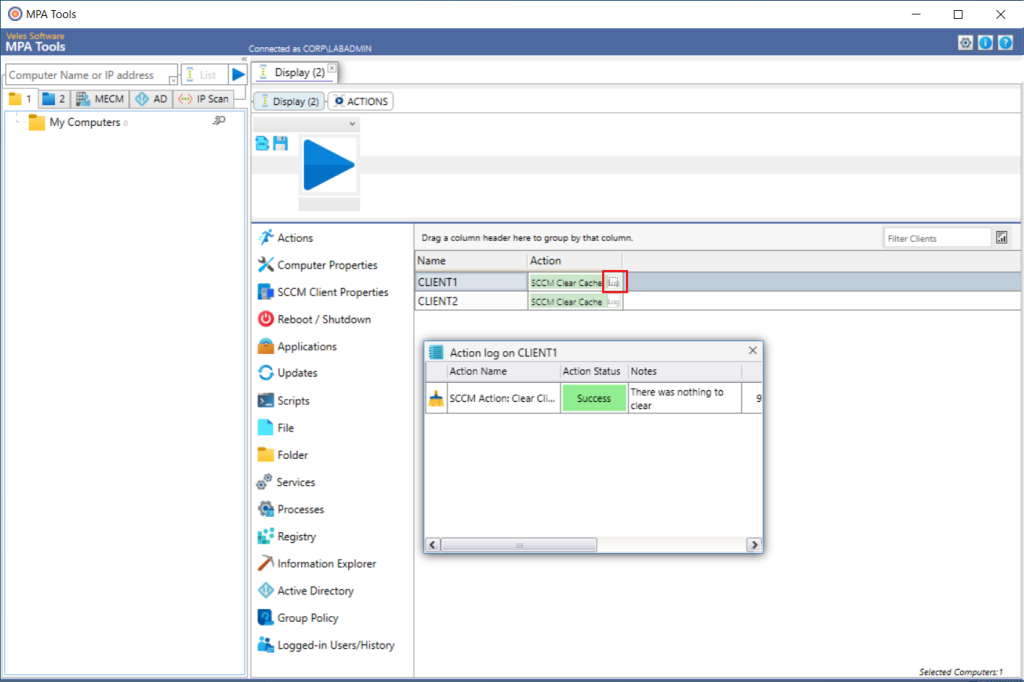
Once the action is complete for each system, we can click on the log button to see the action log and the resulting action status.
If we navigate to the client cache folder (ccmcache) on each client, we can see that there is no longer any content subfolders.

Clean the client cache with MPA Tools using the Action Workflow
Same as above, in MPA Tools, select multiple computers and then click the Actions button.
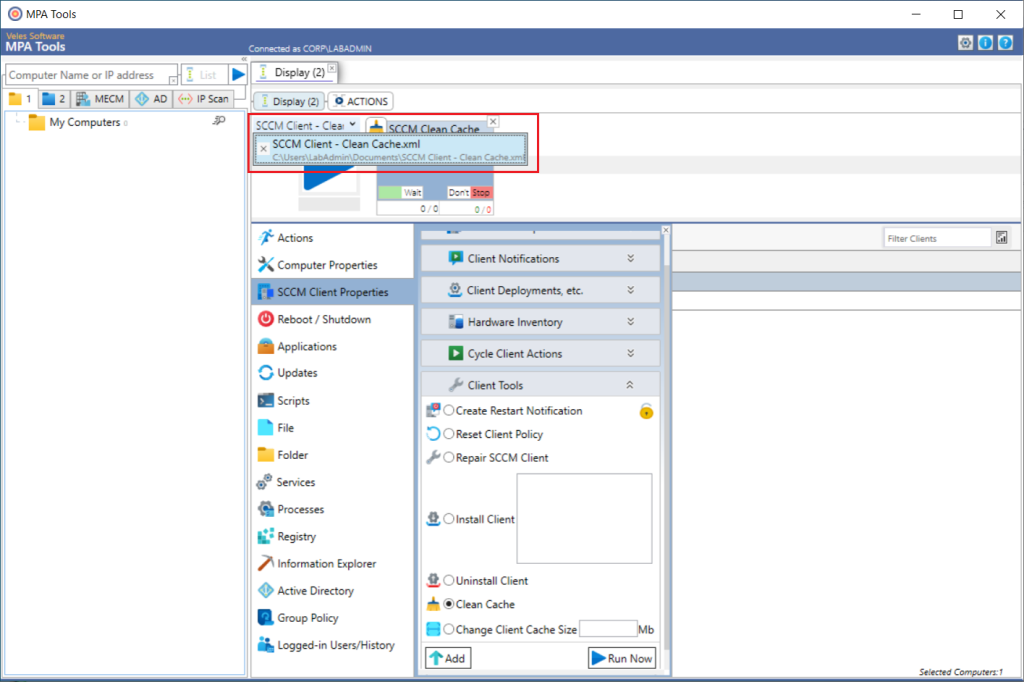
Same as above, select SCCM Client Properties from the middle menu. Scroll down to Client Tools and expand the options. Click the lock button to unlock the options, then select the Clean Cache radio button. However, this time, click the Add button instead of Run Now.
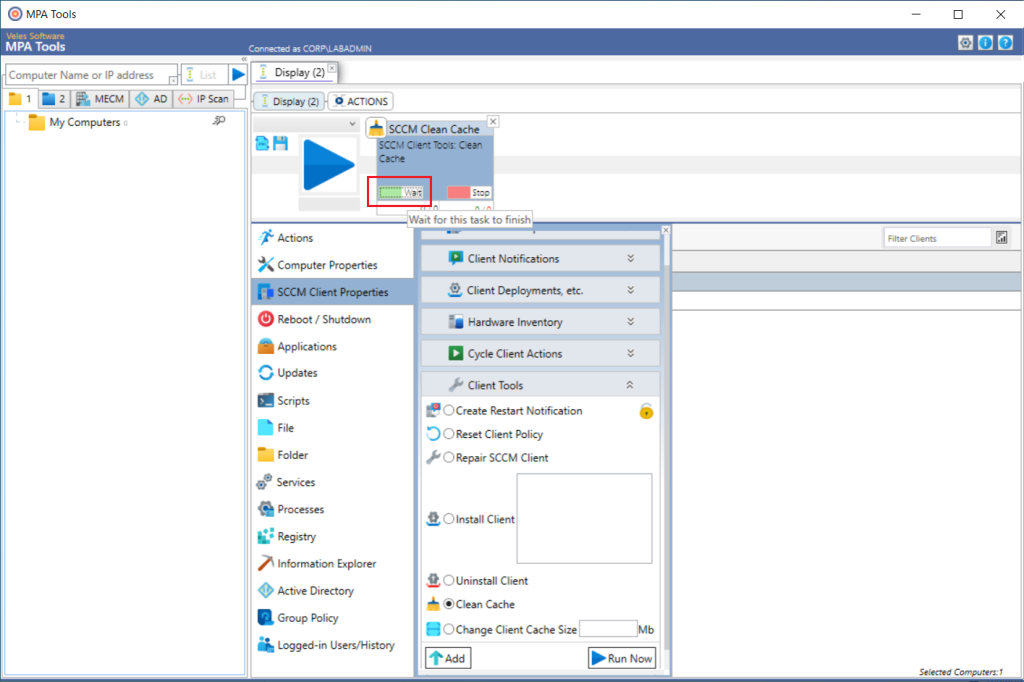
This will add the action to the sequence workflow. From here, you will have the option to configure the action to wait for the task to finish before moving on to the next task and/or configure the action to stop the sequence if the task fails (as shown below).

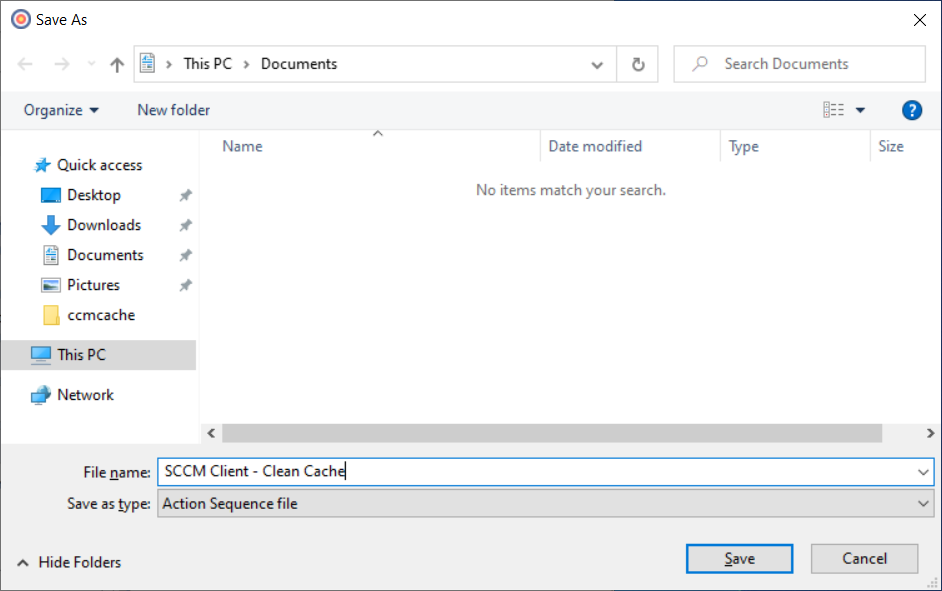
Click the save button to save the action workflow.
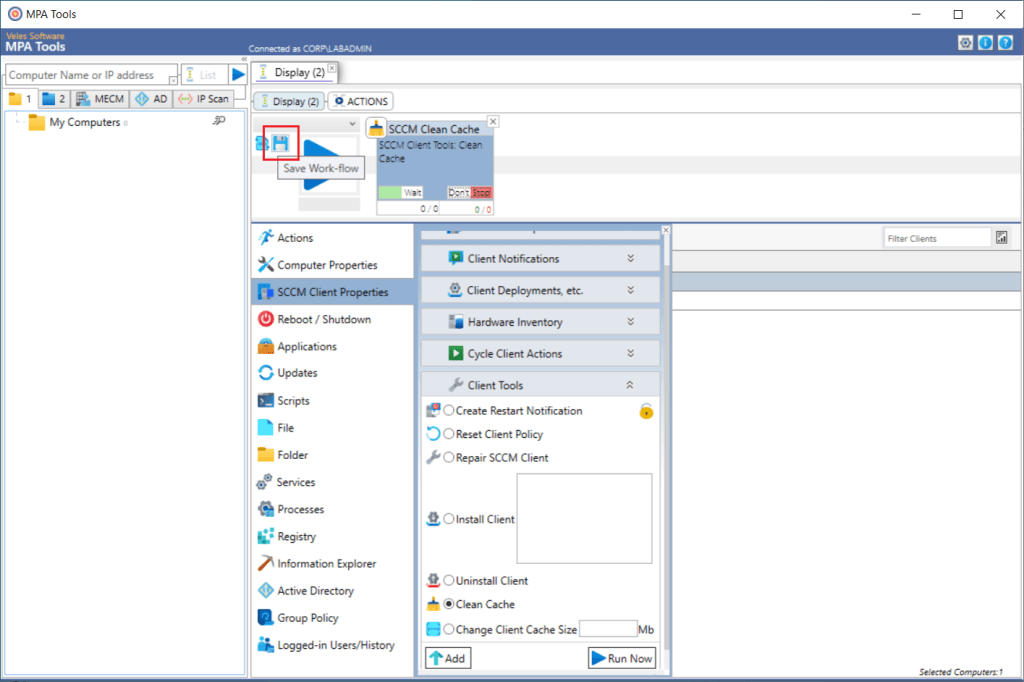
Navigate to the folder path where you would like to save the action sequence file and then click the Save button.
The action sequence file will now appear in the action workflow drop-down list.
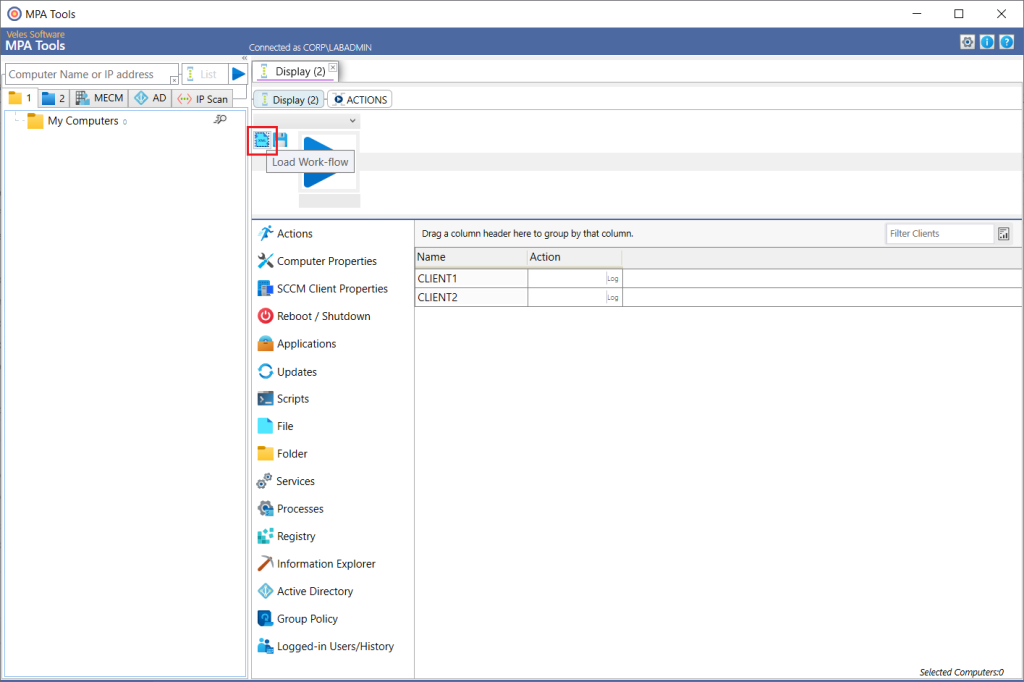
The action workflow drop-down list will be cleared when MPA Tools is closed. However, the action workflows can be re-loaded by clicking the Load button.
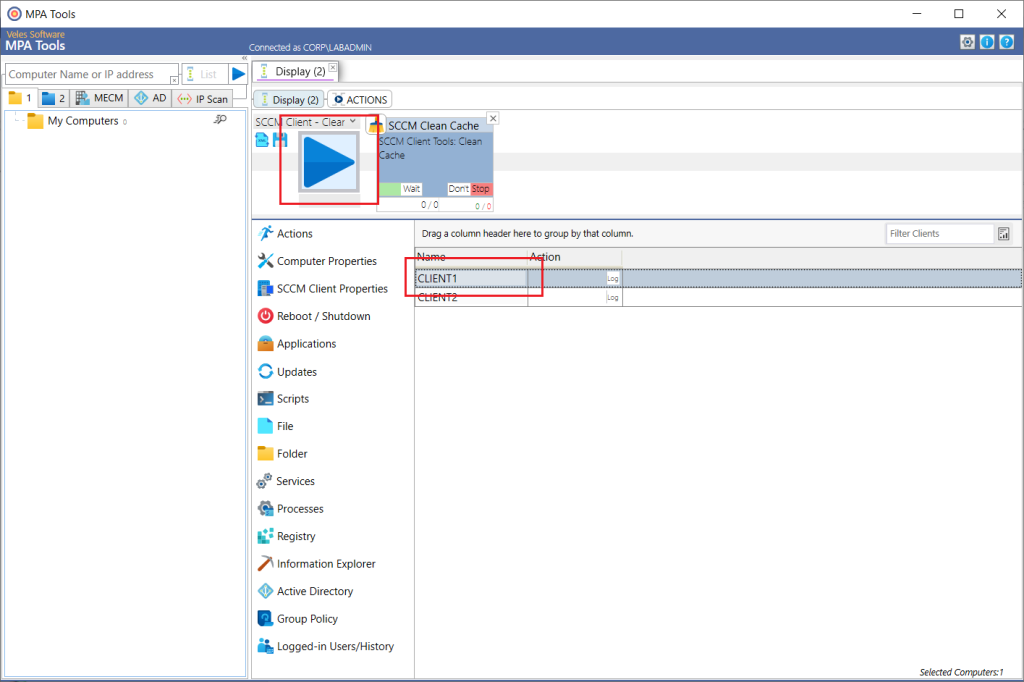
The action workflow can then be executed by clicking the triangle Play button.
In conclusion, the efficient management of the SCCM client cache folder is a crucial aspect of optimizing the performance and reliability of software deployments. Automating the cleanup process offers significant advantages, including improved disk space utilization, reduced network congestion, and enhanced software deployment experiences. As organizations continue to rely on SCCM for software management, embracing automation becomes a strategic move toward maintaining a robust and efficient IT environment.
MPA TOOLS can help with all SCCM ACTIVITIES!