Welcome to the comprehensive guide series on setting up kiosk mode in Windows 11! In this five-part series, we'll explore various methods to configure kiosk mode, starting with manual configuration. Kiosk mode can transform your Windows 11 device into a dedicated, restricted environment, ideal for public-facing or specialized usage scenarios. In this series, we will cover the following topics:
If you need help designing and rolling out secure shared-device deployments,Veles IT Solutions helps organizations implement kiosk and shared workstation solutions.
- Set up Kiosk mode in Windows 11
- Set up Kiosk mode using PowerShell
- Set up Kiosk mode with Intune
- Set up Kiosk mode with the MDM Bridge and implementing Autologon
- Deploy Kiosk mode and Autologon with MPA Tools
What is Kiosk mode?
Kiosk mode configures Windows 11 for a single-purpose device that runs only one (or two) application(s). Kiosk mode is also referred to as Assigned Access in Windows 11. You would typically use this feature to set up a computer as a kiosk device for guests to access the internet, fill out a form, or convert a device into a digital sign to demo products or promote your business.
Single app Kiosk mode
Typically, with Kiosk mode, the Windows 11 device would be configured to sign in automatically and launch only one application in full-screen mode using a restricted user account that won't let anyone access the desktop, switch to a different app or change any system settings. This is the scenario that we will be focusing on in this article.
Multi app Kiosk mode
The Microsoft documentation references a multi-app kiosk mode, where one or more apps can be launched from the Start menu or desktop. People using the kiosk see a customized Start menu that shows only the apps that are allowed. With this approach, you can configure a locked-down experience for different account types. A multi-app kiosk is appropriate for devices that are shared by multiple people.
For more information on how to set up a multi-app kiosk seeSet up a multi-app kiosk on Windows 11 - Configure Windows - Microsoft Learn. Even though, in this article we will be focusing on the single app kiosk mode scenario, the multi-app kiosk mode is configured with either with Intune or the MDM Bridge WMI Provider so it may be worth reading the relevant sections below.
Kiosk mode configuration methods
There are several different ways to configure Kiosk mode with single or multiple UWP apps or desktop/Win32 apps and with a local user account, AD user account or Azure AD user account (Entra ID). This Microsoft article has a great breakdown of the different configuration options and provides the below summary:Configure kiosks and digital signs on Windows 10/11 desktop editions - Configure Windows - Microsoft Learn

Setting up Kiosk mode in Windows 11
In this section, we will walk you through enabling, configuring, and disabling Kiosk mode in Windows 11. First, we will look at how to enable Kiosk mode using the Windows 11 GUI interface, then we will look at how to enable it using PowerShell.
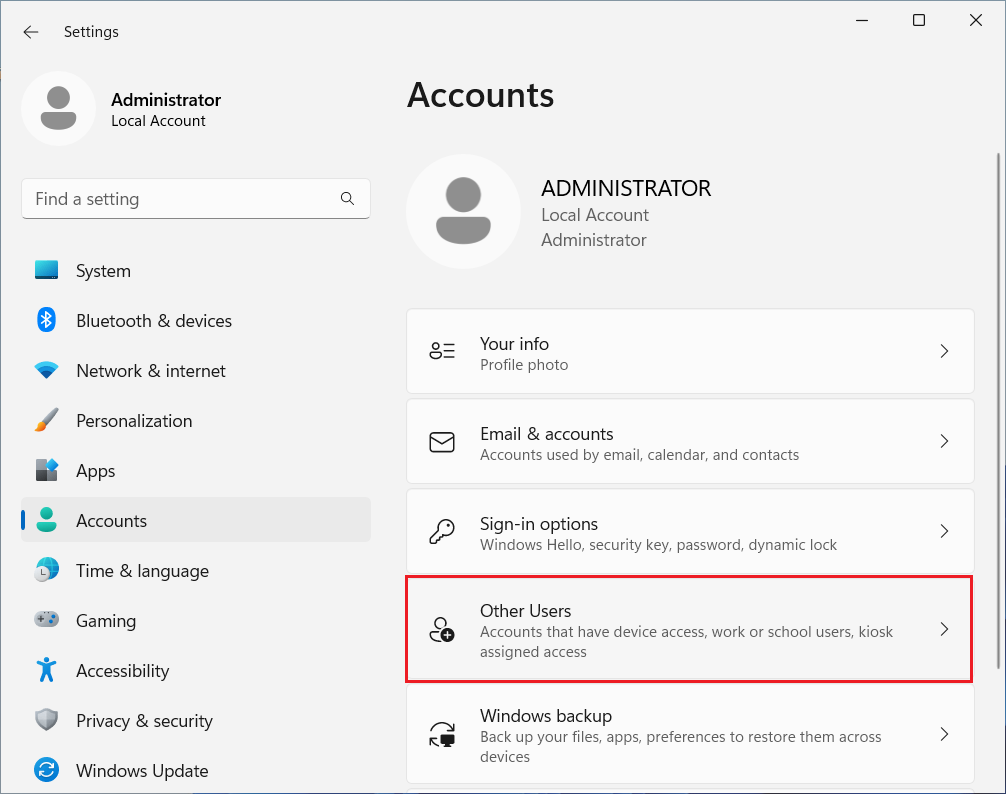
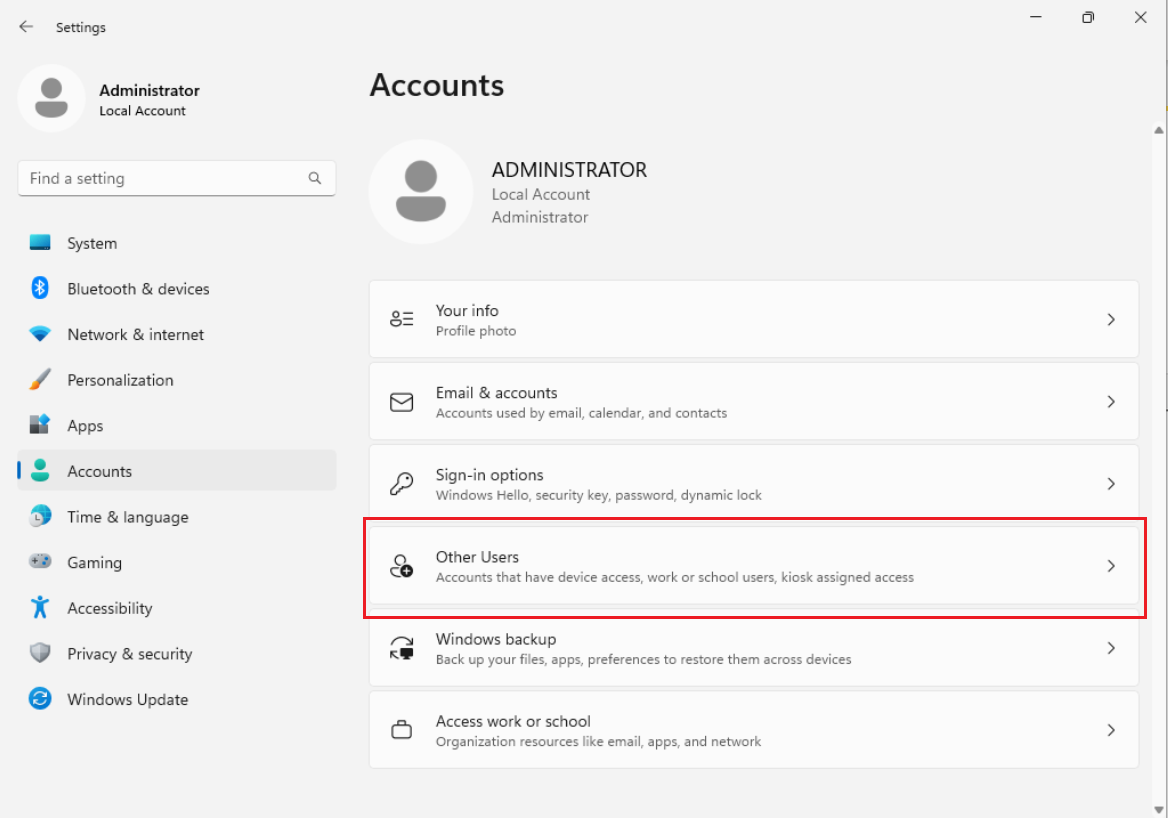
Open Settings, click on Accounts then click the Other Users page on the right side.
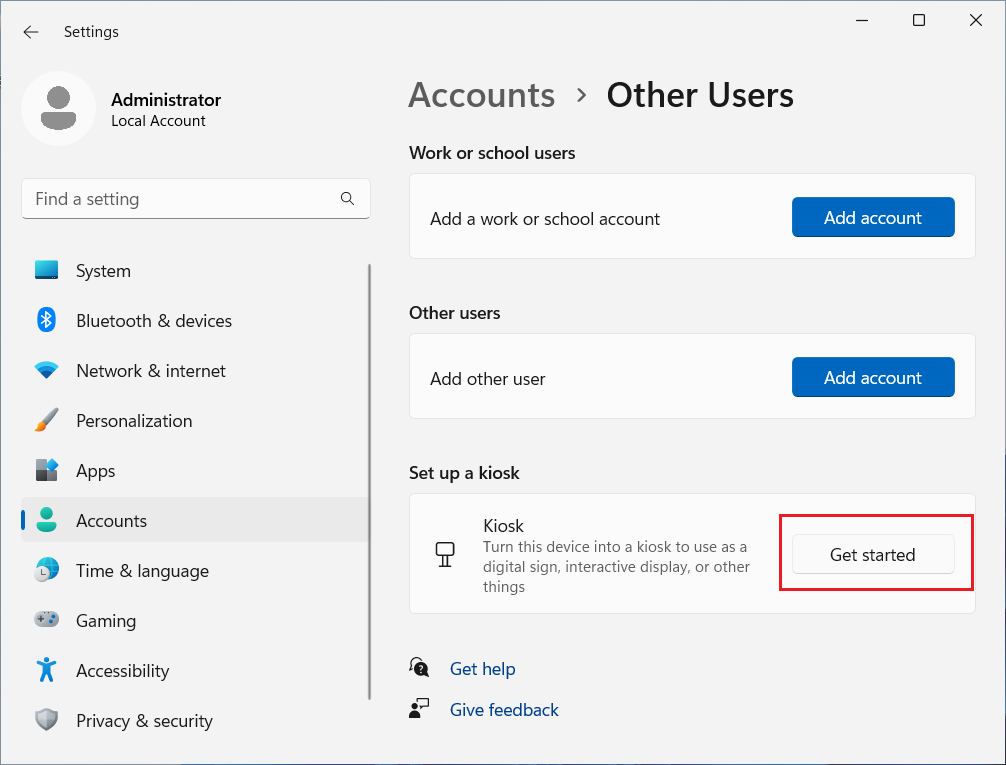
Scroll down to the Set Up a Kiosk option and then click Get Started.
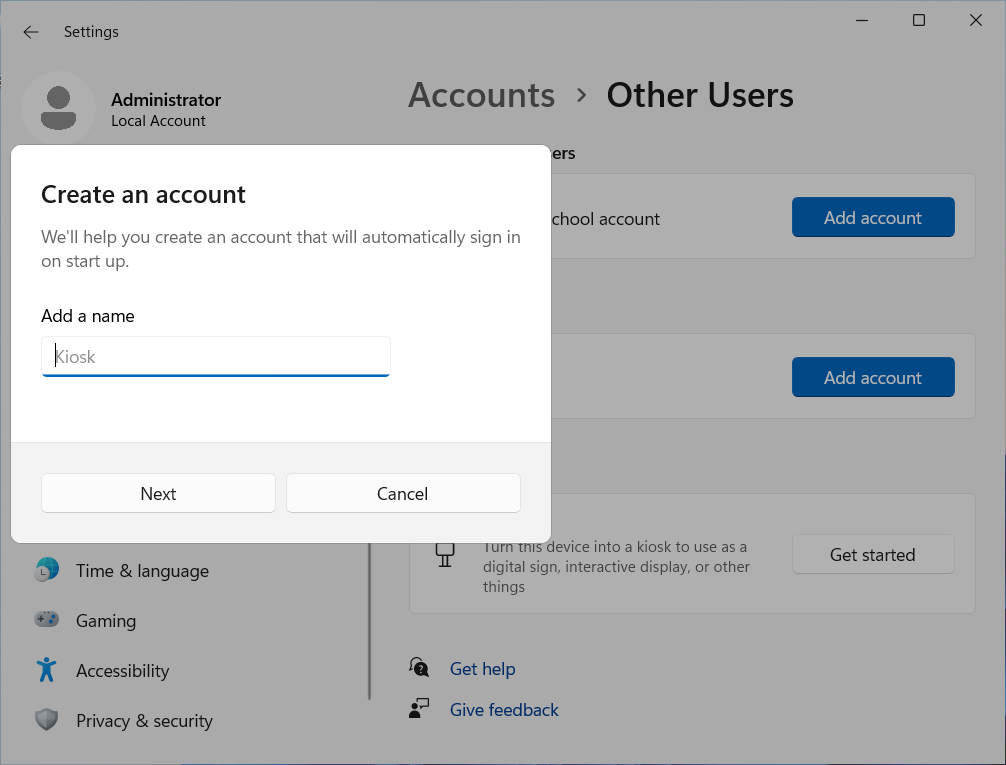
Specify the account name or enter the default of Kiosk and then click Next.
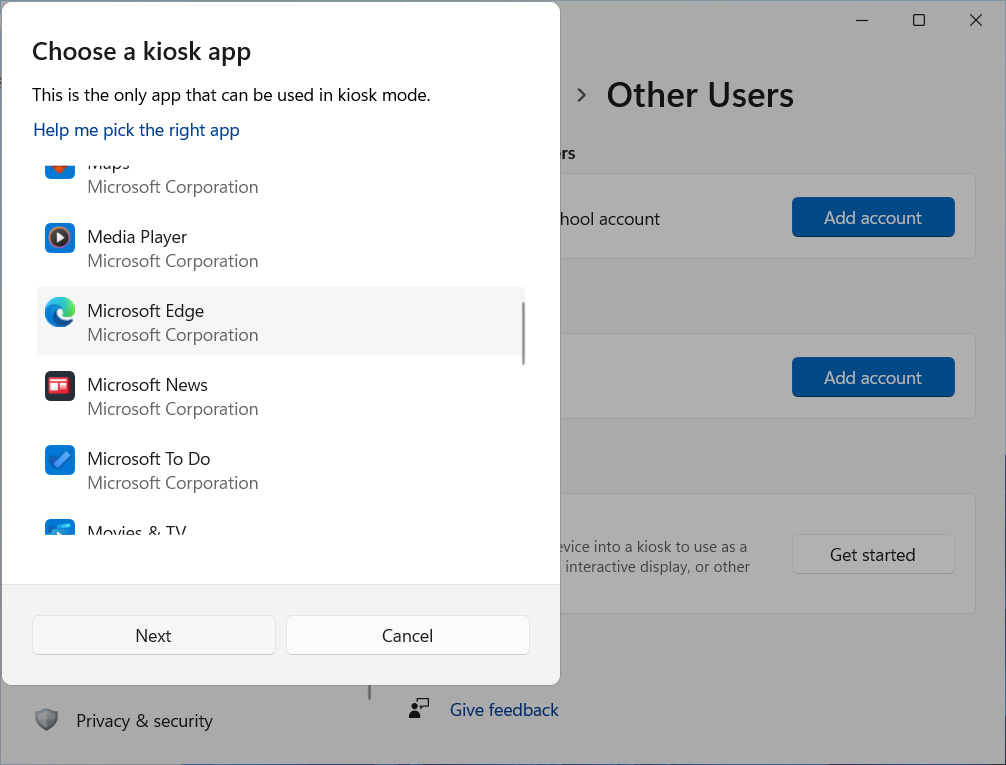
Select the application that will be used for the Kiosk mode. In this example, we will select Microsoft Edge. Then click Next.
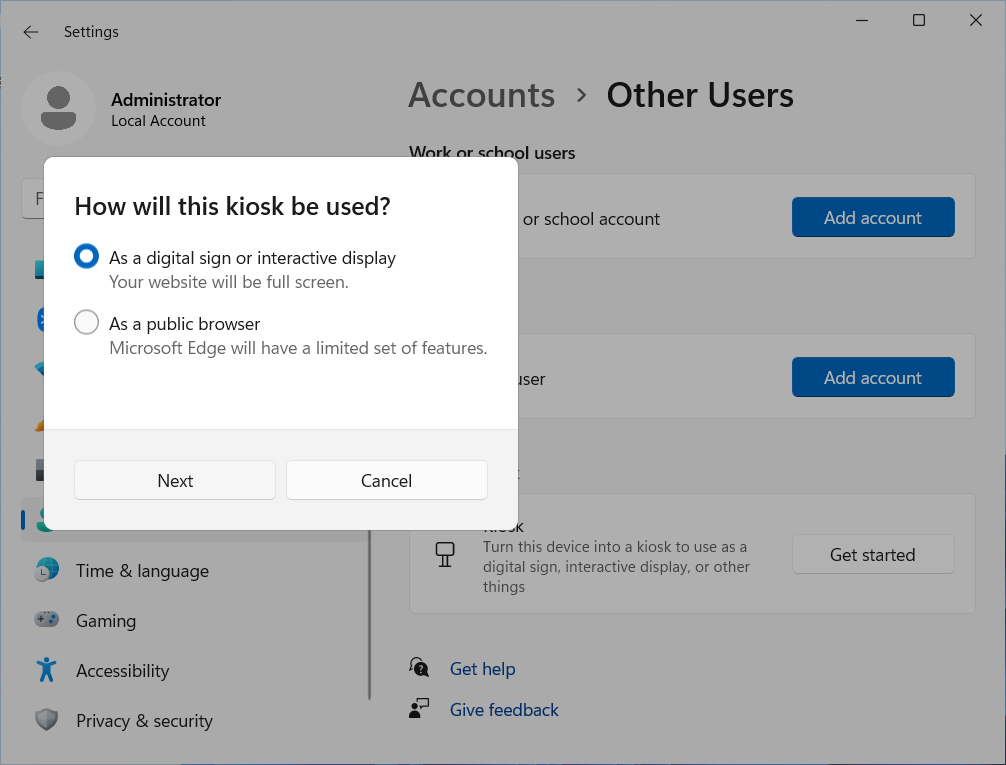
Select how the kiosk will be used and then click Next.
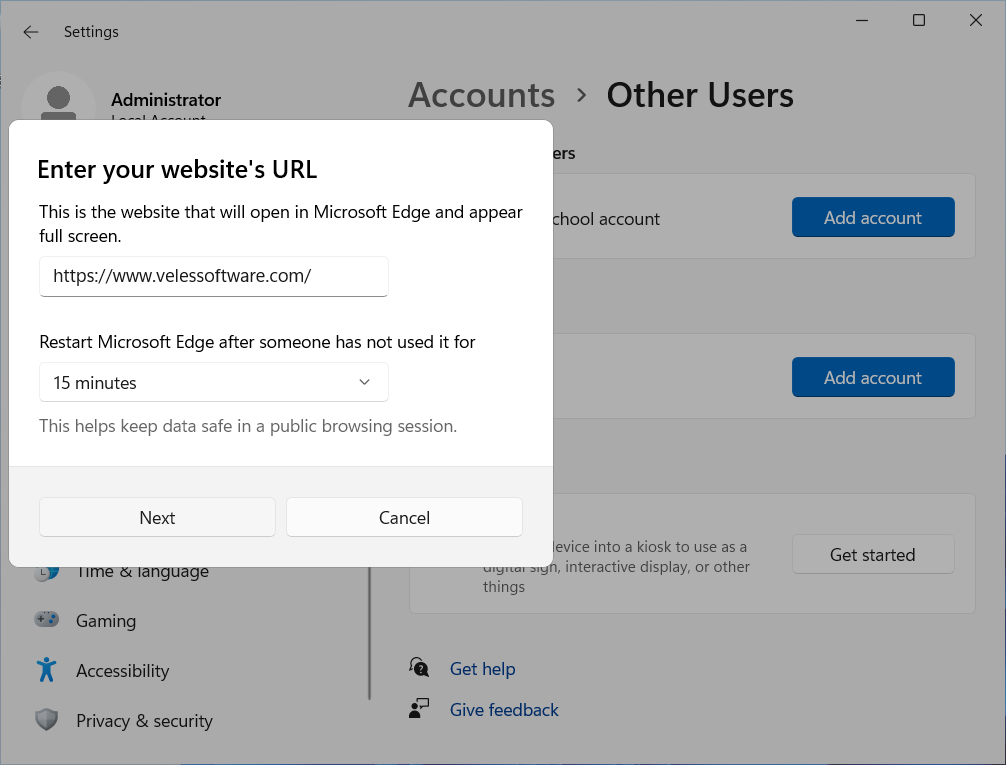
Enter the website URL that will be displayed in Edge, and then specify the inactivity timeout when Edge should be restarted.
Click Close.

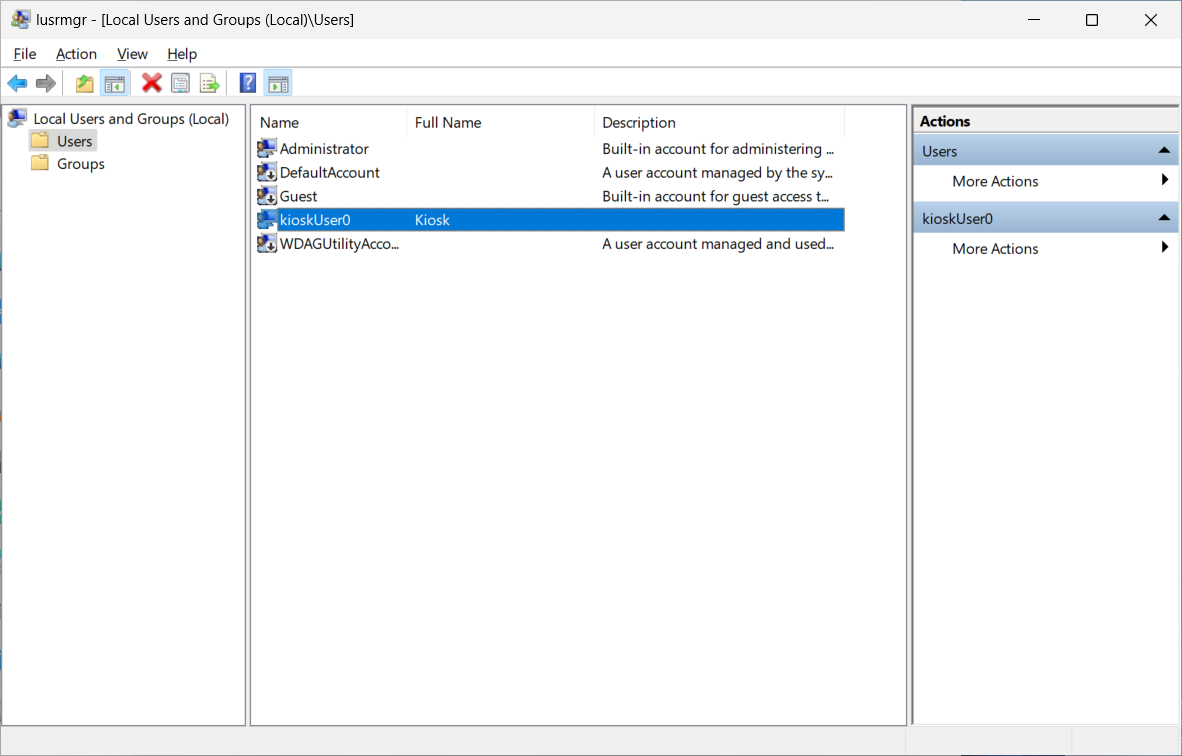
Verifying the local user account
If we open the Local Users and Groups MMC console, we can see that a “kioskUser0" account has been created.
Restarting and testing
Next, we should restart the device.
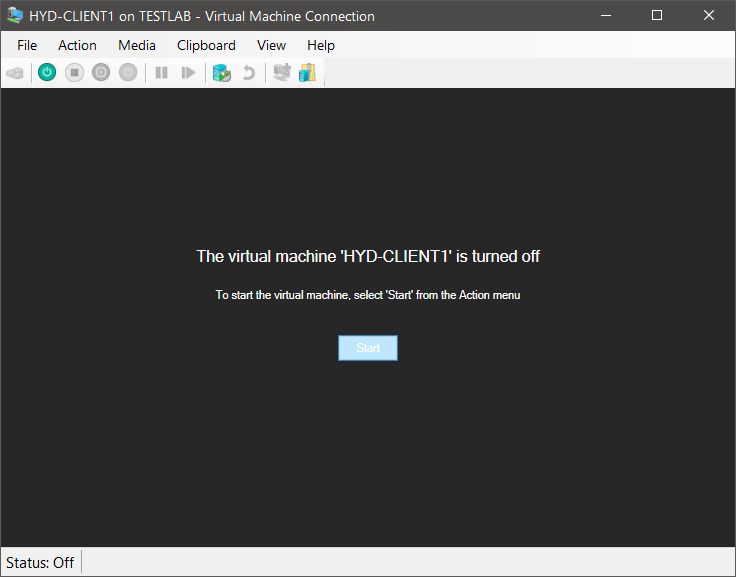
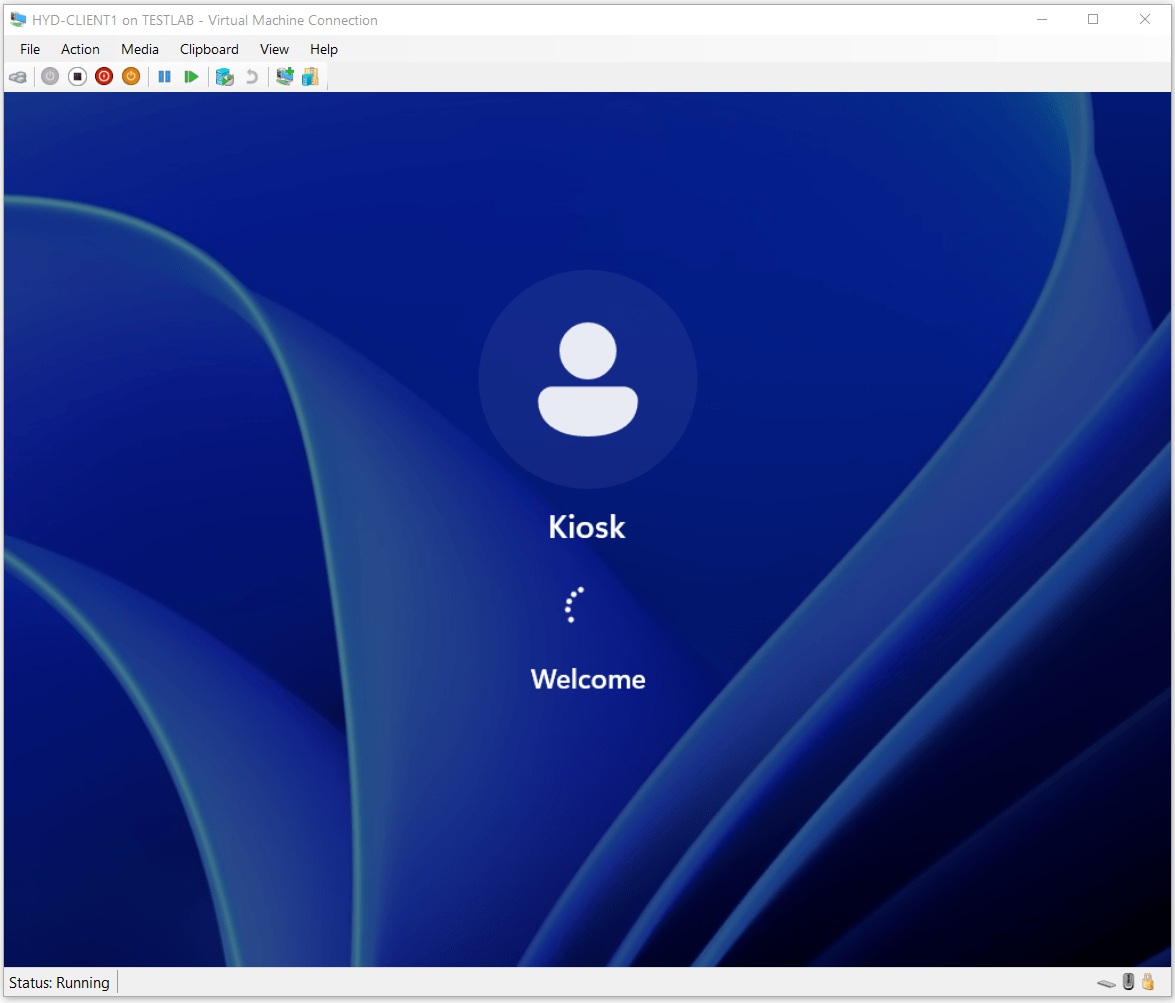
After the device has restarted, there will be the option to sign in with the new Kiosk account.
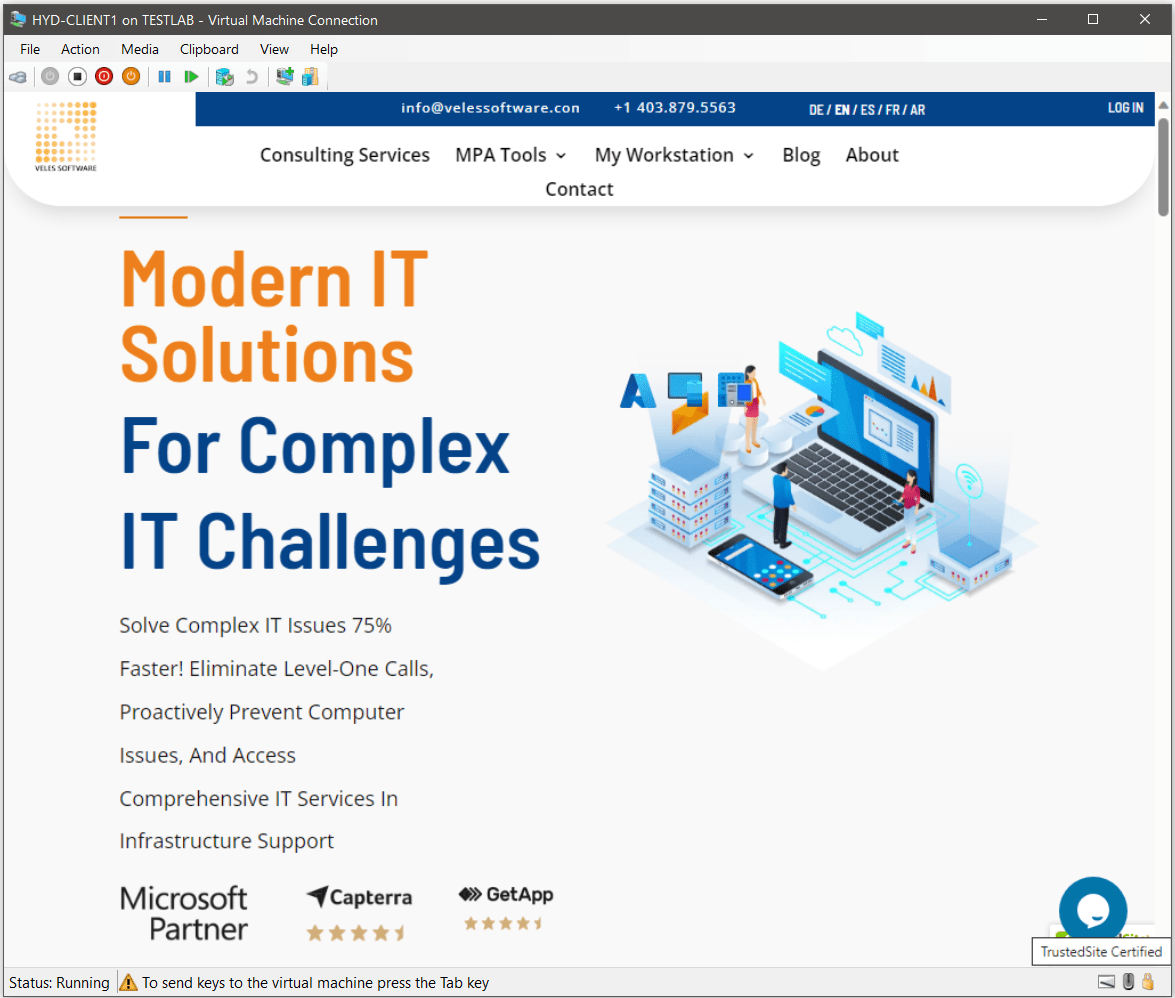
Once the Kiosk account has signed in, the Edge browser window will appear in full screen. The kiosk mode prevents access to the Start menu or anywhere else on the desktop and all keyboard shortcuts will be disabled.
Disabling Kiosk mode
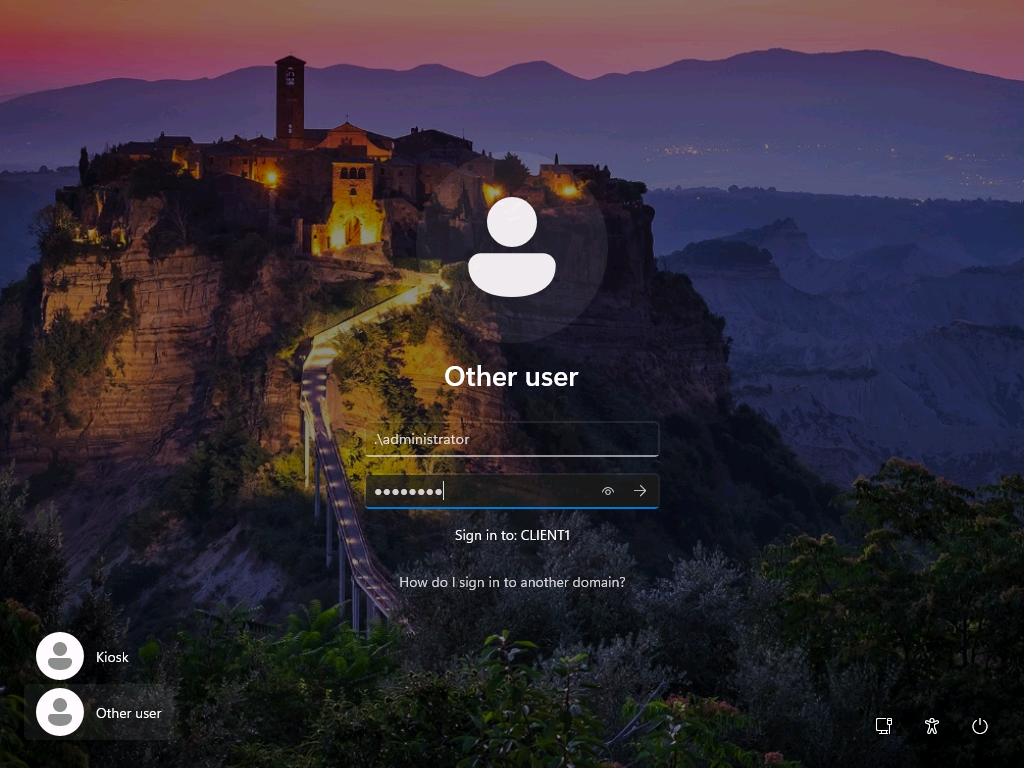
Hit Ctrl-Alt-Delete to break out of the Kiosk mode, which will allow you to sign out of the kiosk session.

To deactivate the Kiosk mode, sign in with the local Administrator account.
Open Settings, click on Accounts then click the Other Users page on the right side.
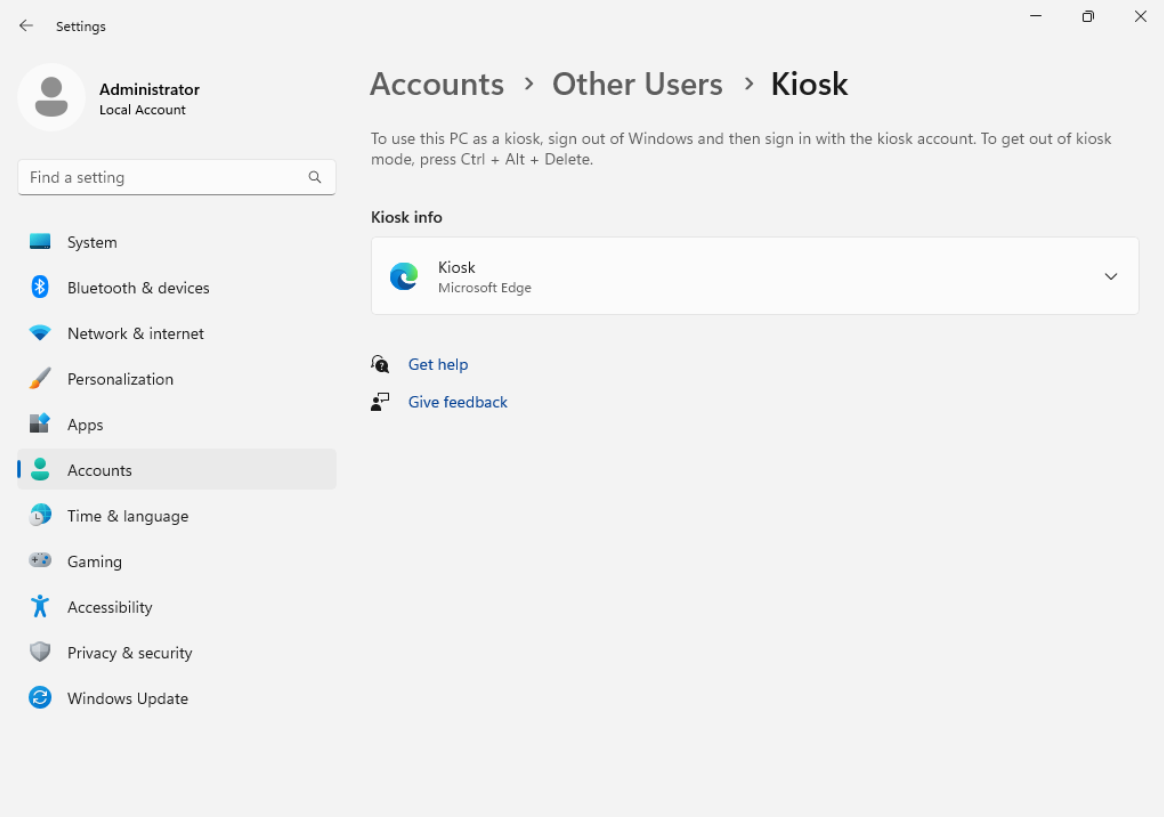
Click on the active Kiosk mode.

Select Kiosk - Microsoft Edge.
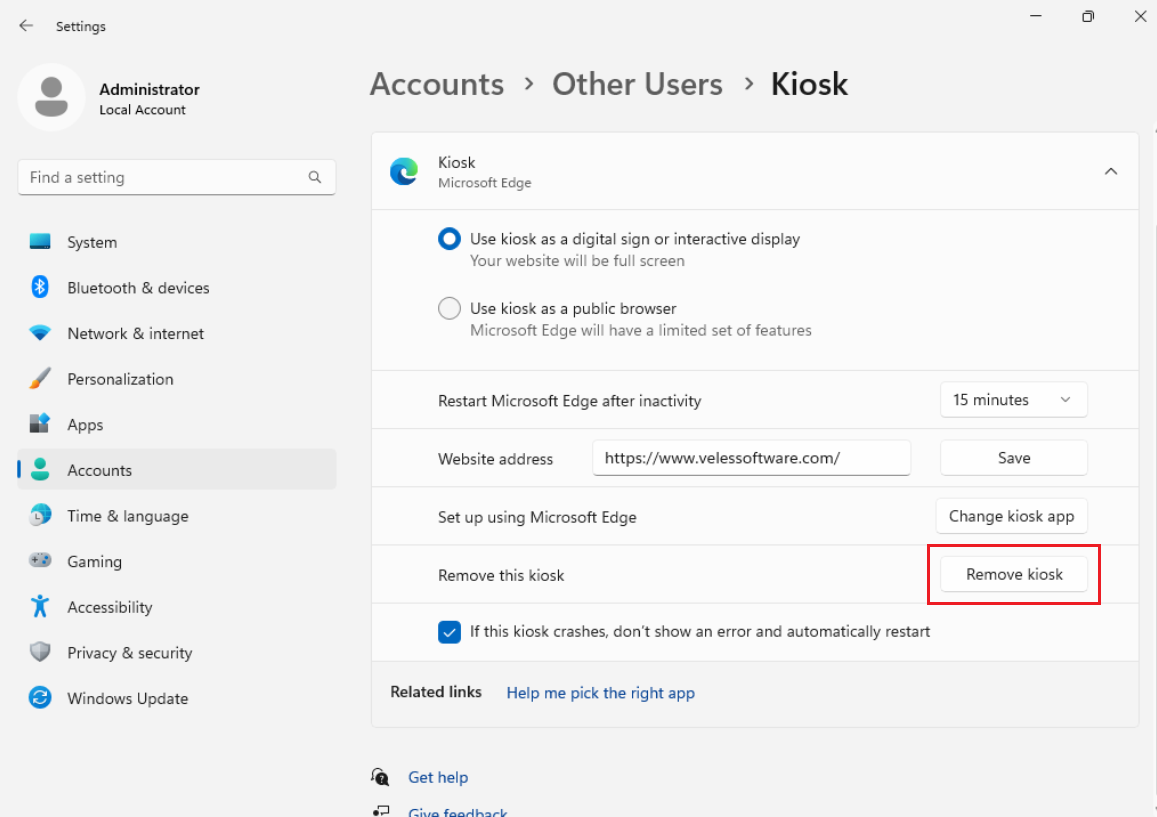
Click Remove Kiosk.
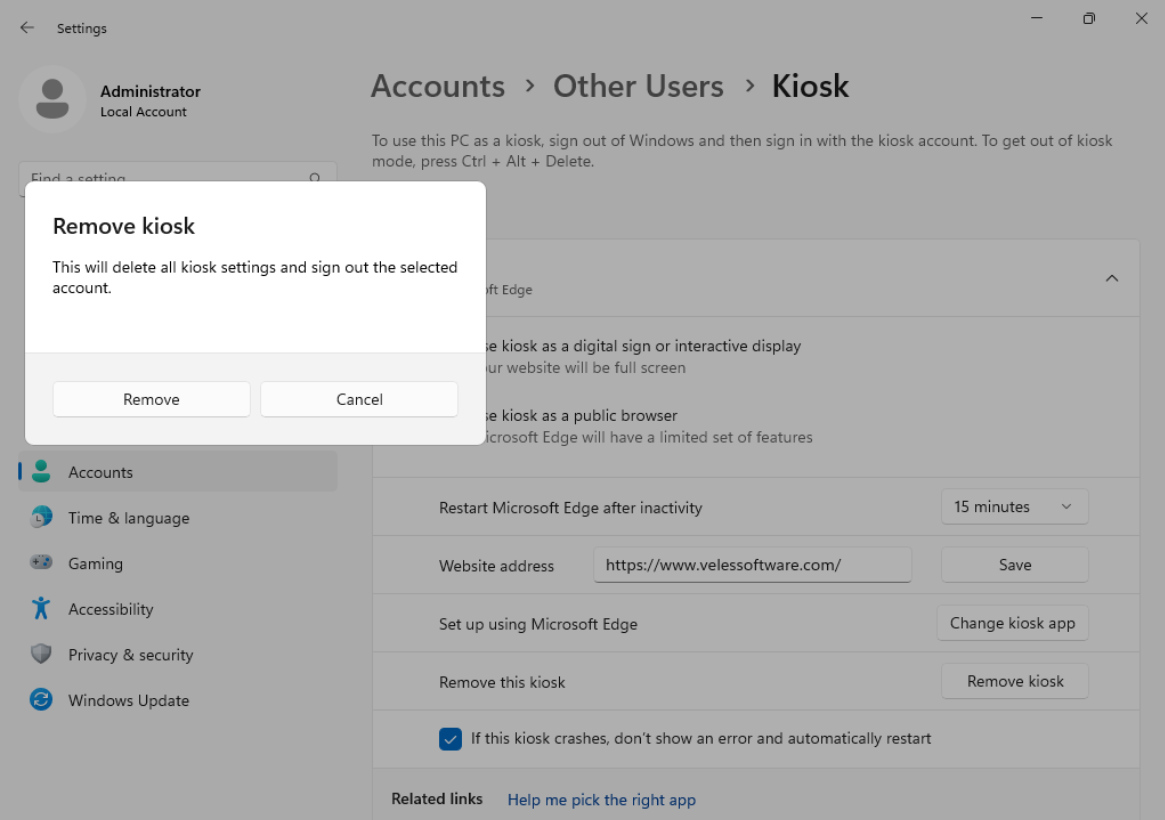
Click the Remove button to deactivate the Kiosk mode.
In the next post we will discuss how toset up Windows Kiosk mode with PowerShell.