Continuing our exploration of kiosk mode setup in Windows 11, this blog post is the third part of ourKiosk mode series. Today, we'll dive into the world of Microsoft Intune configuration. Intune offers centralized management capabilities, allowing administrators to easily control and deploy kiosk mode settings across multiple devices..
If you need help designing and rolling out secure shared-device deployments,Veles IT Solutions helps organizations implement kiosk and shared workstation solutions.
What is Kiosk mode?
Just as a quick recap, Kiosk mode configures Windows 11 for a single-purpose device that runs only one (or two) application(s). Kiosk mode is also referred to as Assigned Access in Windows 11. You would typically use this feature to set up a computer as a kiosk device for guests to access the internet, fill out a form, or convert a device into a digital sign to demo products or promote your business.
Single app Kiosk mode
Typically, with Kiosk mode, the Windows 11 device would be configured to sign in automatically and launch only one application in full-screen mode using a restricted user account that won't let anyone access the desktop, switch to a different app or change any system settings. This is the scenario that we will be focusing on in this article.
Multi app Kiosk mode
The Microsoft documentation references a multi-app kiosk mode, where one or more apps can be launched from the Start menu or desktop. People using the kiosk see a customized Start menu that shows only the apps that are allowed. With this approach, you can configure a locked-down experience for different account types. A multi-app kiosk is appropriate for devices that are shared by multiple people.
For more information on how to set up a multi-app kiosk seeSet up a multi-app kiosk on Windows 11 - Configure Windows | Microsoft Learn. Even though, in this article we will be focusing on the single app kiosk mode scenario, the multi-app kiosk mode is configured with either with Intune or the MDM Bridge WMI Provider so it may be worth reading the relevant sections below.
Kiosk mode configuration methods
There are several different ways to configure Kiosk mode with single or multiple UWP apps or desktop/Win32 apps and with a local user account, AD user account or Azure AD user account (Entra ID). This Microsoft article has a great breakdown of the different configuration options and provides the below summary:Configure kiosks and digital signs on Windows 10/11 desktop editions - Configure Windows | Microsoft Learn

Configuring Kiosk mode with Intune using an Azure AD user account
For this configuration, we will need the following:
- An Azure AD Registered, or Azure AD joined, or Hybrid Azure AD joined device.
- An Azure AD / Entra ID account that will be used for the assigned access.
For more information, seeKiosk settings for Windows 10/11 in Microsoft Intune | Microsoft Learn.
Creating a device group
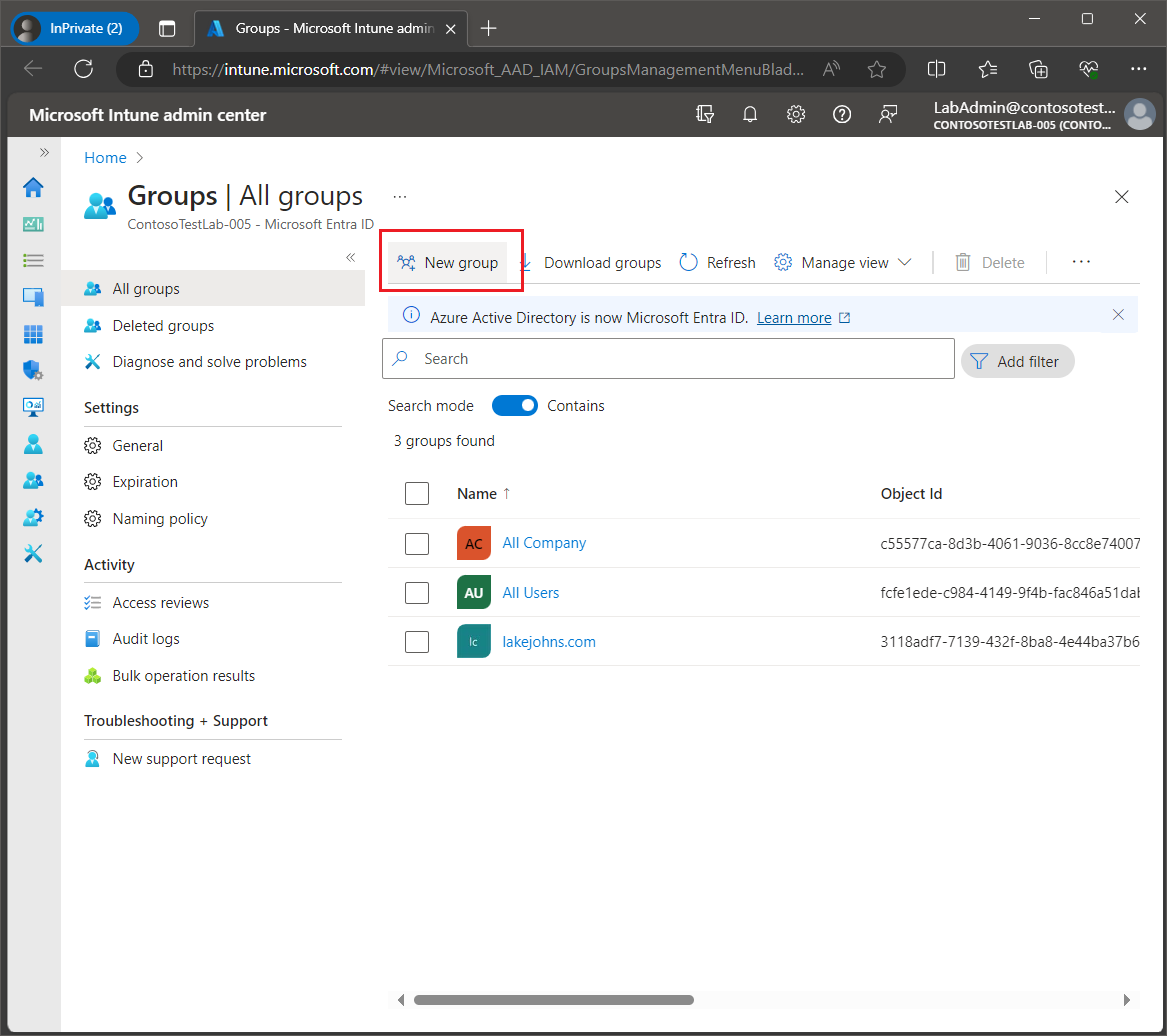
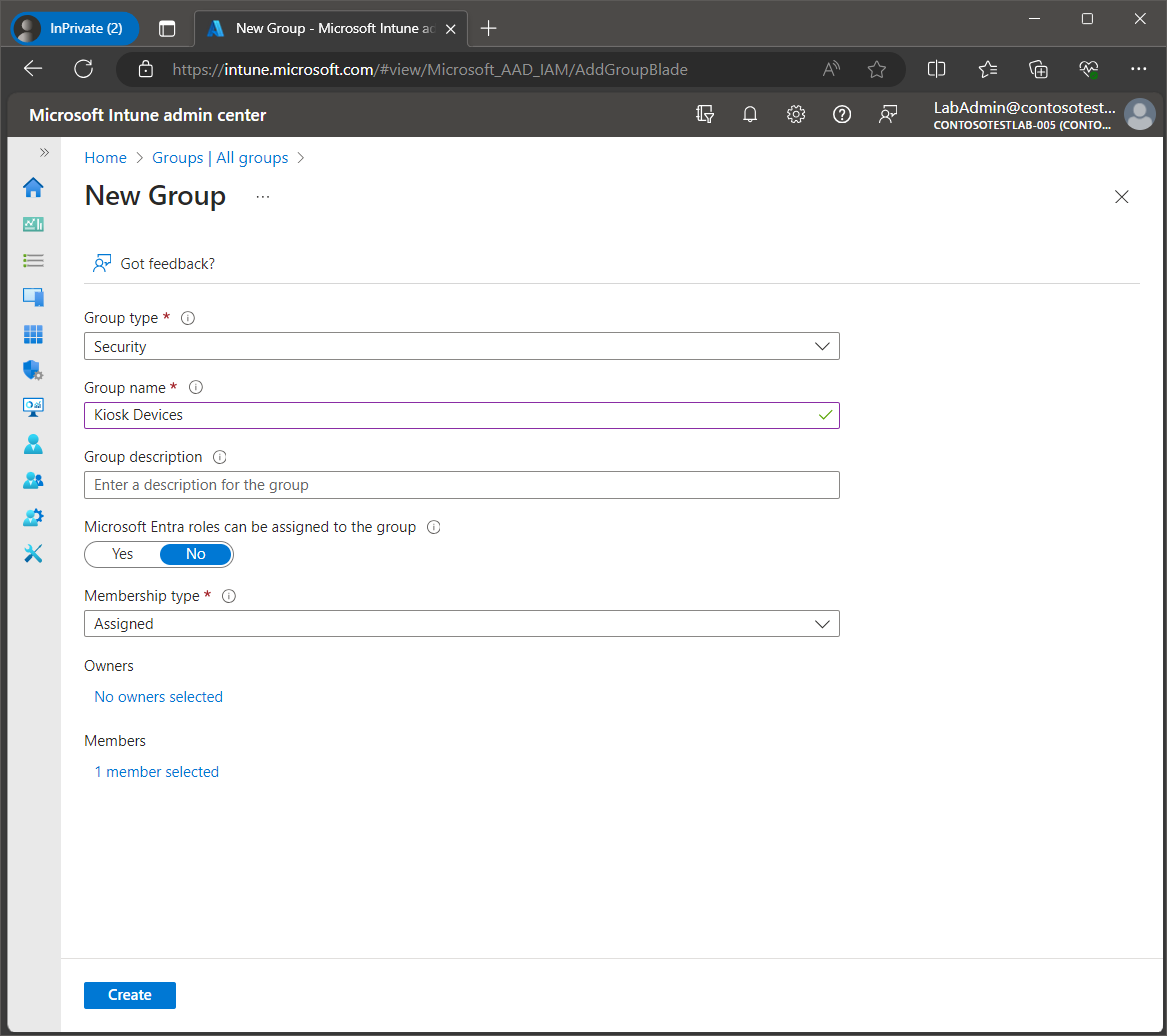
First, we will need to create a device group for the kiosk devices. We can do this by navigating to the Intune admin center (https://intune.microsoft.com), select groups then click New Group.
Enter a name for the group, for example Kiosk Devices.
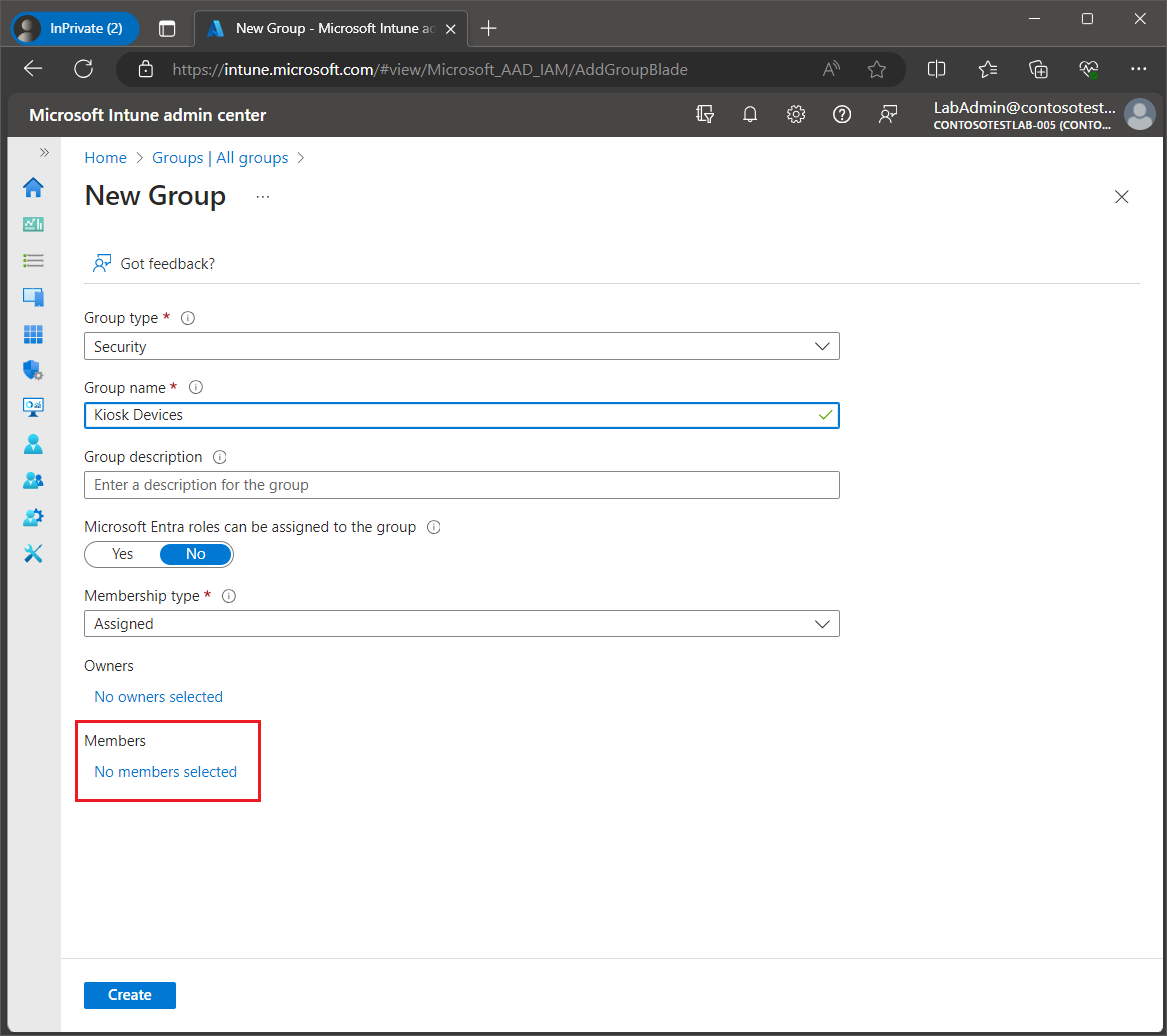
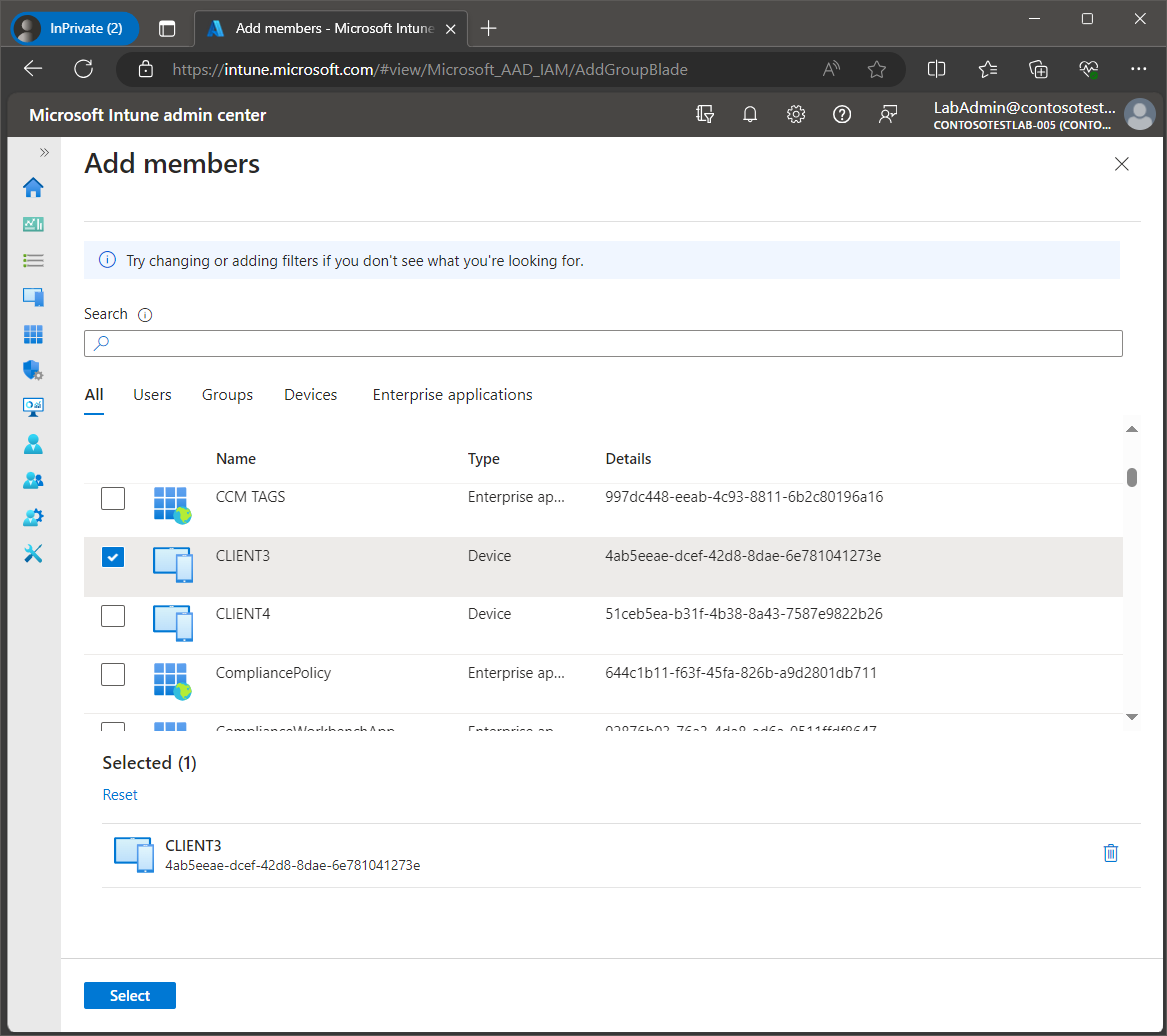
Select the kiosk devices that are to be added to the new group.
Click Create.
Creating the Kiosk mode configuration profile
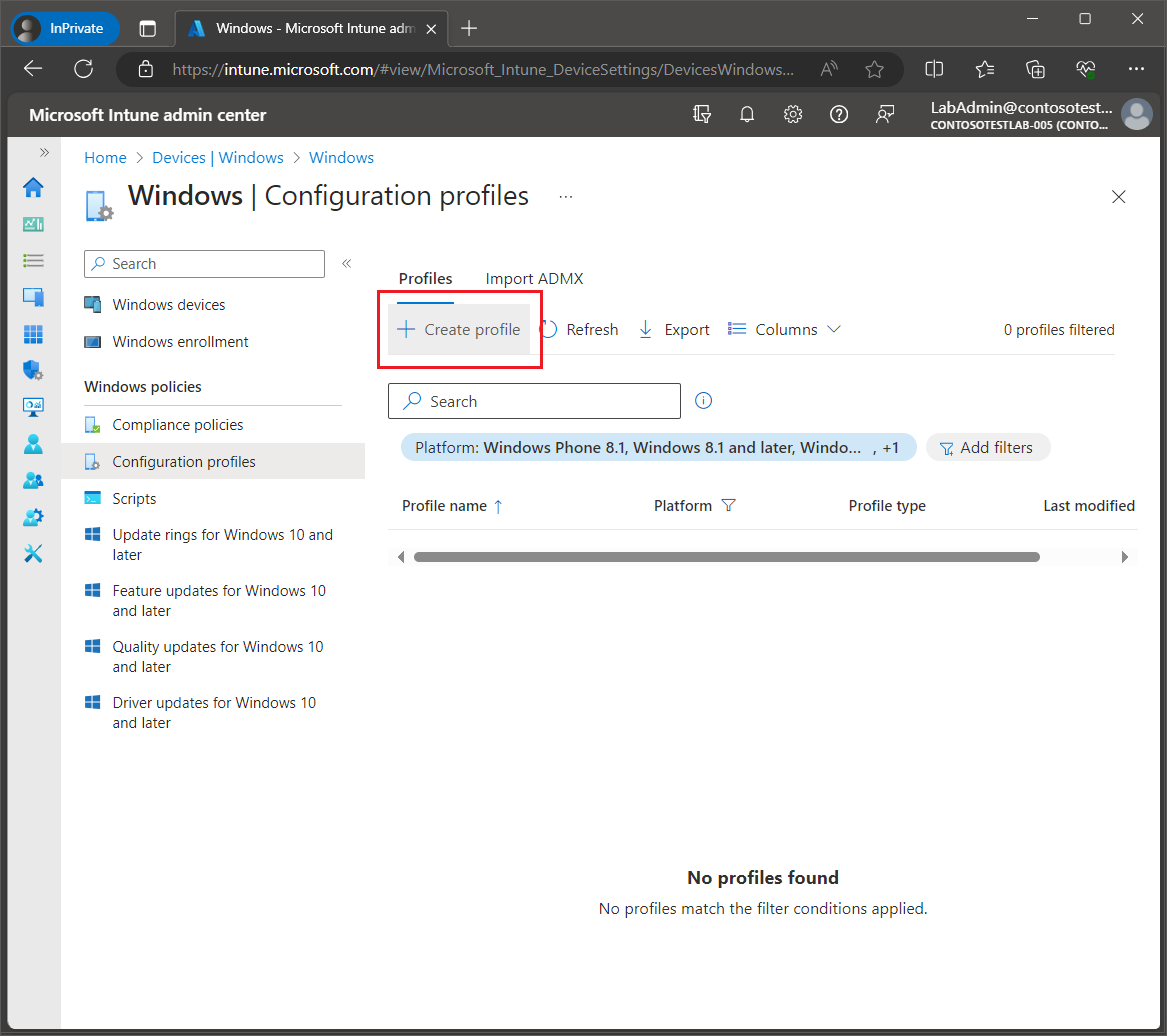
Next, we will create the Kiosk mode configuration profile. Select Devices, then select Configuration profiles and then click Create Profile.
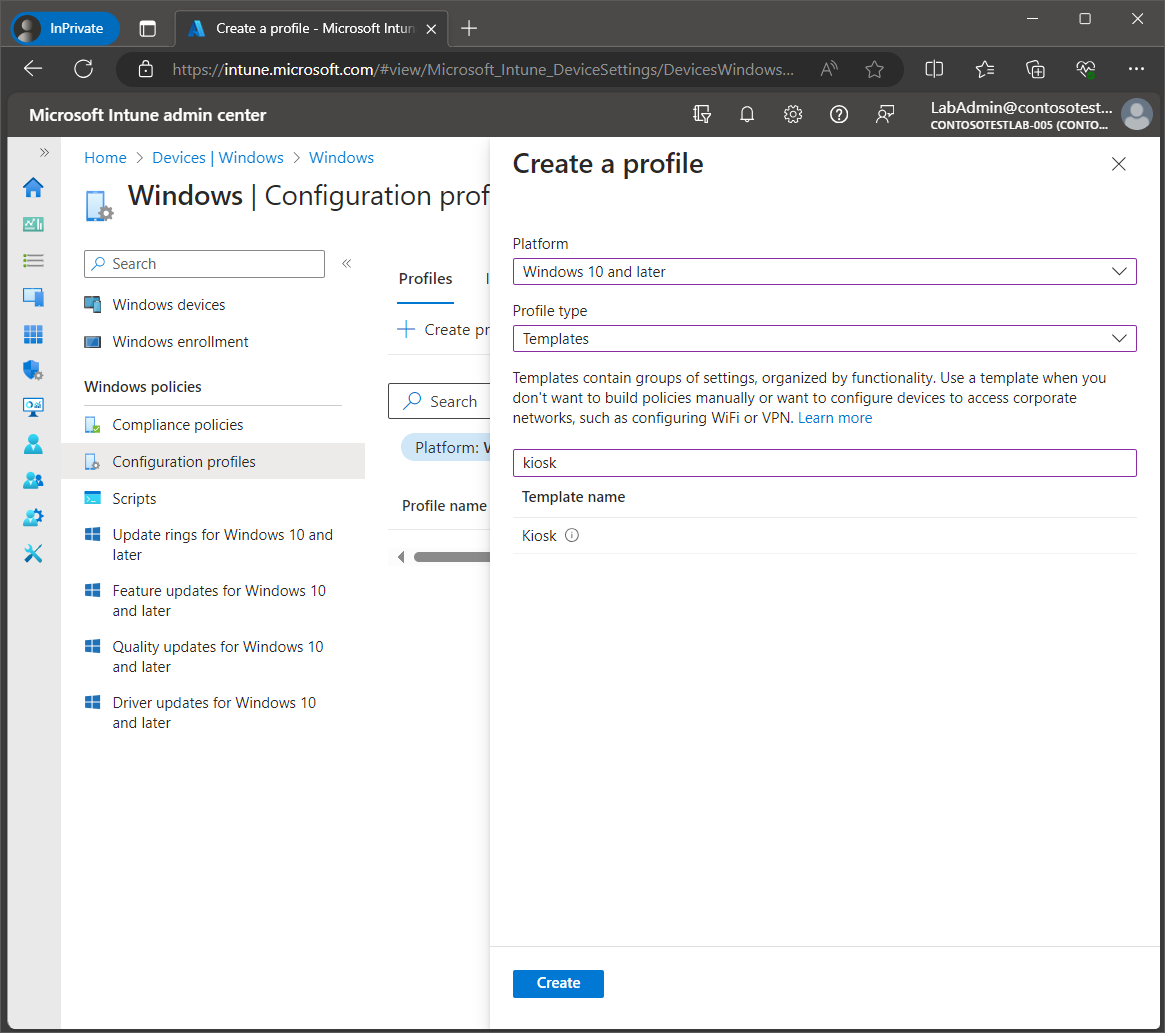
For the platform, select Windows 10 and later. For the profile type, select Templates and then enter “kiosk" to filter the templates names for the Kiosk option. Then click Create.
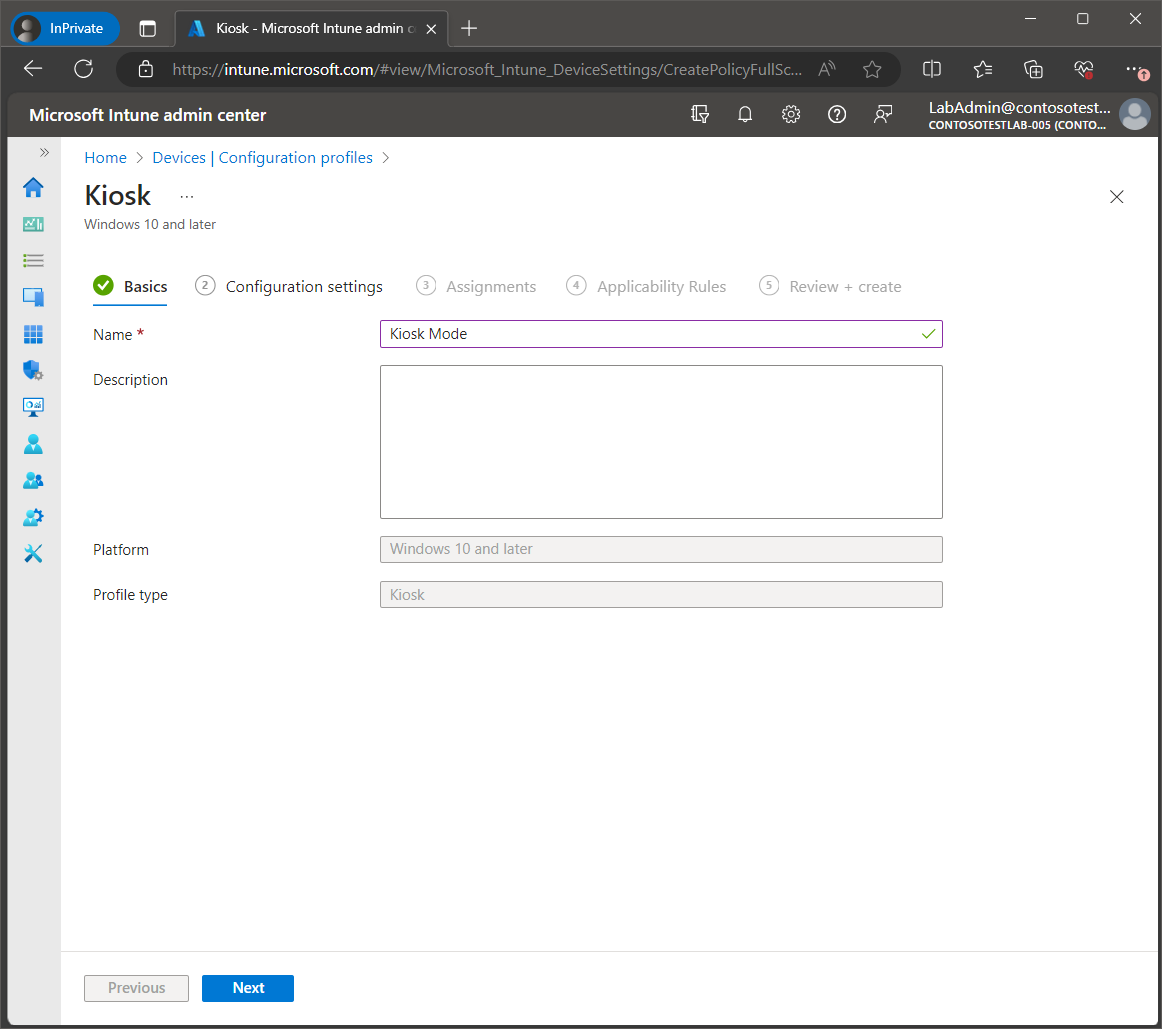
Enter a name for the configuration profile and then click Next.
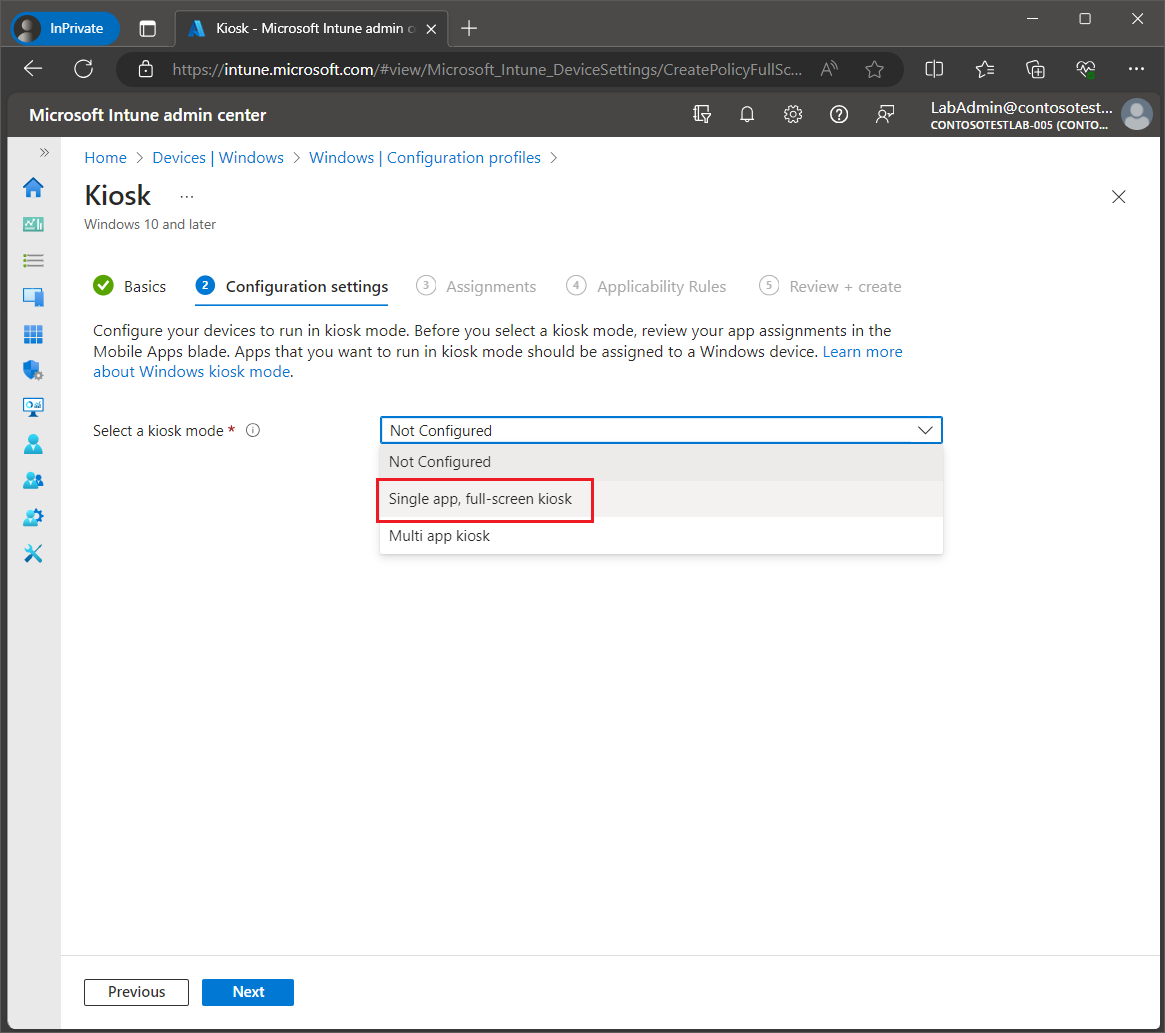
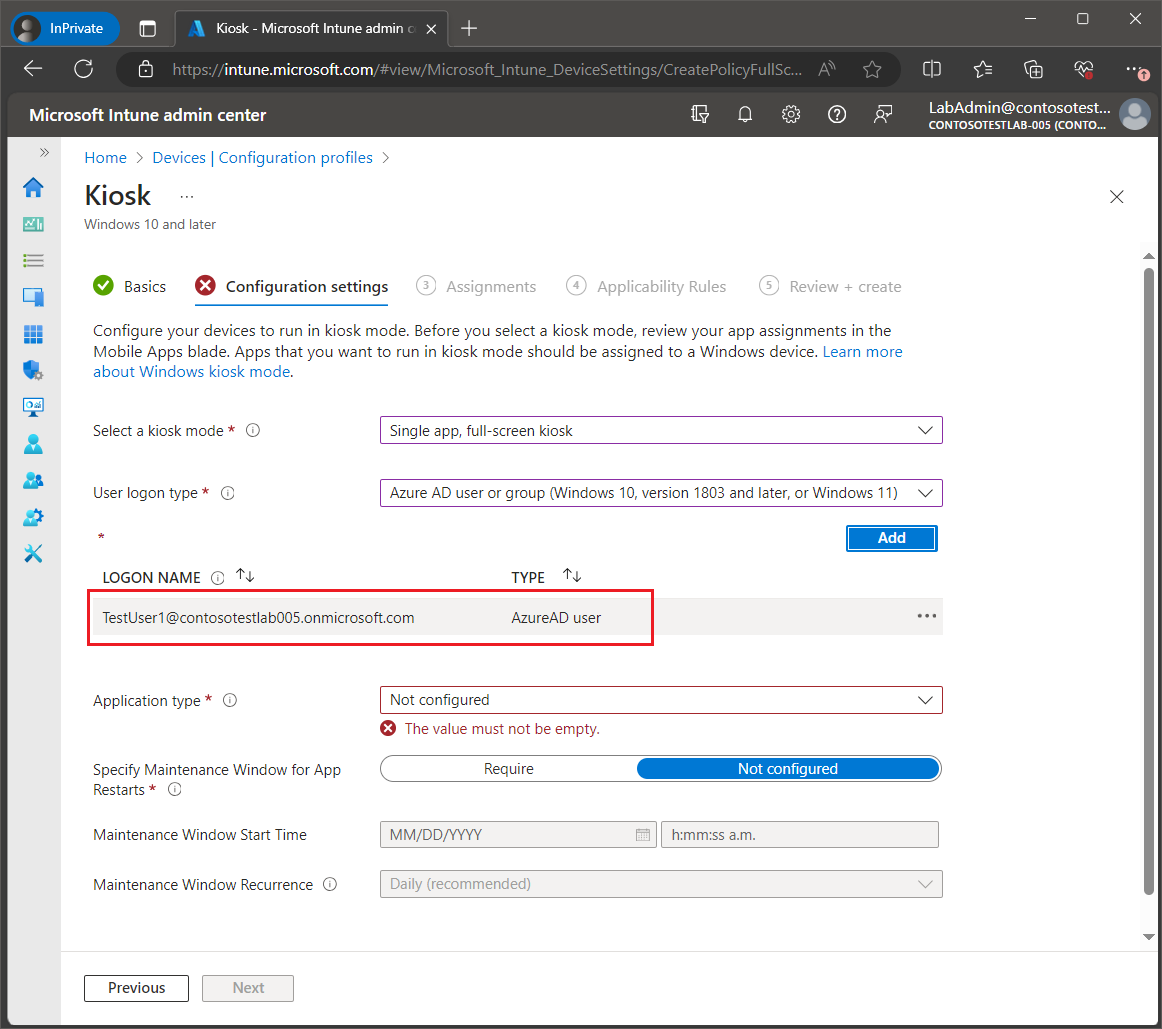
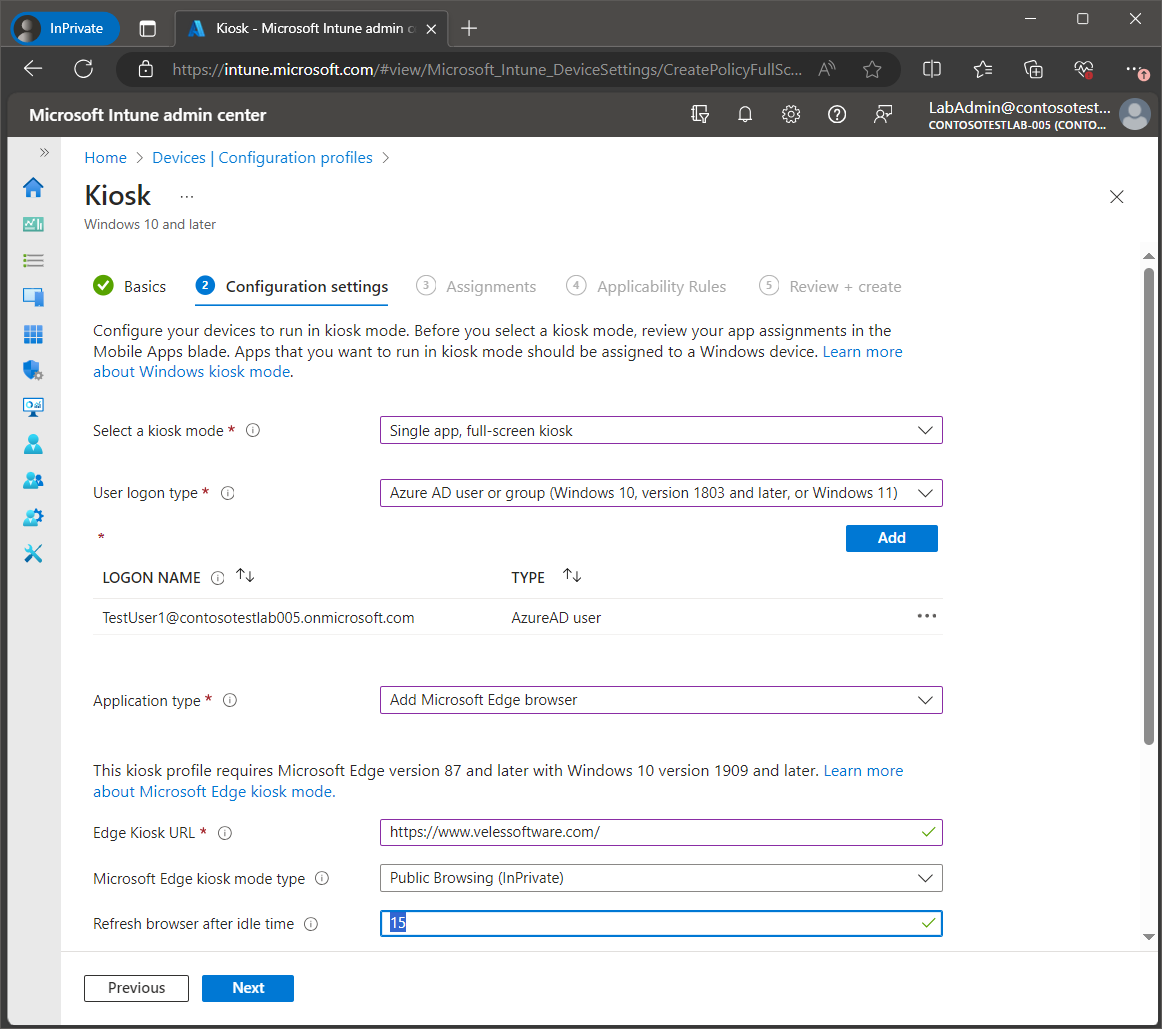
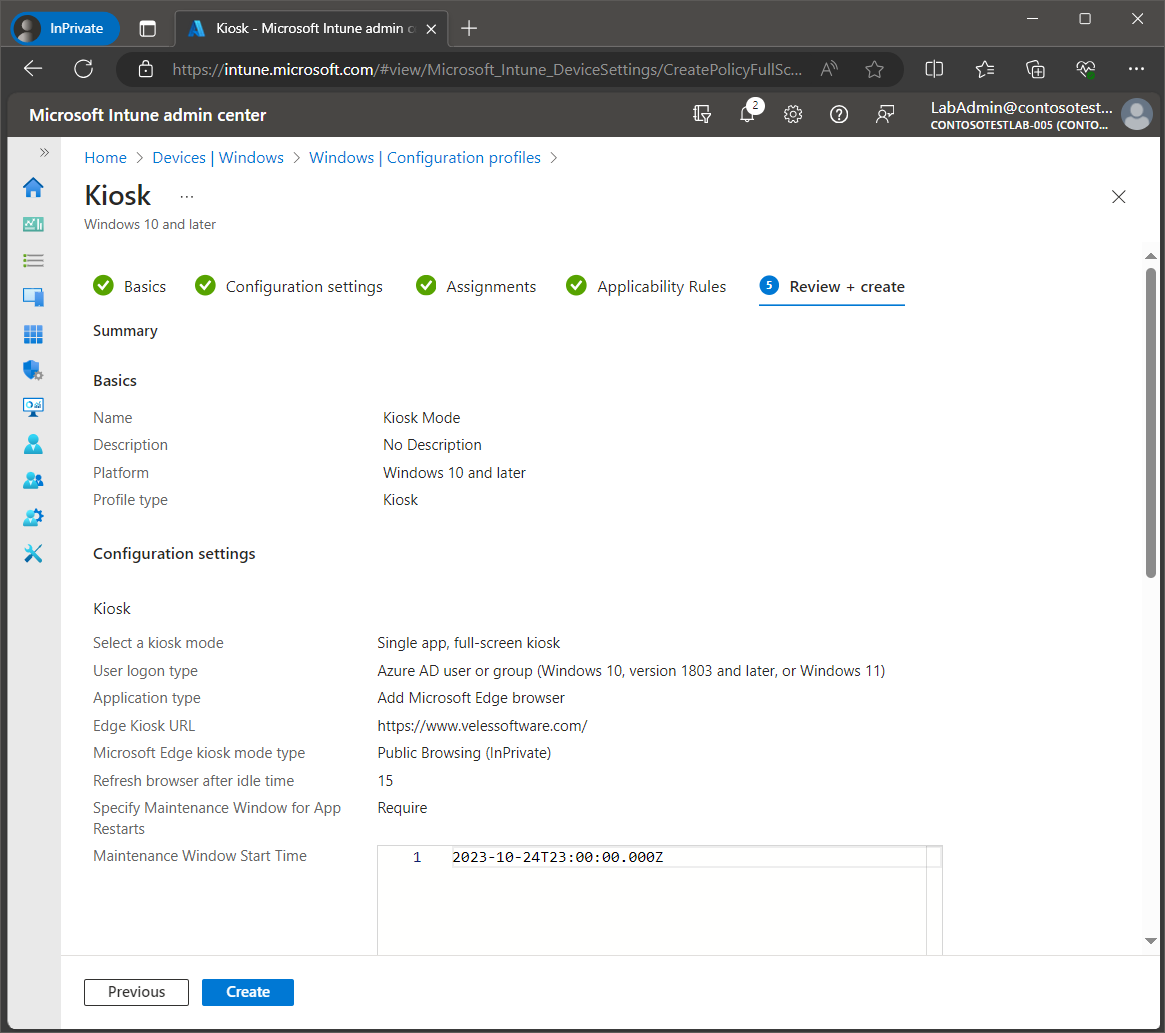
Under the configuration settings select the Kiosk mode. In this example, we will select Single app, full-screen kiosk.
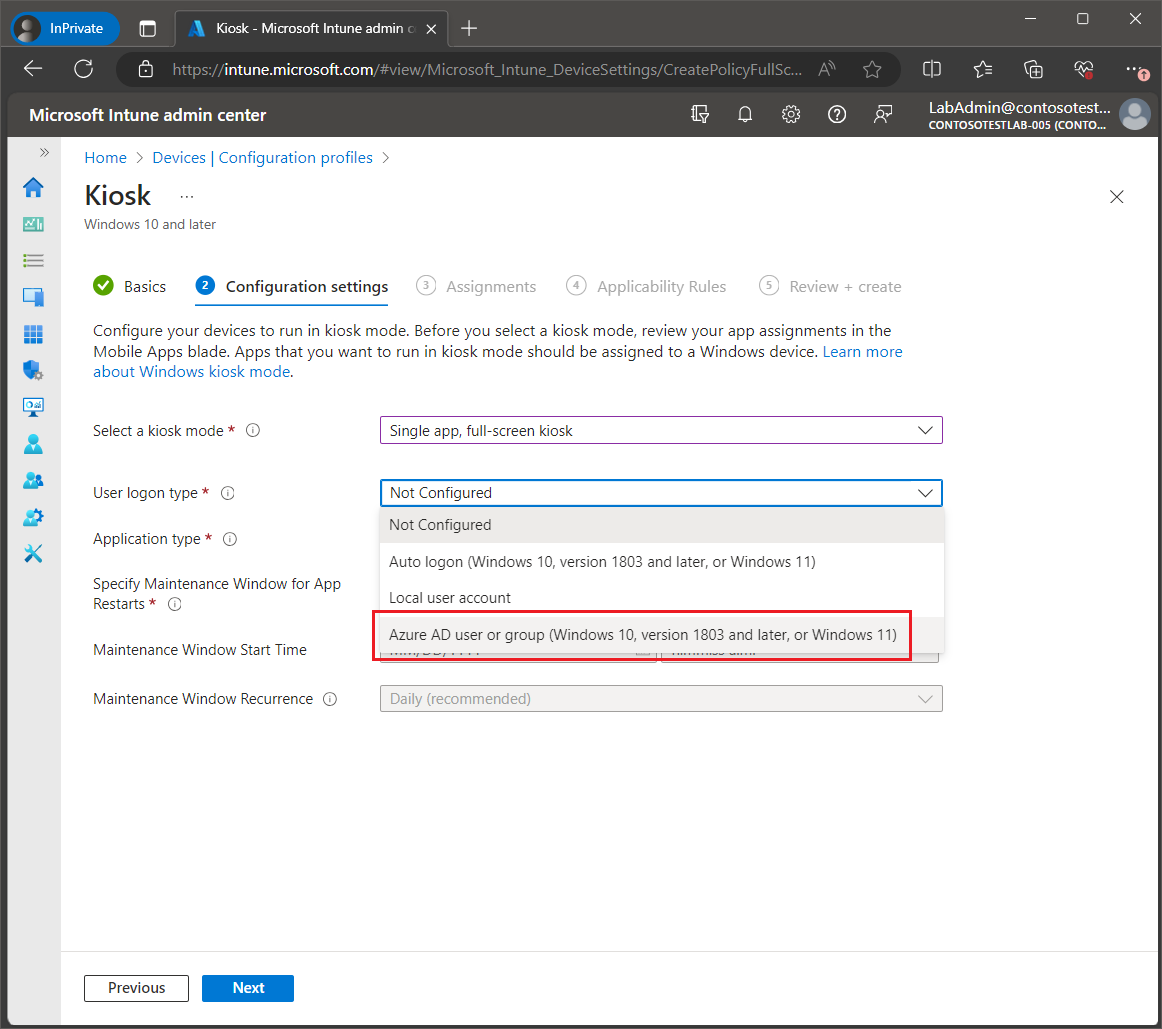
For User logon type, select Azure AD user or group.Note: For kiosks in public-facing environments with Autologon enabled, Microsoft's recommendation is to use a user account with the least privileges, such as a local standard user account. As such, if auto logon is required, we would suggest using the Auto logon option under Application type.
However, for this post we will be demonstrating the Azure AD user scenario and using Autologon from Sysinternals (see the section below titledImplementing Autologon).
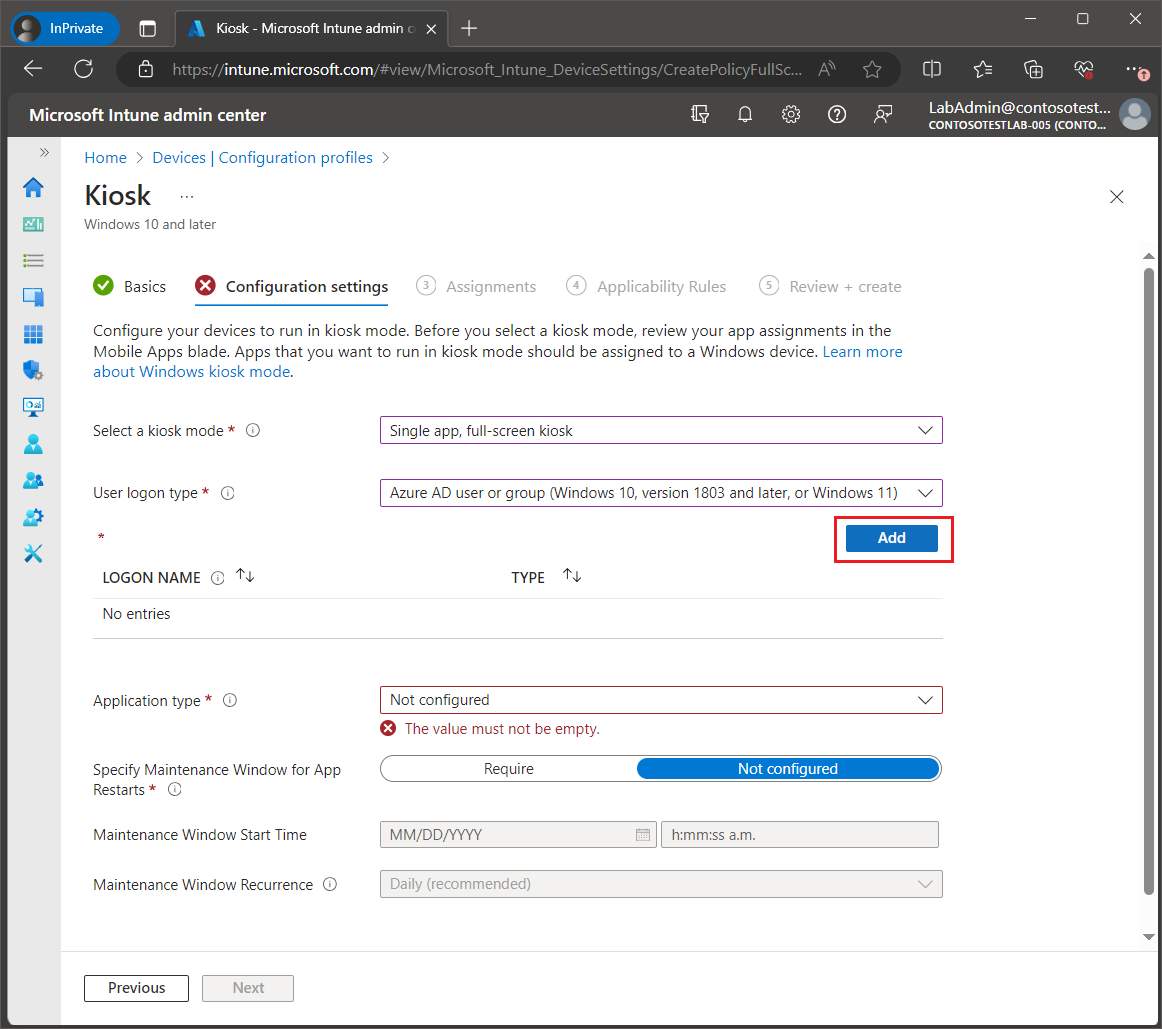
Next, we will need to select the assigned access account. Click Add.
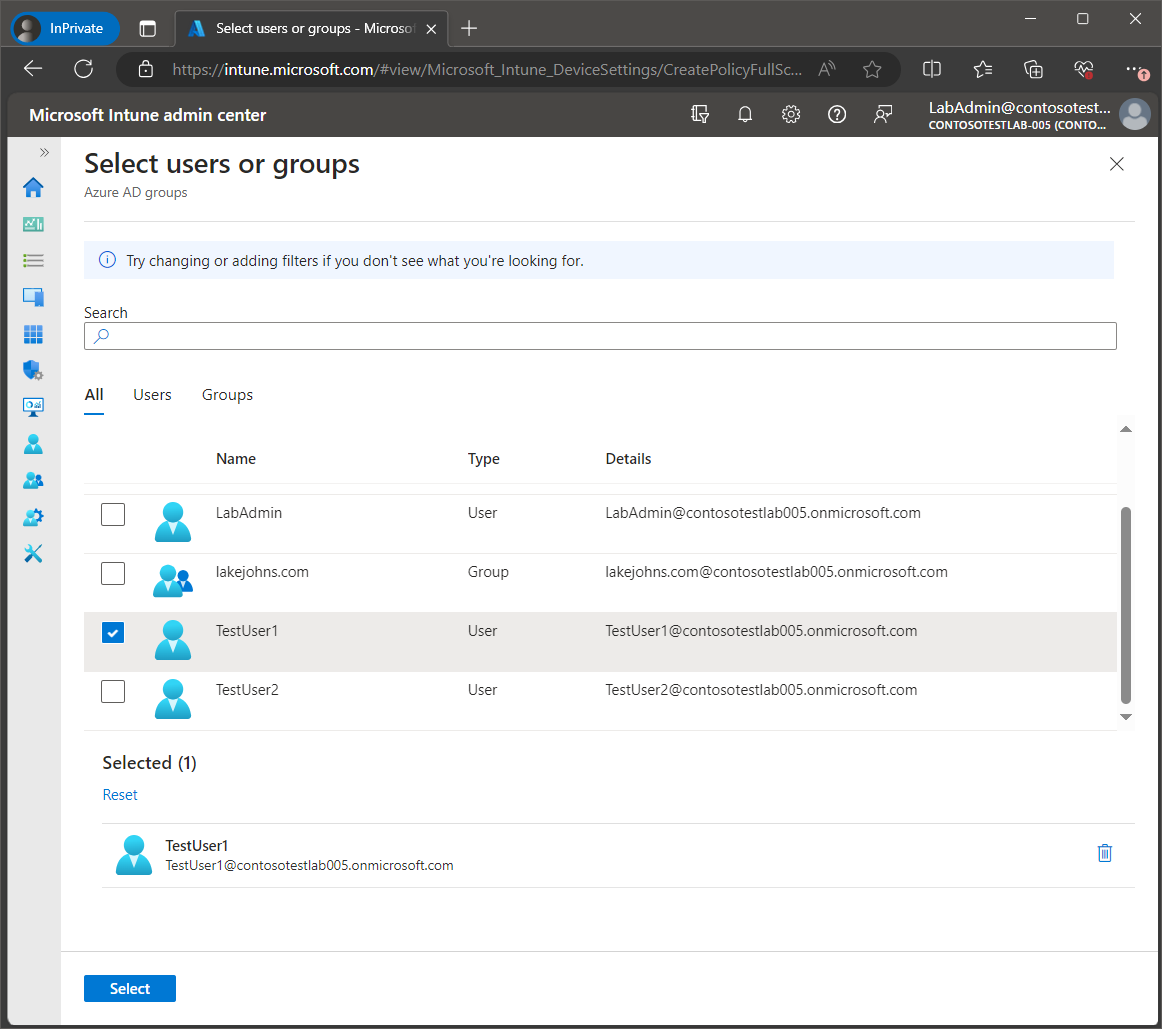
Select the Azure AD user account that will be used for the assigned access.
Confirm that the assigned access account now appears in the logon user list.
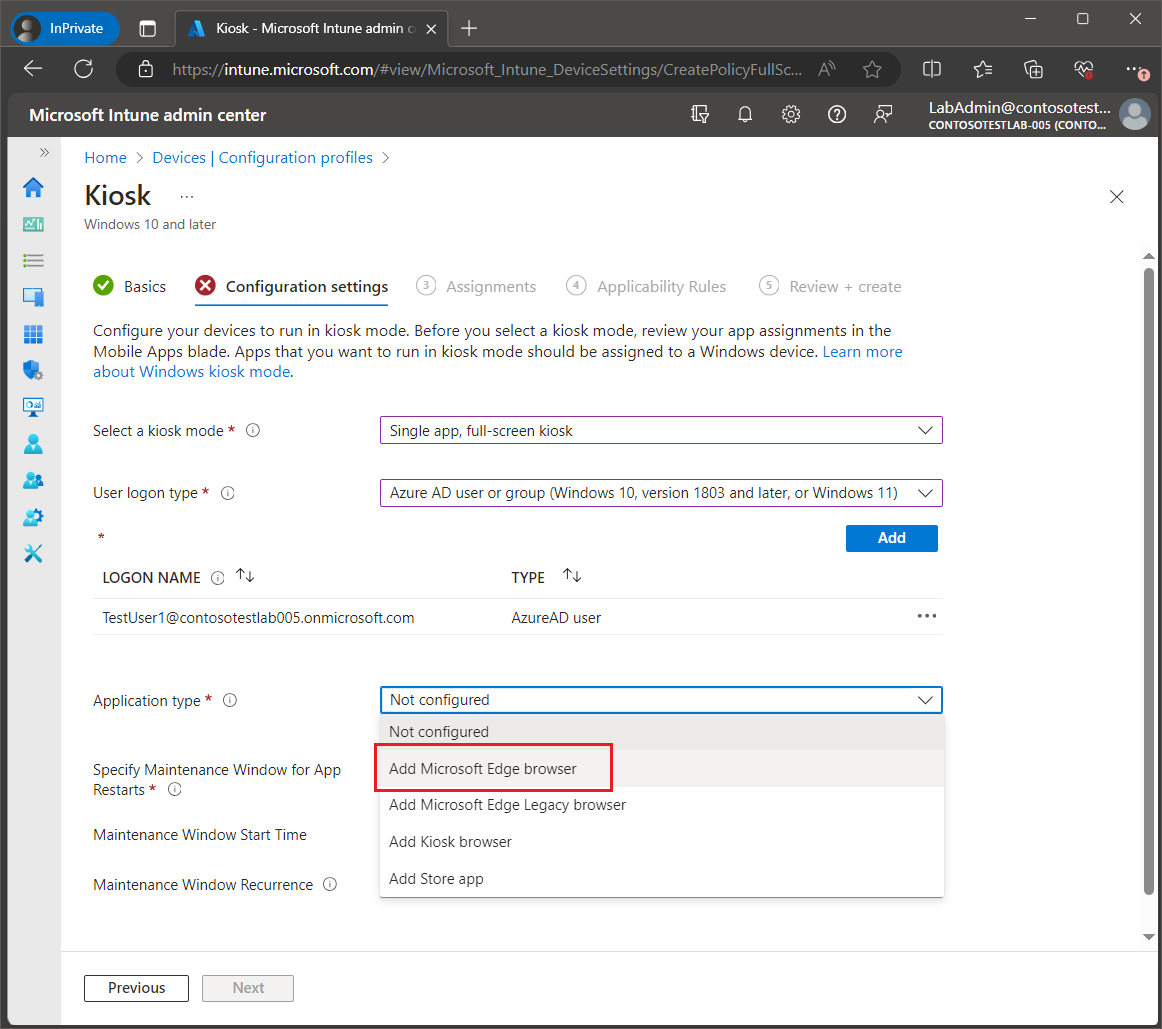
Next, we will set the application type. From the drop-down list select the application that will be used for the Kiosk mode. For this example, we will be selecting Microsoft Edge browser (Note: this option is for the desktop/Win32 version of Edge (Chromium).
Since we selected Microsoft Edge browser, the Edge Kiosk URL will be required. Enter the URL that should be loaded at launch for the kiosk device.
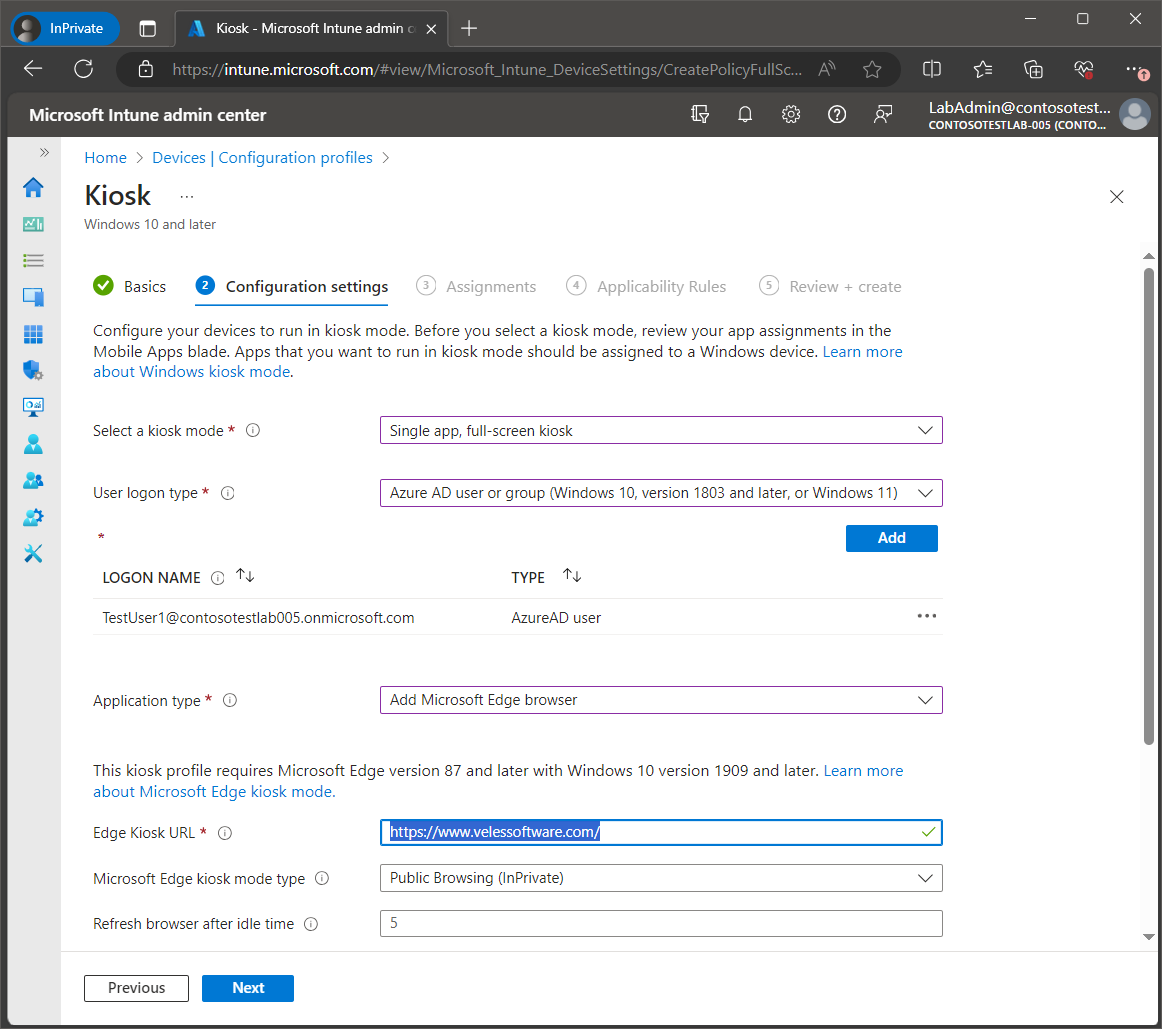
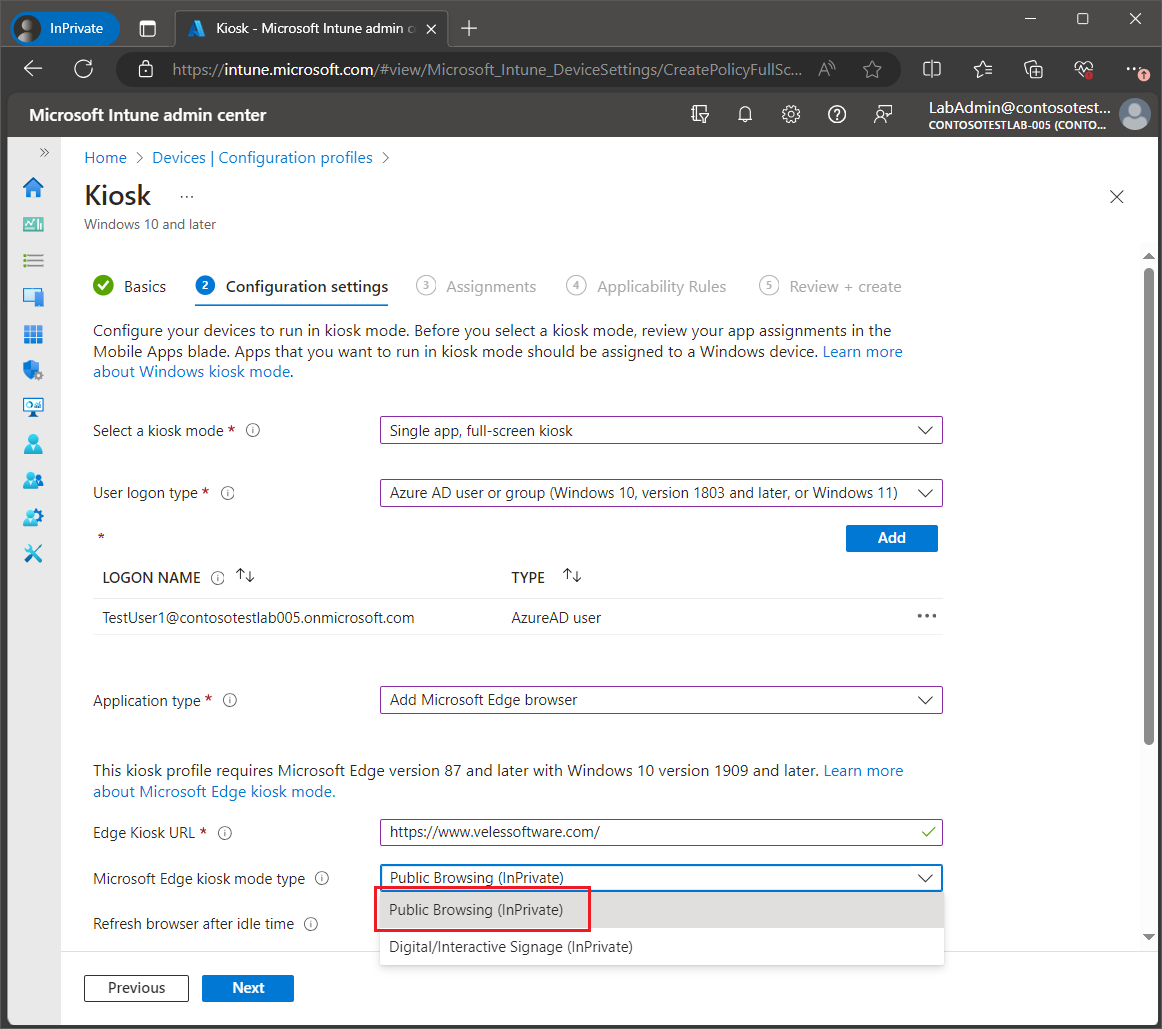
Next, we will set the Edge Kiosk mode type. The Digital/Interactive Signage mode launches Edge in full screen which does not provide a toolbar or navigation buttons, whereas the Public Browsing mode does. Earlier, at the beginning in the post, we had selected Digital/Interactive Signage so in this example, we will select Public Browsing to demonstrate the differences.
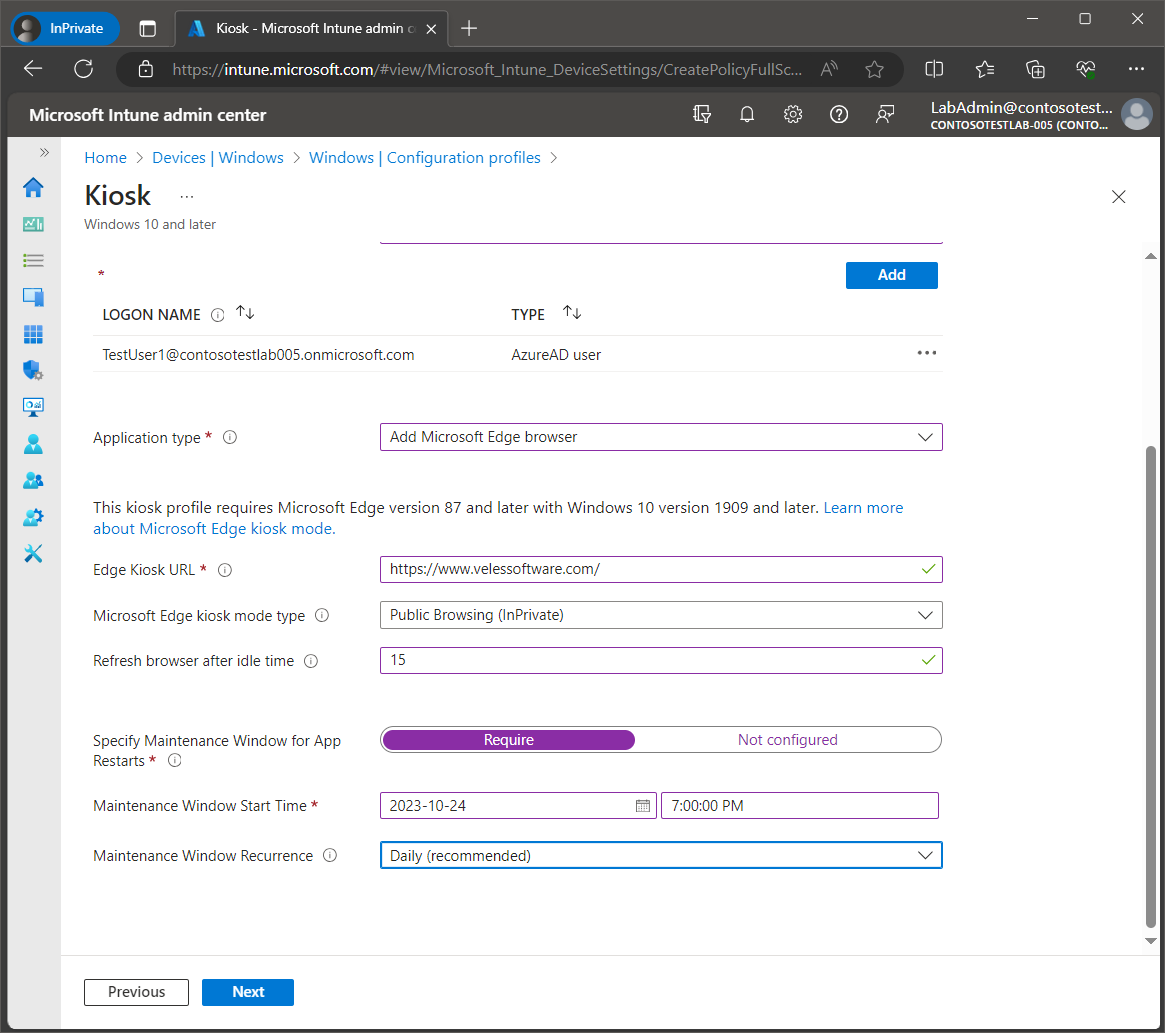
Next, we will set the browser refresh idle time. When the idle time has been reached on the Kiosk device, then the browser window will be refreshed, and the Edge Kiosk URL will be reloaded.
Next, we will need to specify the maintenance window when the Microsoft Edge browser app can be restarted, when the app has been updated.
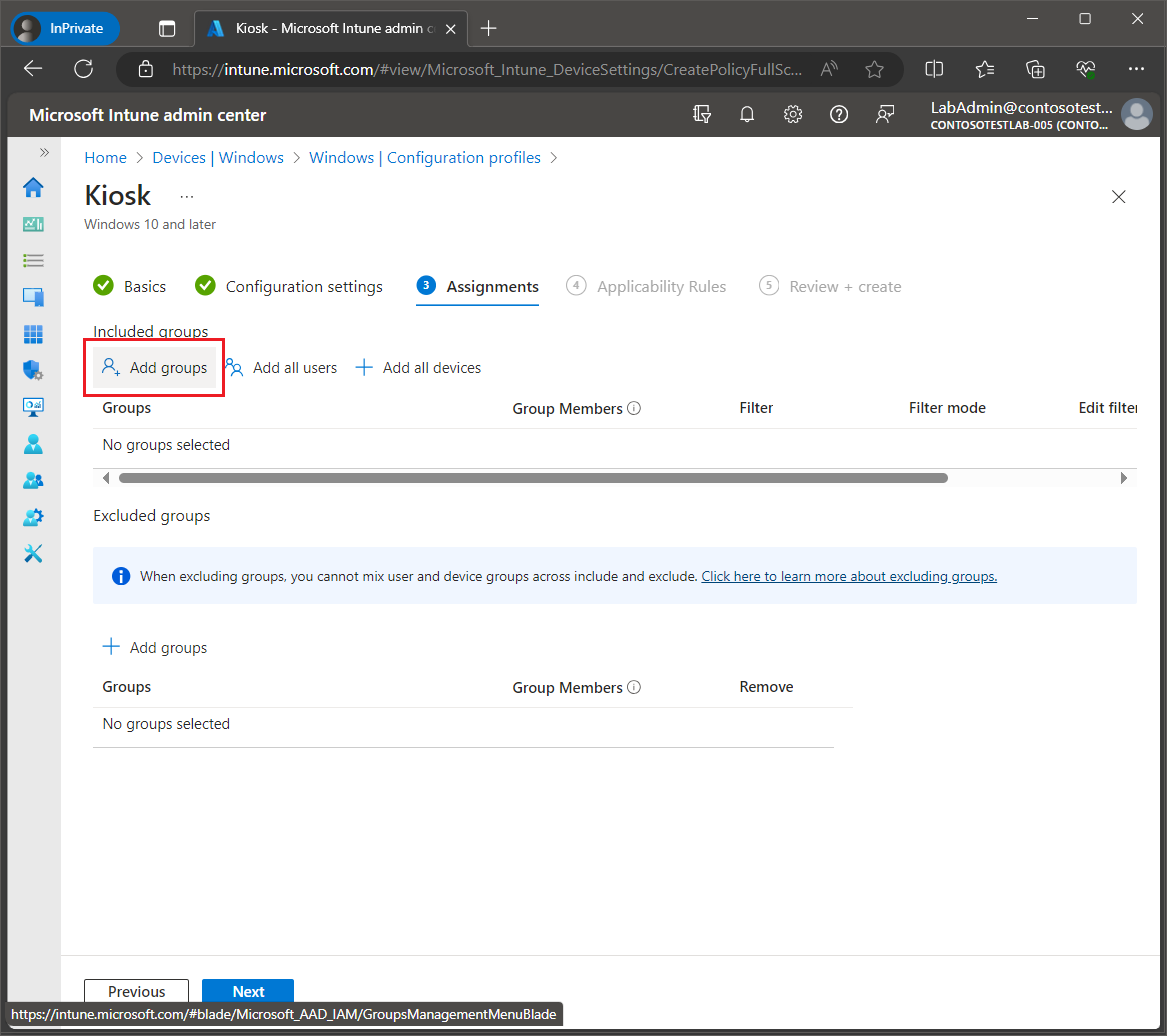
Lastly, we will need to assign the new Kiosk mode configuration profile to the device group that we had previously created. Under Included Groups, click Add groups.
Select the Kiosk Devices group that we had created earlier.
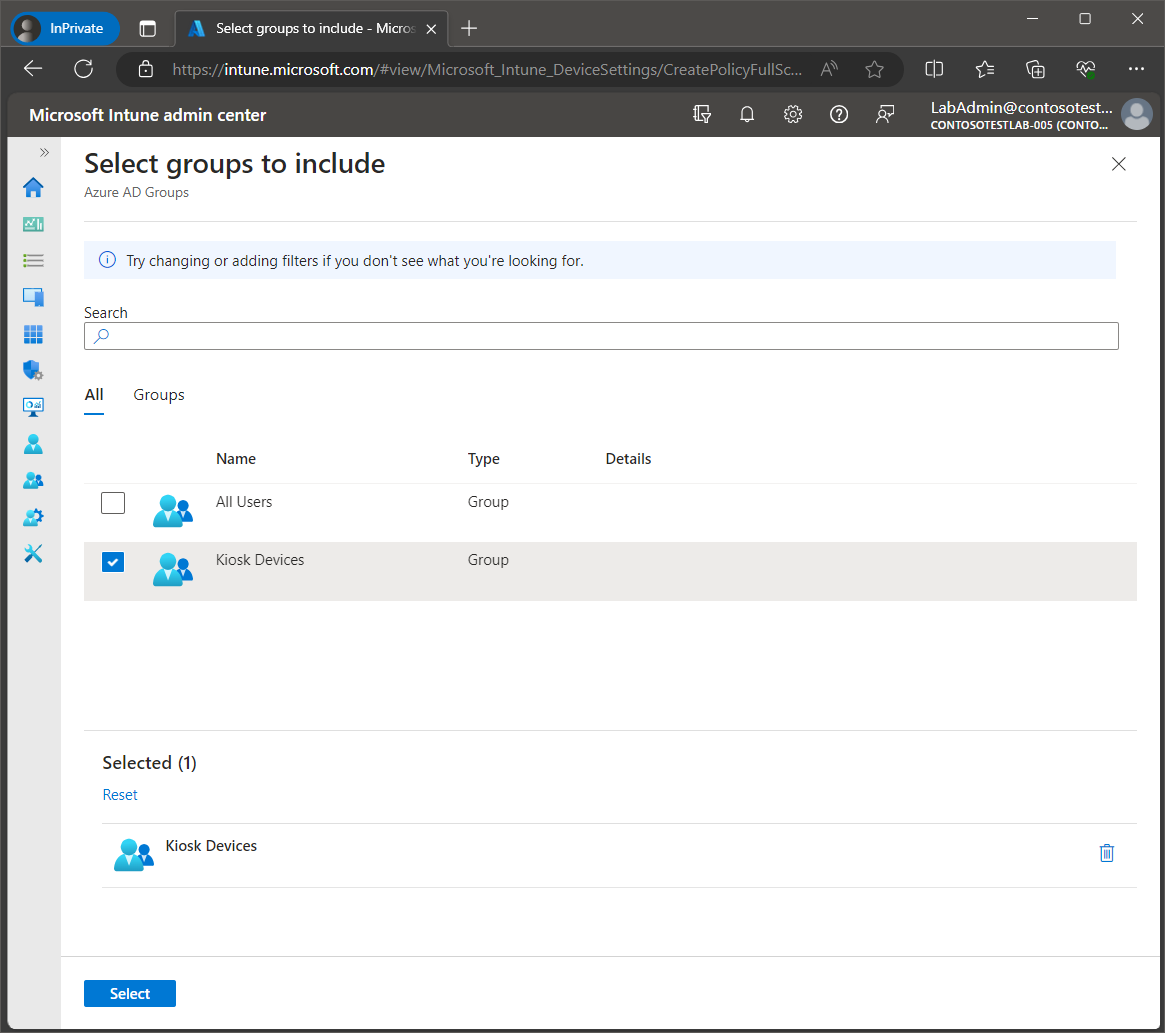
Click Next.
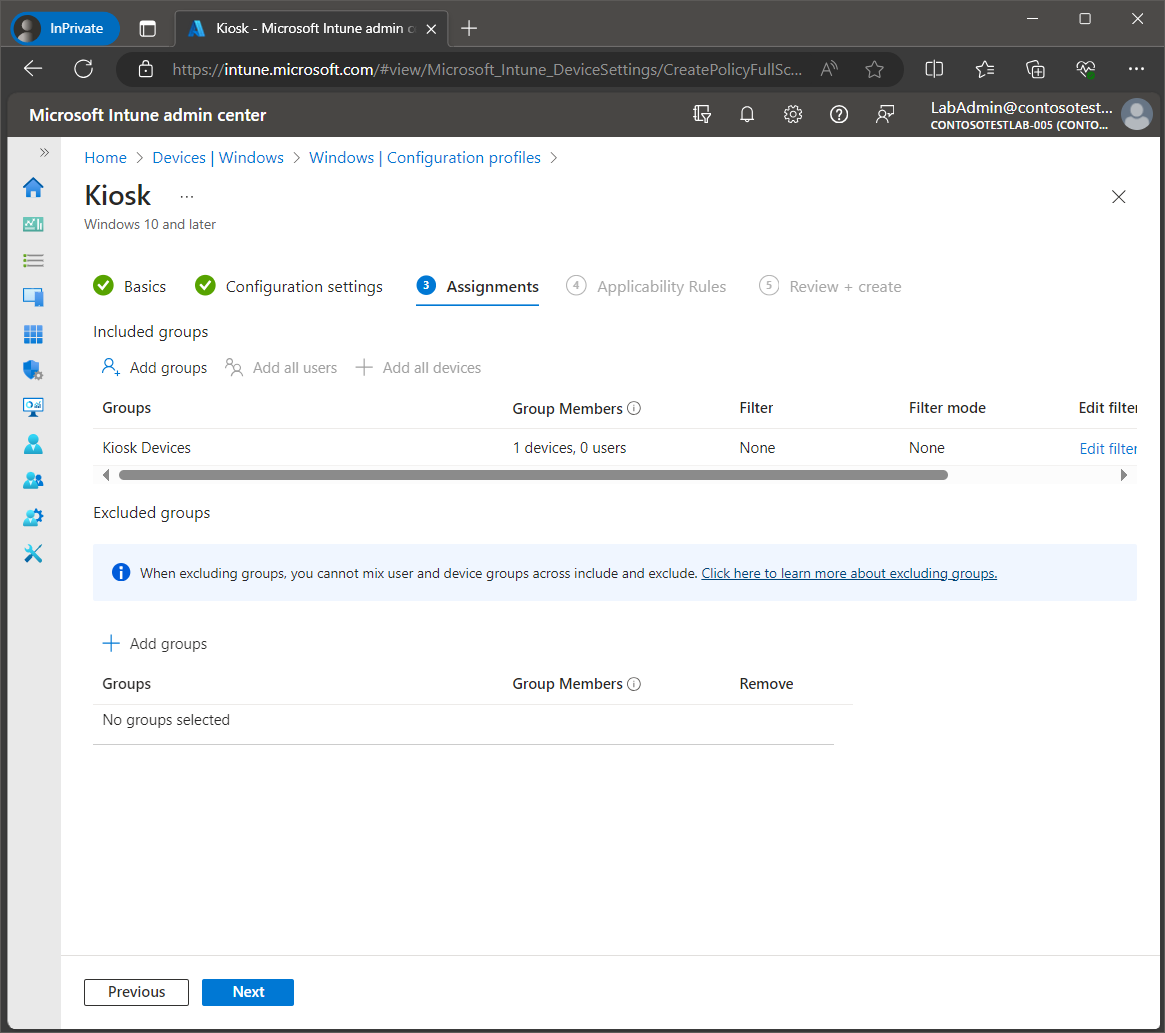
Click Create.
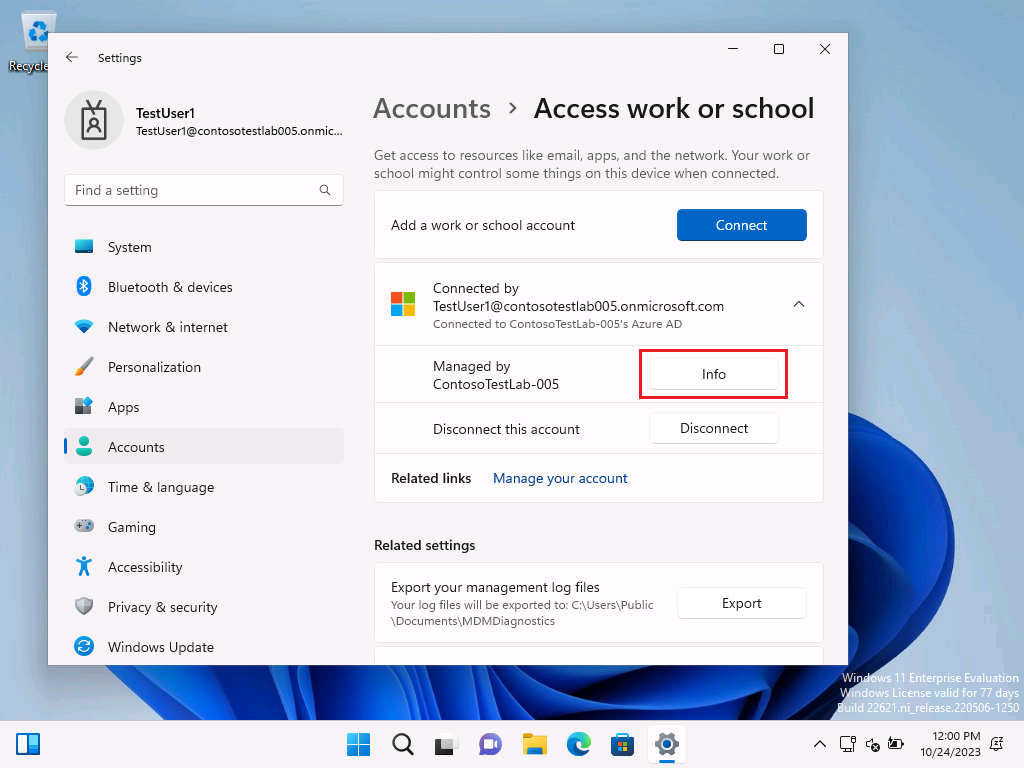
Syncing the client
On the kiosk device, under Settings, navigate to Accounts > Access work or school and then click the Info button for the Azure tenant connection.
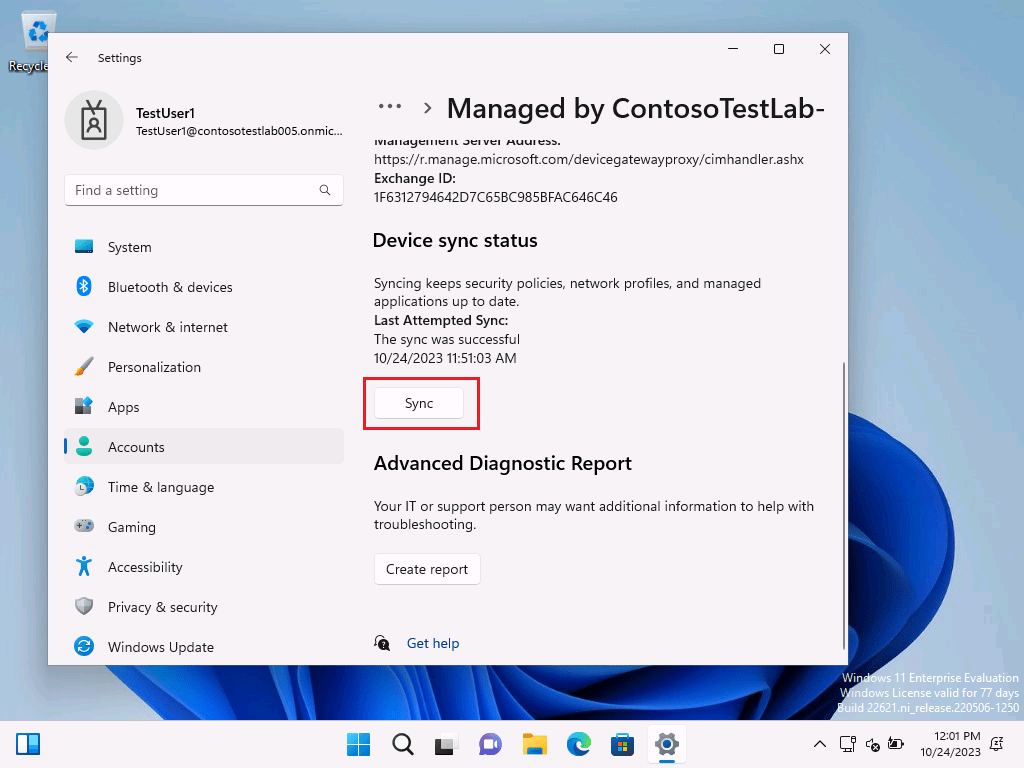
Scroll down and click the Sync button.
Restarting and testing
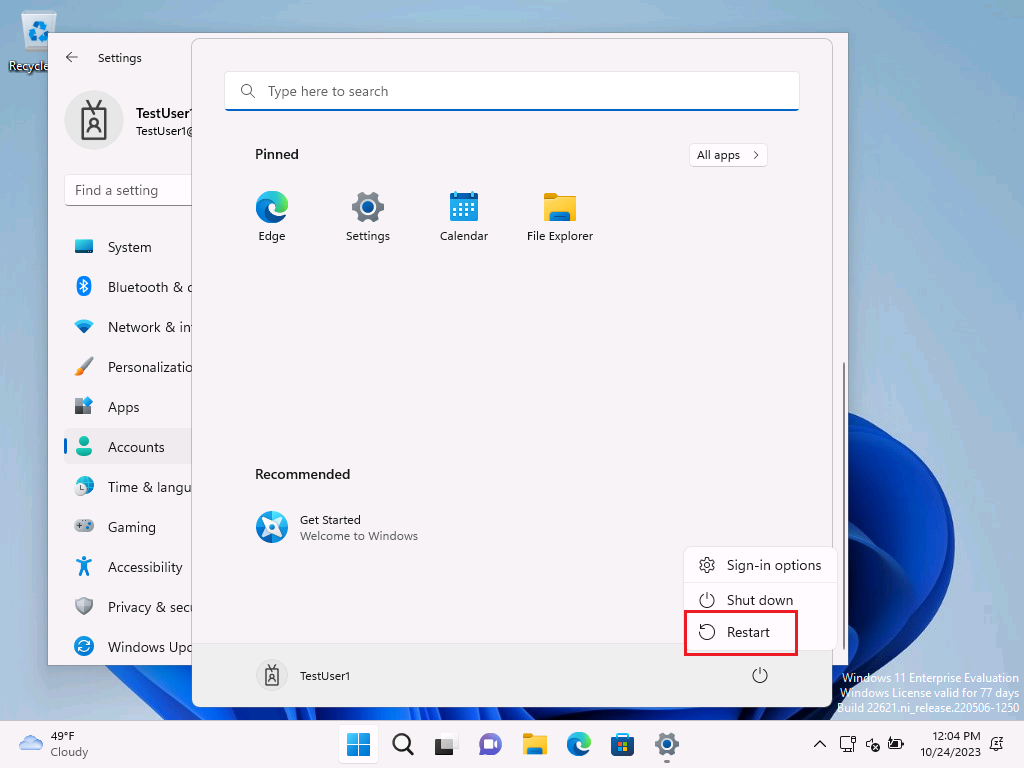
Once the sync is complete, restart the device.
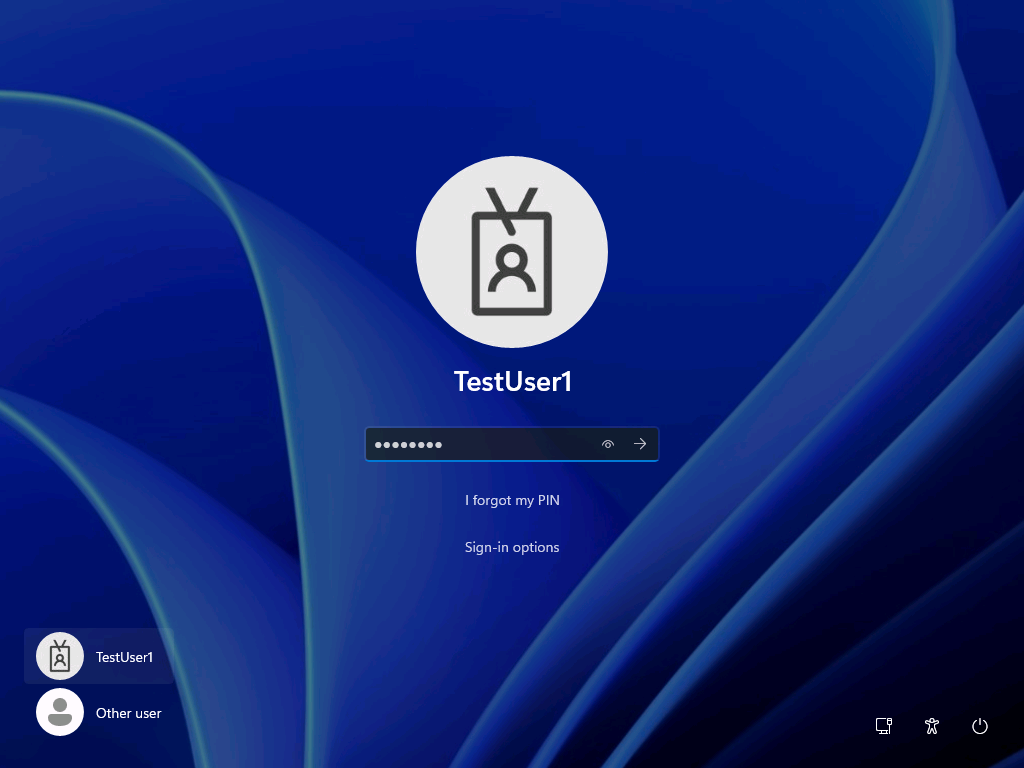
After the device has restarted, sign in with the designated user account specified in the Kiosk configuration profile.
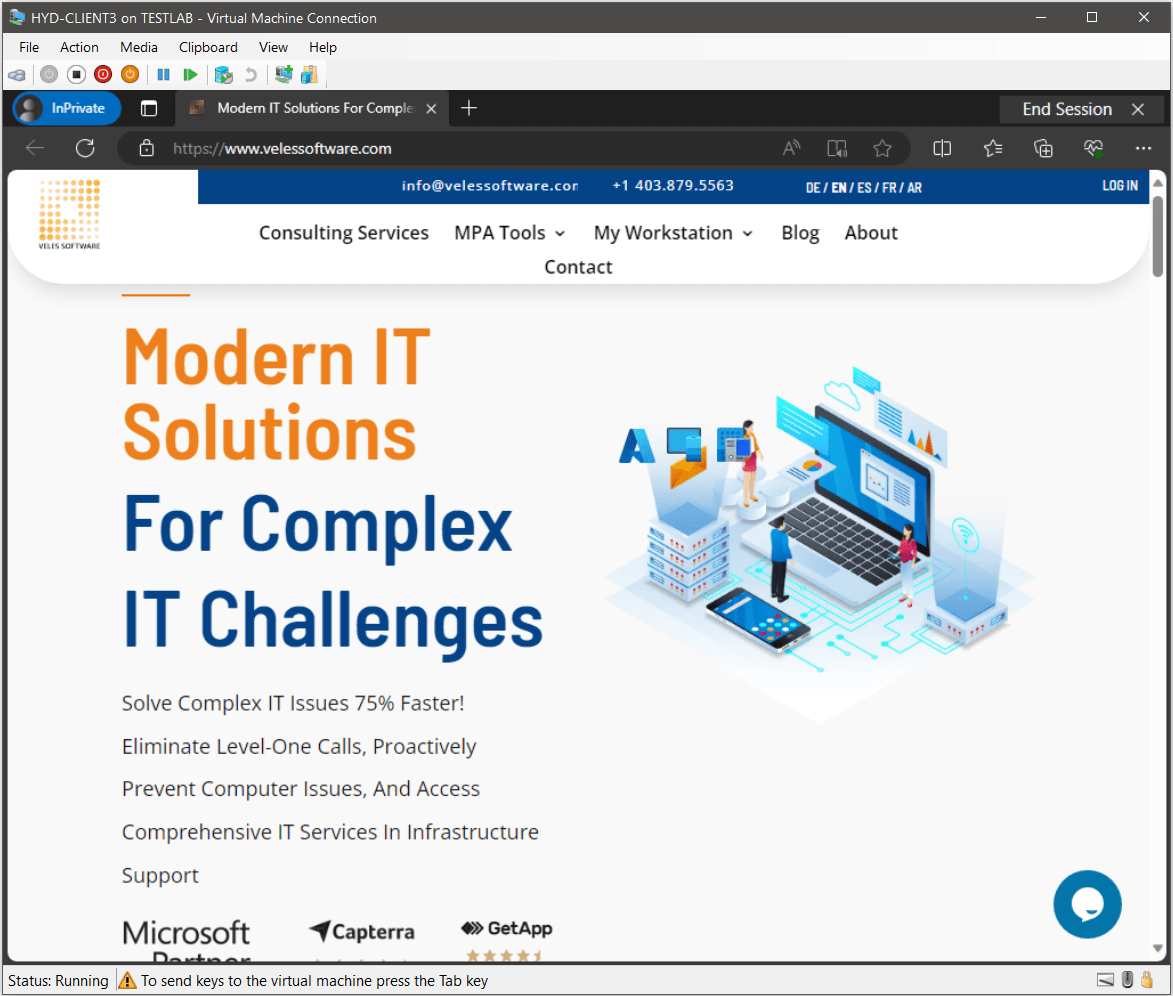
Once the Kiosk account has signed in, the Edge browser window will load in Edge kiosk mode, which provides an InPrivate browser session with the toolbar, tabs, and navigation buttons. The kiosk mode prevents access to the Start menu or anywhere else on the desktop and all keyboard shortcuts will be disabled.
In the next post, we will look at how toset up Windows Kiosk mode using the MDM Bridge WMI provider in PowerShell. This will allow us to use an AD domain user account for the Kiosk mode. It will also allow the use of desktop/Win32 applications.