
Welcome back to ourKiosk mode series focusing on setting up kiosk mode in Windows 11! In this second installment, we’ll delve into the PowerShell configuration, a powerful method to streamline the setup process. By leveraging PowerShell, users gain an efficient way to automate kiosk mode configuration and management.
If you need help designing and rolling out secure shared-device deployments,Veles IT Solutions helps organizations implement kiosk and shared workstation solutions.
Using the Set-AssignedAccess PowerShell cmdlet
Kiosk mode can be enabled in Windows 11 using the PowerShell cmdletSet-AssignedAccess. This cmdlet configures the specified user account so that it can use only one Windows Store app. The user cannot exit the app, sign out, or access any system settings.
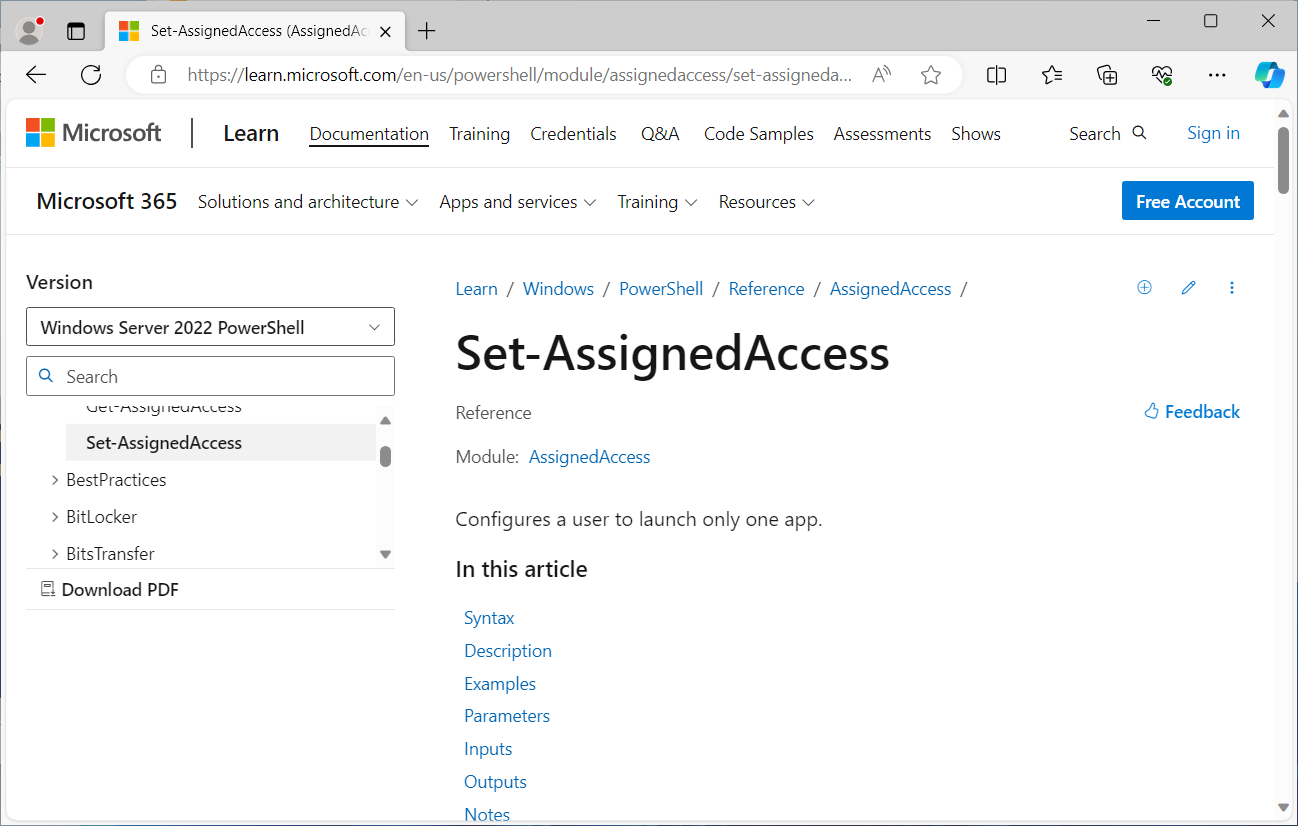
TheSet-AssignedAccess cmdlet requires the following. For more information on the cmdlet, seeSet-AssignedAccess (AssignedAccess) | Microsoft Learn
- A Windows UWP app must be provisioned or installed for the assigned access account before they can be selected as the assigned access app.
- A local standard user account that will be used for the assigned access.
Note: Apps that are generated using the Desktop App Converter (Desktop Bridge) can't be used as kiosk apps.
For enabling Kiosk mode using an AD user account with PowerShell, see our post titledSet up Kiosk mode with the MDM Bridge WMI Provider.
Using the Kiosk Browser UWP app
In the previous post, we set up the Kiosk mode to use the Edge browser. However, since the latest version of Edge, the Chromium version, is a desktop/Win32 app. Unfortunately, it cannot be used for this scenario because theSet-AssignedAccess cmdlet only supports UWP (AppX and MSIX) applications.
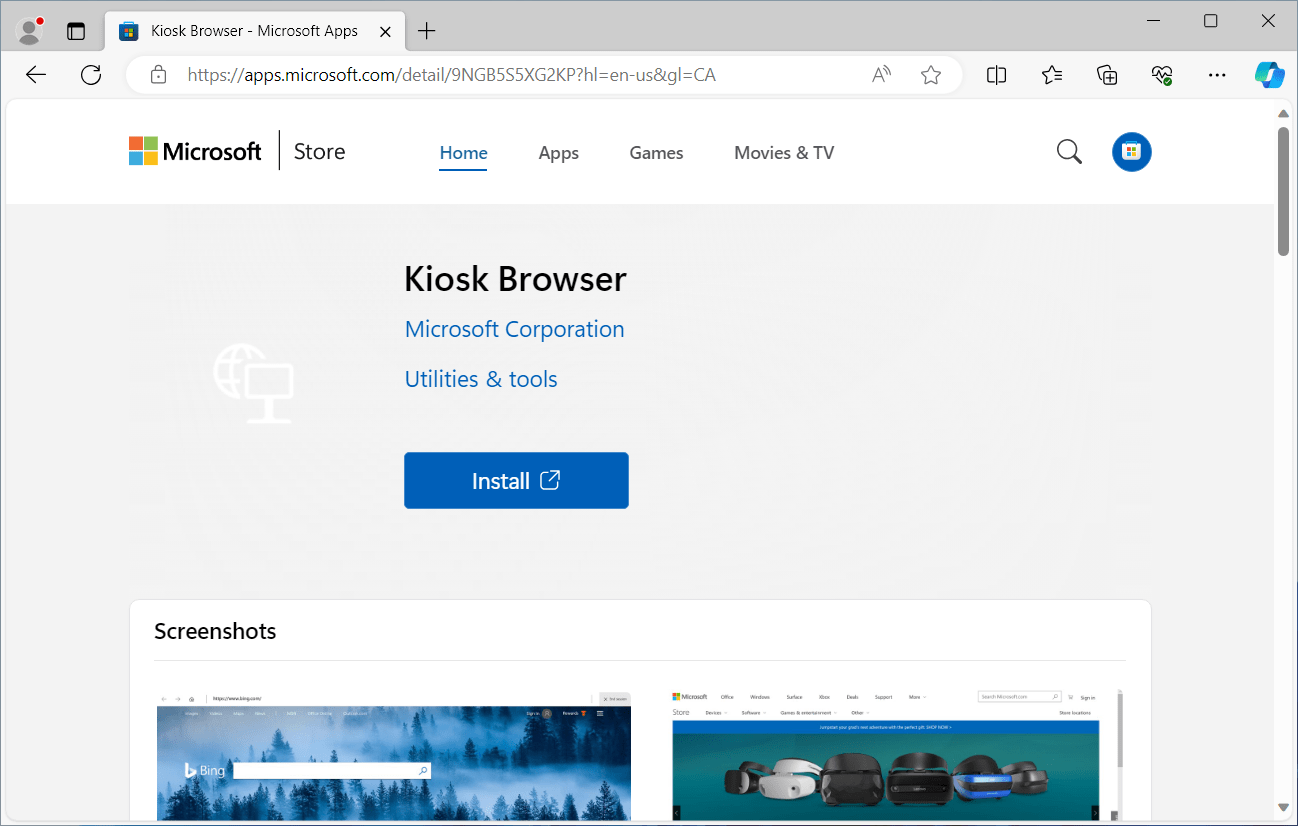
So in this example, we will be using the Kiosk Browser application that is available in the Microsoft App Store (Kiosk Browser - Microsoft Apps).
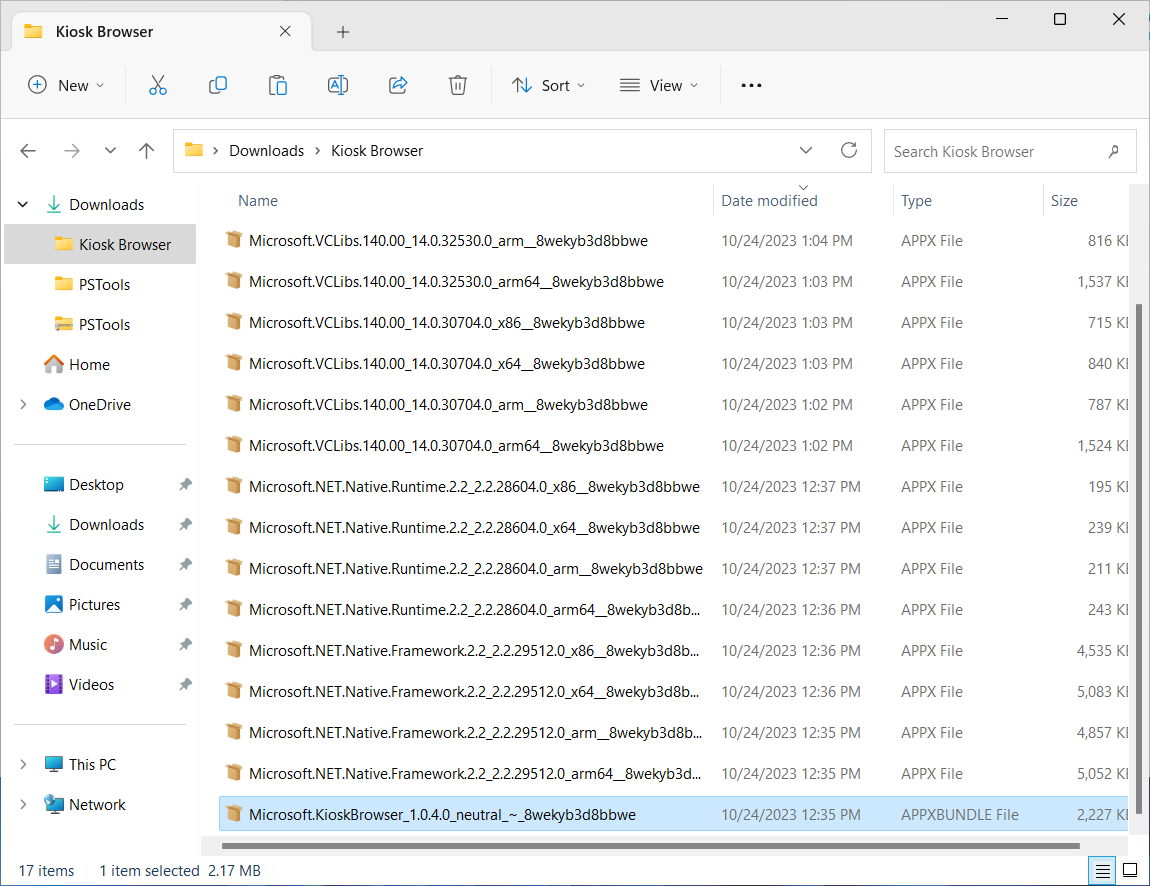
The first thing we will need to do is download the Kiosk Browser app files. One option is to install the Kiosk Browser app directly from the Microsoft App Store using the kiosk mode user account. However, using this method would mean that the assigned access account is linked to a Microsoft account. Also, the app will install in the user profile and will not be installable for other accounts on the device.
In this example, we have downloaded the app files using the Microsoft Office 365 Admin portal so that we can provision the app for all users on the device. This is particularly helpful if the Kiosk device is a shared device and will be used by more that one logon account.
Adding Kiosk Browser as a provisioned app
Adding an app package (.appx/.appxbundle) as a provisioned app means that the app will automatically install for each new user that signs in to Windows. The app can be provisioned by doing the following.
Open PowerShell or PowerShell ISE as an administrator.
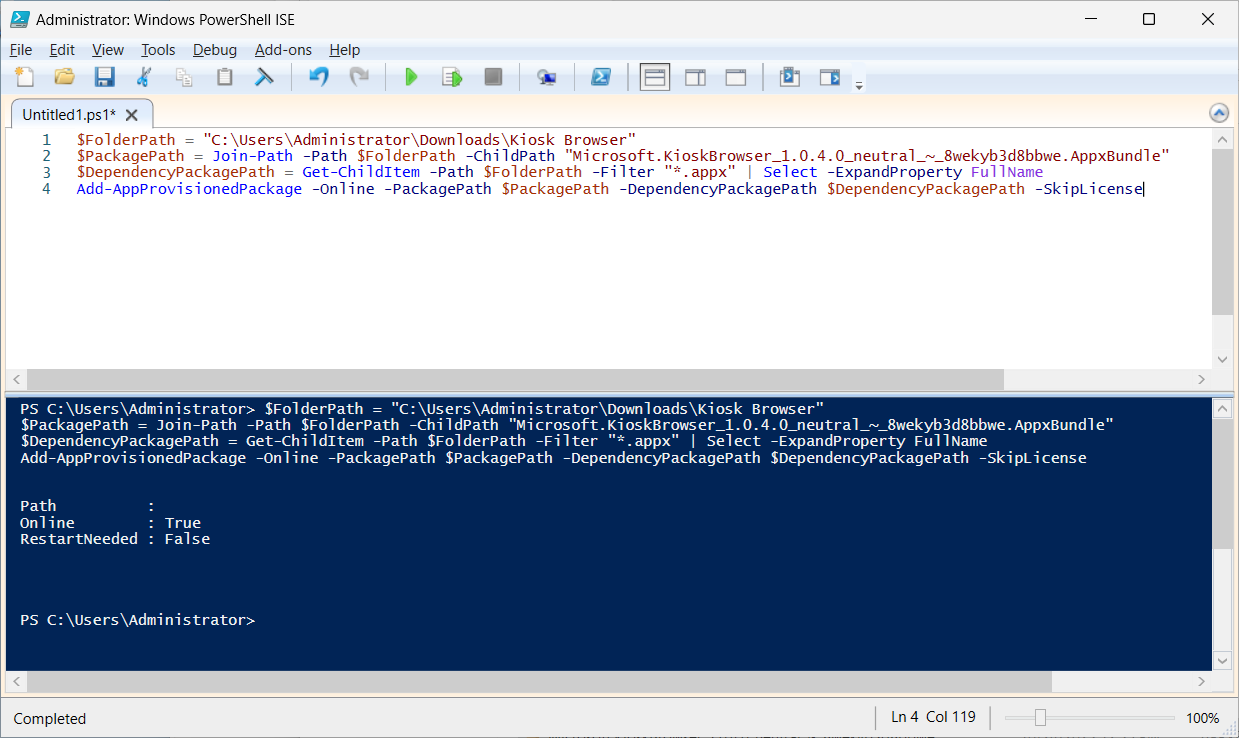
The following PowerShell script snippet will provision the Kiosk Browser app on the device. Once the app is provisioned, the Kiosk Browser app will automatically be installed for all user accounts on the device (as well as any new user accounts that sign into the device - much like any of the built-in apps like Calculator, Paint 3D, etc.)
Creating an assigned access account
Next, we will need to create the local assigned access account (if not already done). The following PowerShell script snippet will create a local standard user account called “Kiosk"

Getting the AUMID for the Kiosk Browser app
Next, we will need the Application User Model ID (AUMID) for the Kiosk Browser app. The following PowerShell script snippet will get all the AUMIDs on the device and with filtering, it will return the AUMID specifically for the Kiosk Browser app. For more information regarding AUMID, seeFind the Application User Model ID of an installed app - Configure Windows | Microsoft Learn

Executing the Set-AssignedAccess cmdlet
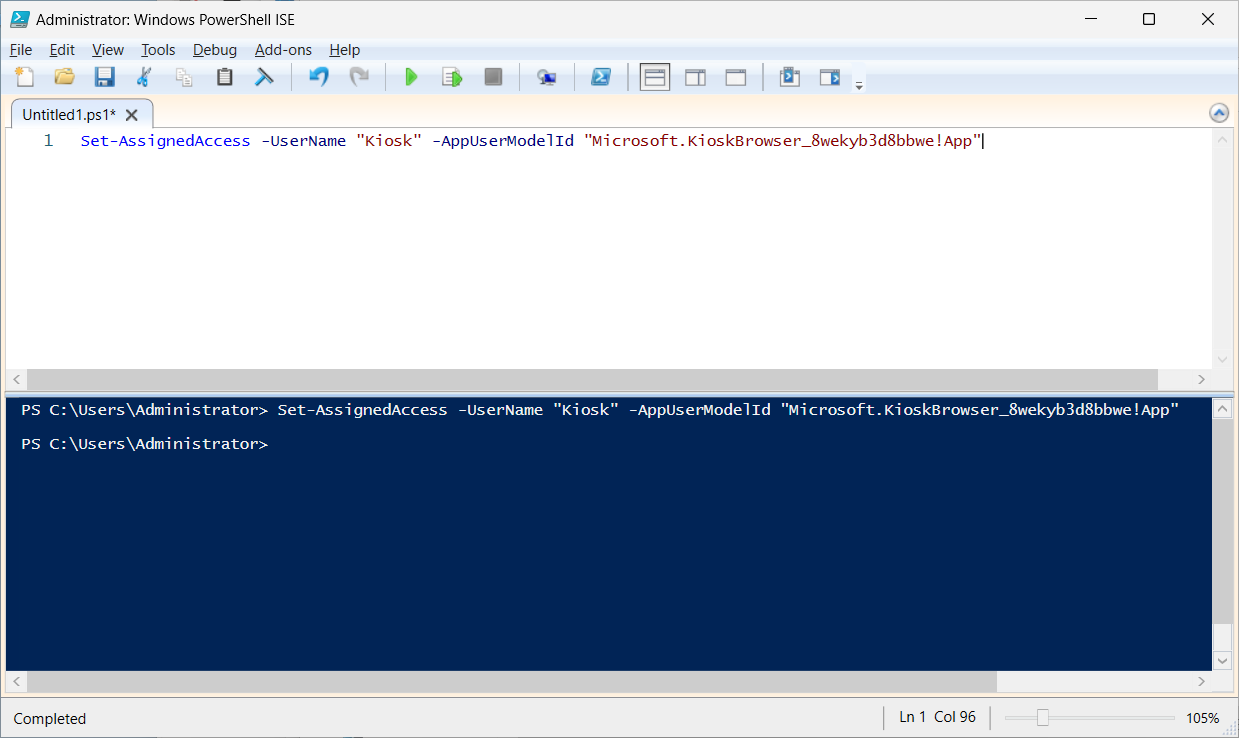
Now we can execute theSet-AssignedAccess cmdlet using the assigned access account name and AUMID for the Kiosk Browser app.
Restarting and testing
Next, we will need to restart the device.

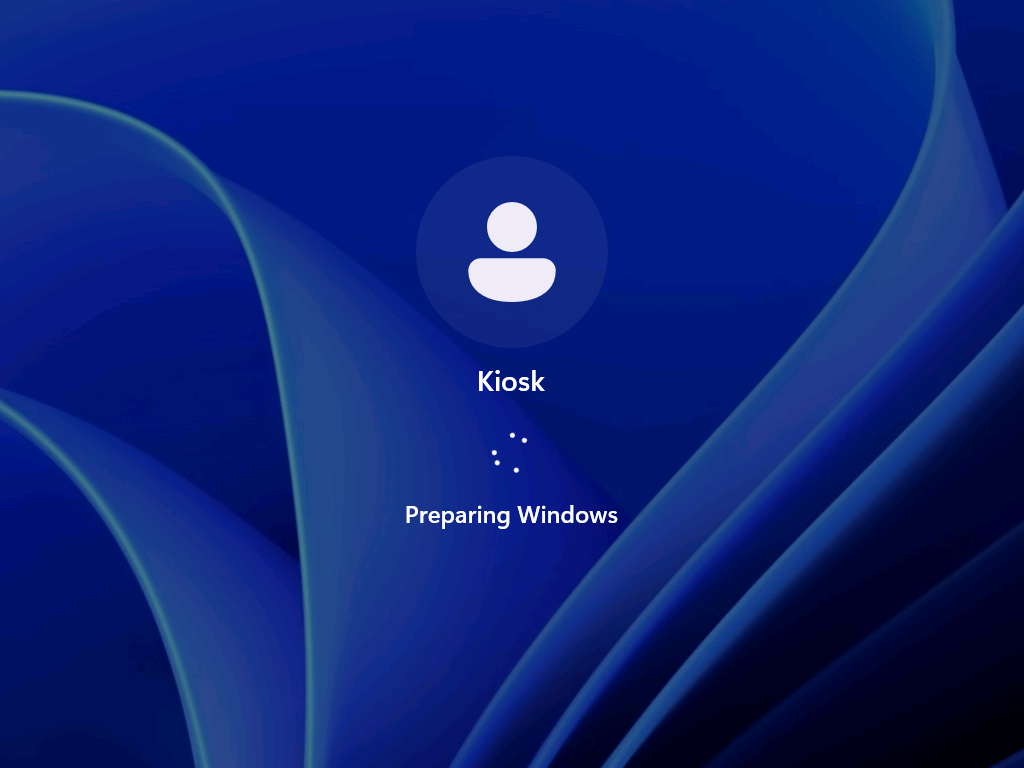
After the device has restarted, we will need to sign in with the new Kiosk account, specifying the local account with “.\Kiosk" and entering the password.
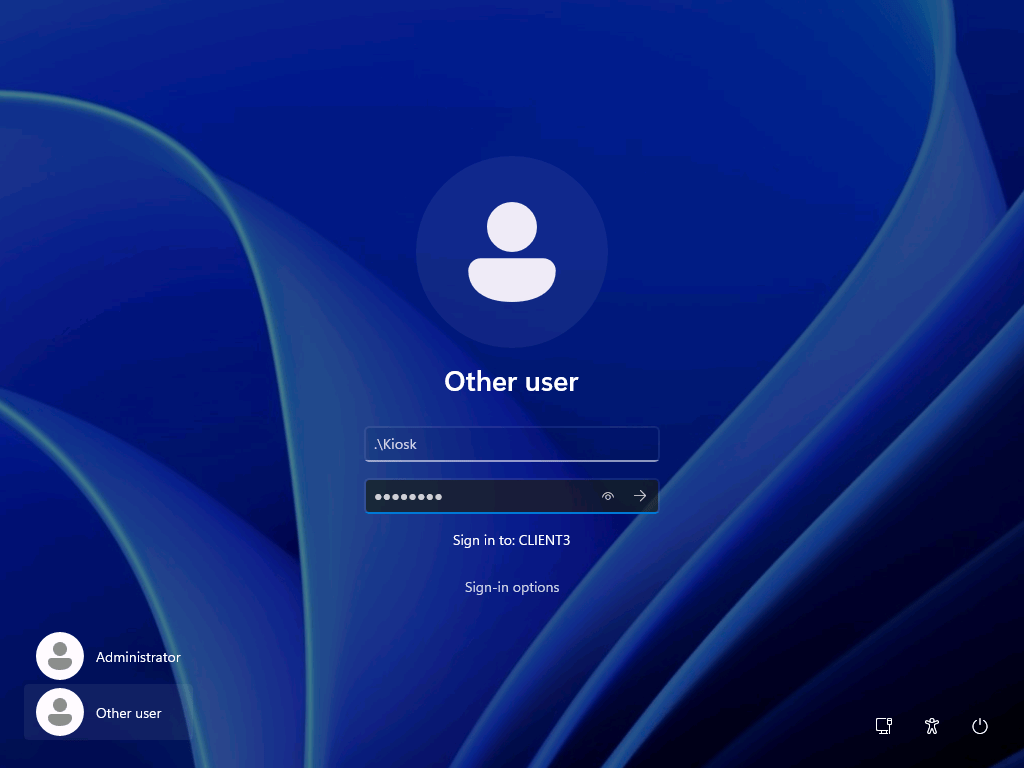
Since it is a new account, the profile will be created at first logon.
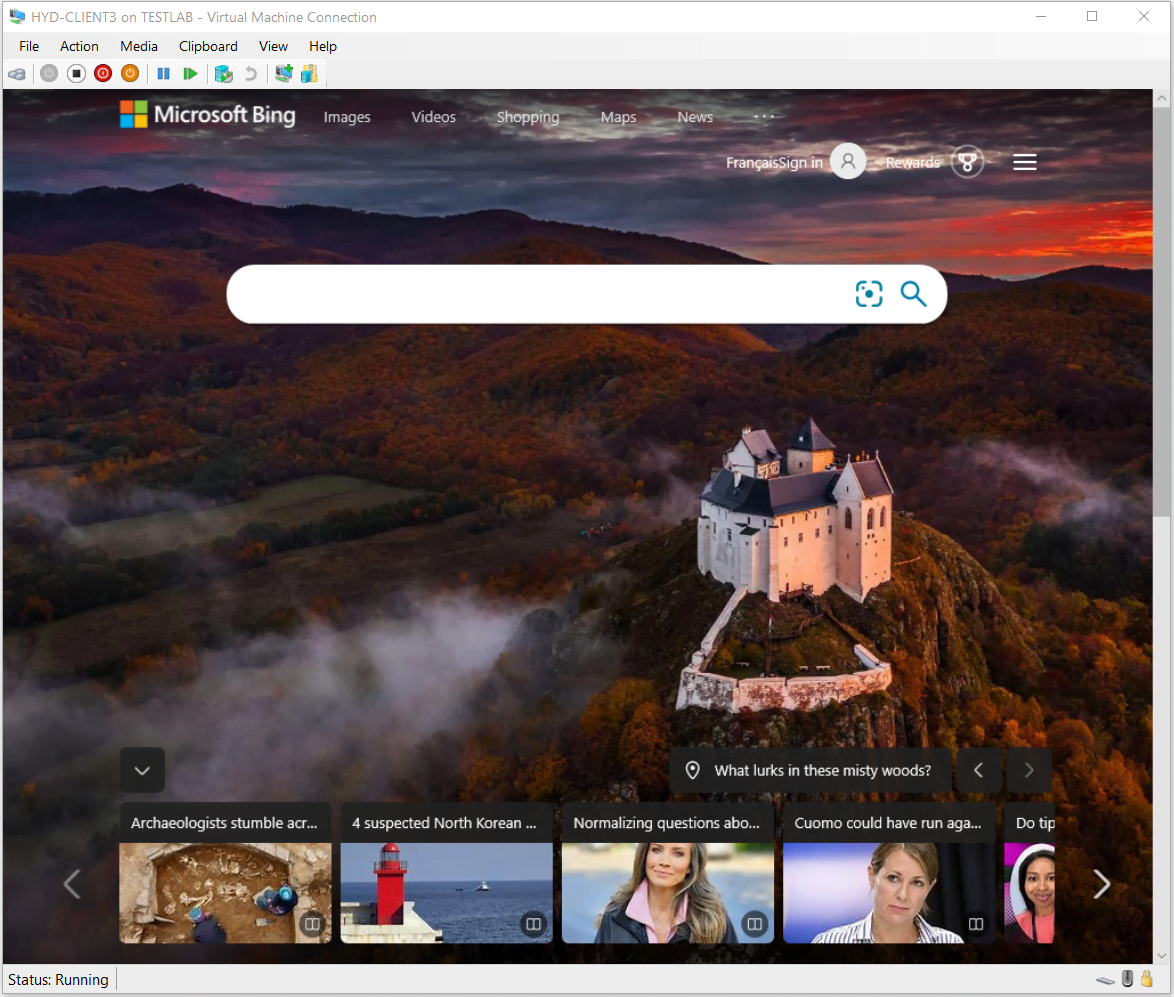
Once the Kiosk account has signed in, the Kiosk Browser window will appear in full screen. The kiosk mode prevents access to the Start menu or anywhere else on the desktop and all keyboard shortcuts will be disabled.
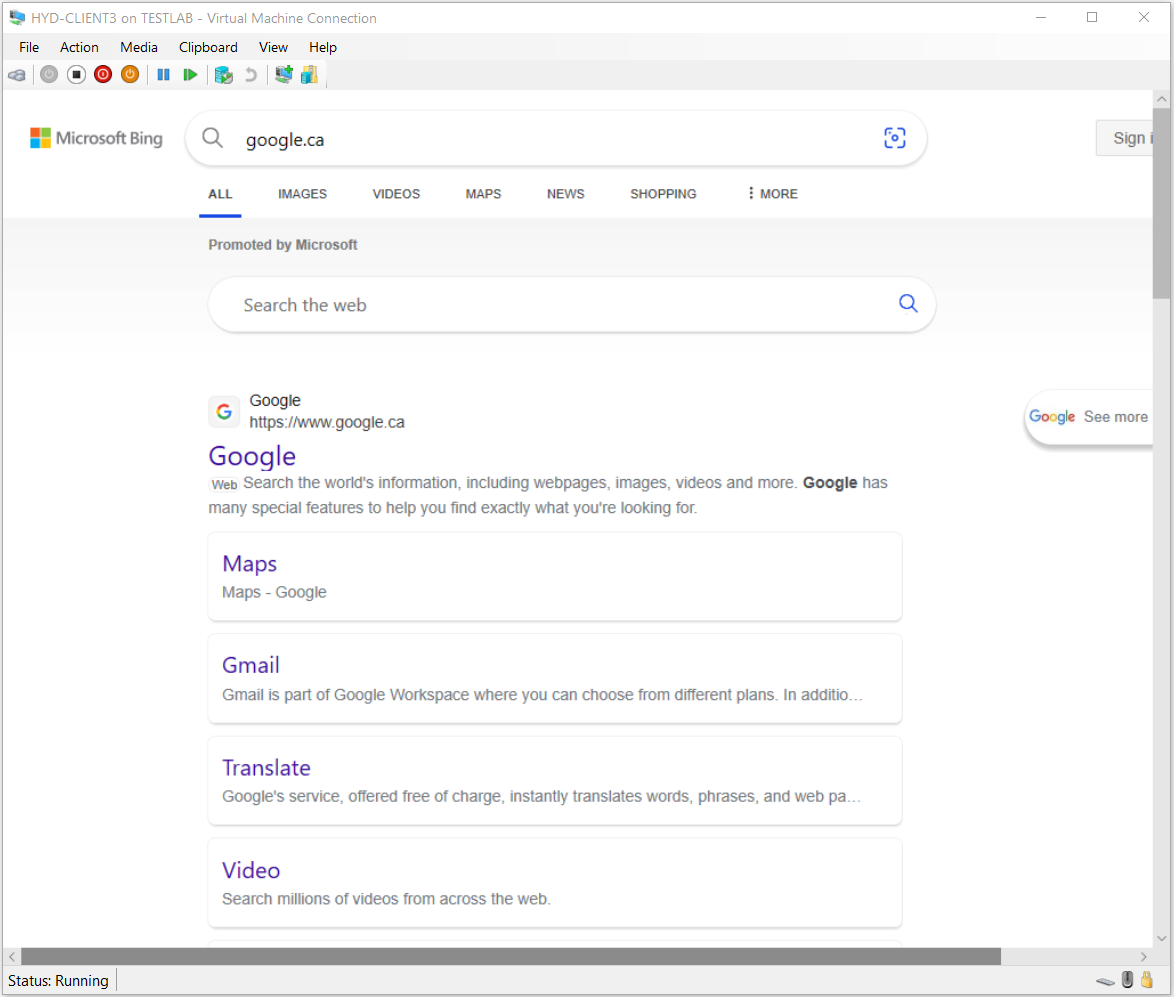
The Kiosk Browser app interface is restricted further with no toolbars or navigation buttons, or keyboard shortcuts. This may be more suitable for public browsing or product demo kiosk devices.
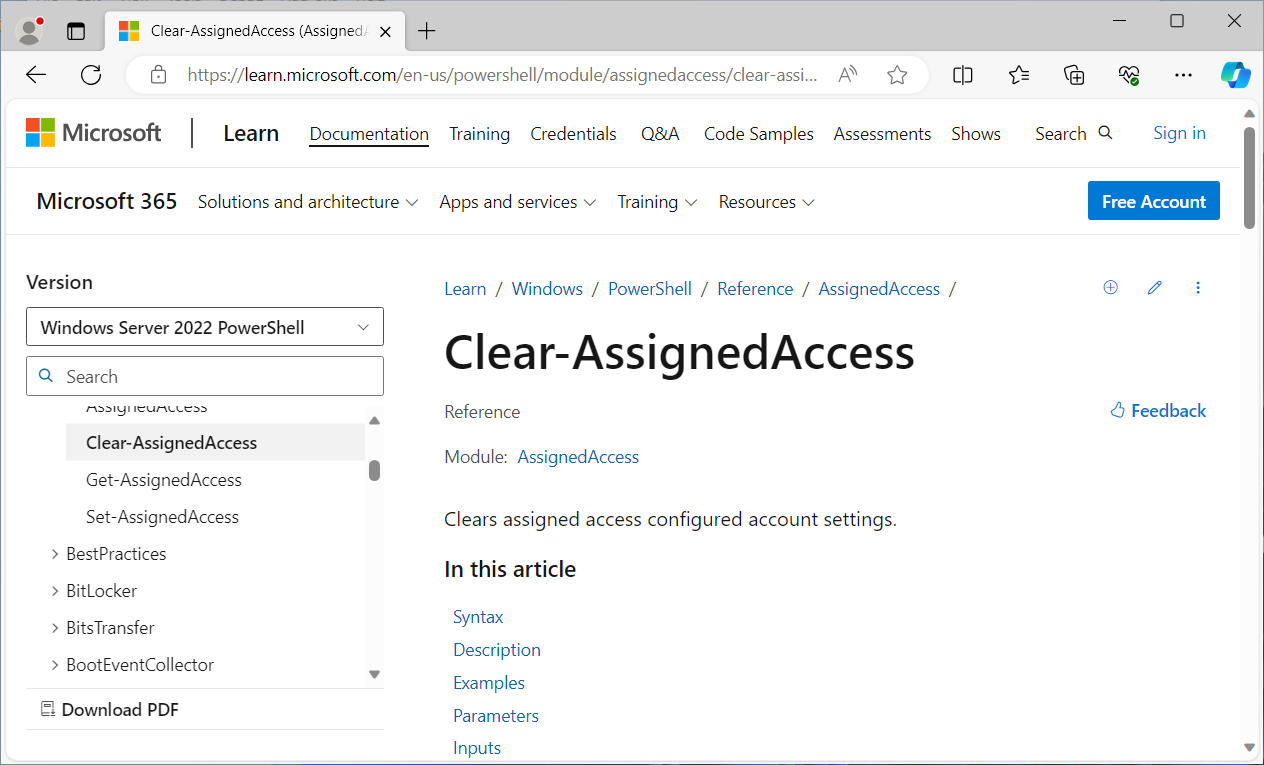
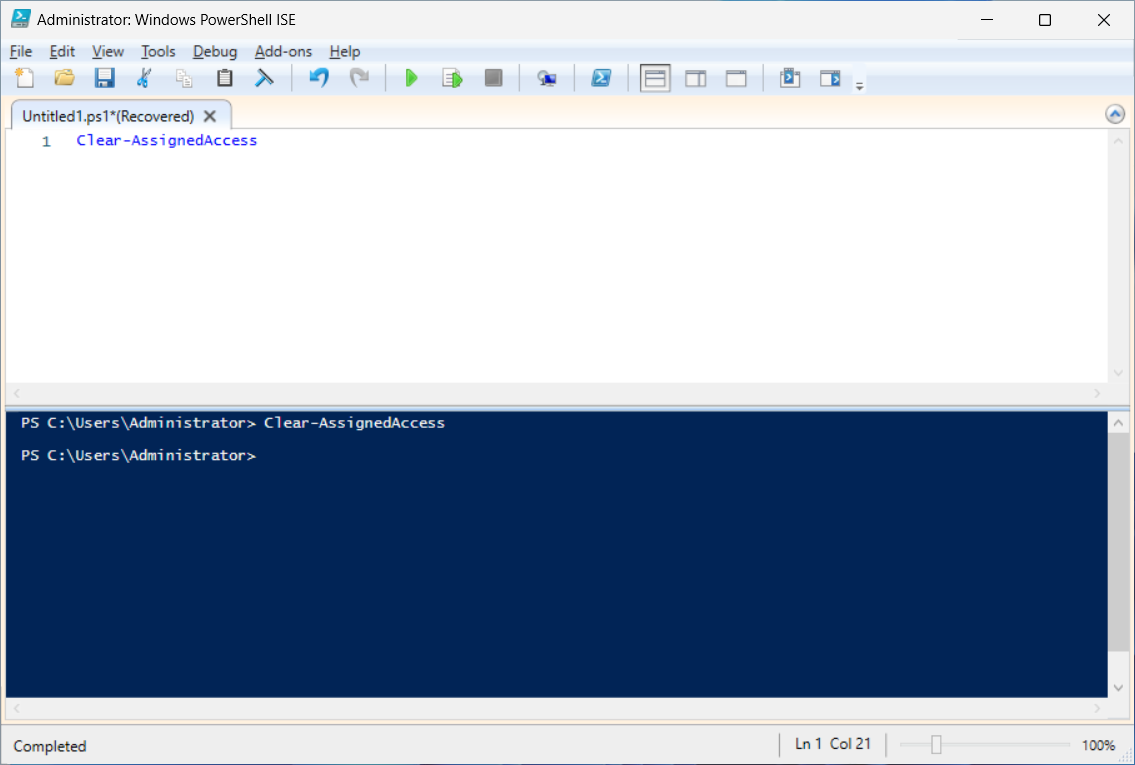
Using the Clear-AssignedAccess PowerShell cmdlet
Lastly, to deactivate the Kiosk mode, theClear-AssignedAccess PowerShell cmdlet can be used (as shown below). For more information, seeClear-AssignedAccess (AssignedAccess) | Microsoft Learn.
Next in the series, we will look at how toset up Windows Kiosk mode with Intune.
