Welcome back to our extendedKiosk mode series on configuring kiosk mode in Windows 11! In this post, we'll explore a hybrid approach using PowerShell in conjunction with the MDM Bridge. This combined method provides a robust solution for setting up and managing kiosk mode usingthe MDM Bridge WMI Provider to configure theMDM_AssignedAccess class. Unlike the previously discussedSet-AssignedAccess cmdlet, this method allows the following:
If you need help designing and rolling out secure shared-device deployments,Veles IT Solutions helps organizations implement kiosk and shared workstation solutions.
- The assigned access user account can be an AD user account.
- The assigned app for the Kiosk mode can be a desktop/Win32 application.
- Arguments/parameters can be specified for the desktop/Win32 application.
For more information about using the MDM Bridge WMI provider in PowerShell to configure Assigned Access, seeUse MDM Bridge WMI Provider to create a Windows 10/11 kiosk (Windows 10/11) | Microsoft Learn.
Important: For kiosks in public-facing environments with Autologon enabled, Microsoft's recommendation is to use a user account with the least privileges, such as a local standard user account. Using a domain user or service accounts has risks and might allow an attacker to gain access to domain resources that are accessible to any domain account. When using domain accounts with assigned access, proceed with caution. Consider deploying policies and controls that restrict the domain user account access in order to protect domain resources.
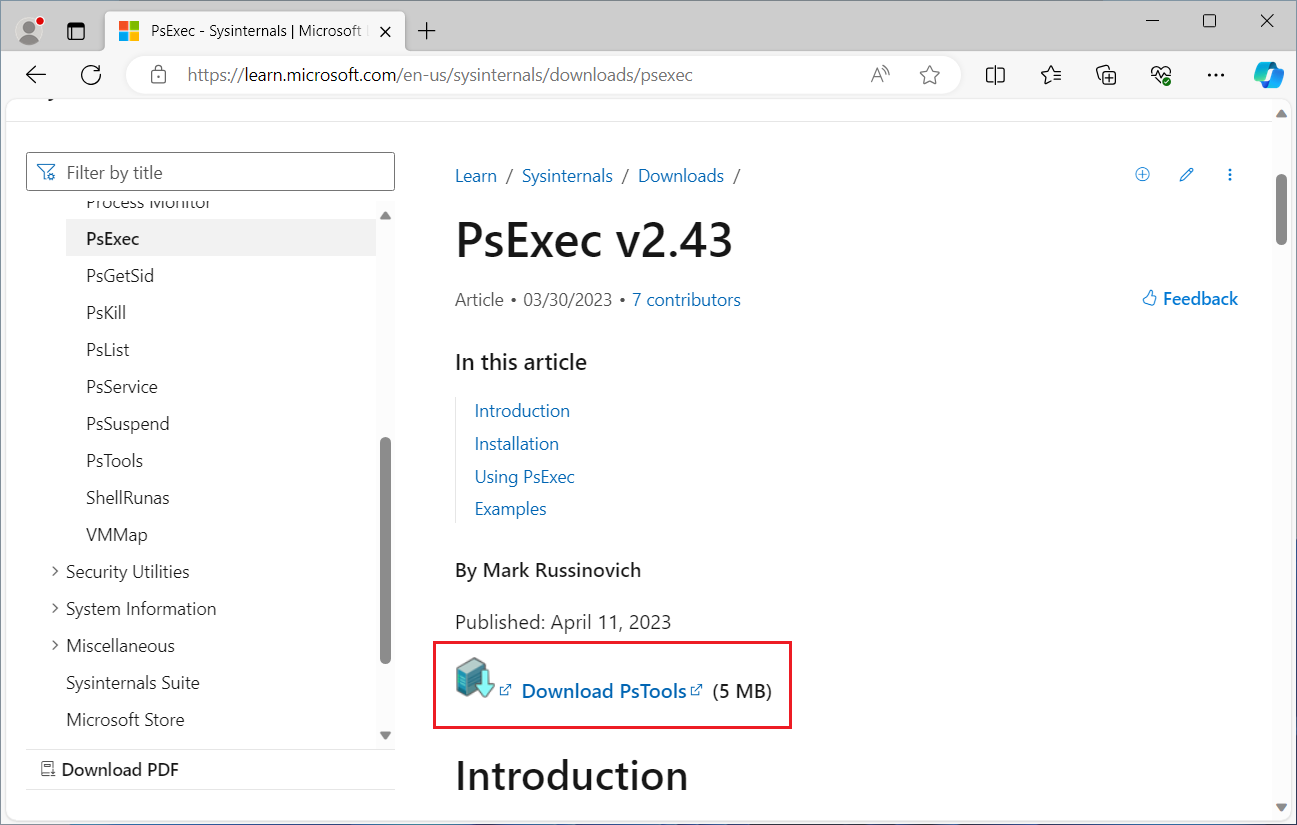
Downloading PsExec
TheMDM_AssignedAccess class requires that the PowerShell script must be executed in System context. So first, we will need to download the PsExec tool, which is part of the PsTools bundle by Sysinternals. This can be downloaded from here:PsExec - Sysinternals | Microsoft Learn
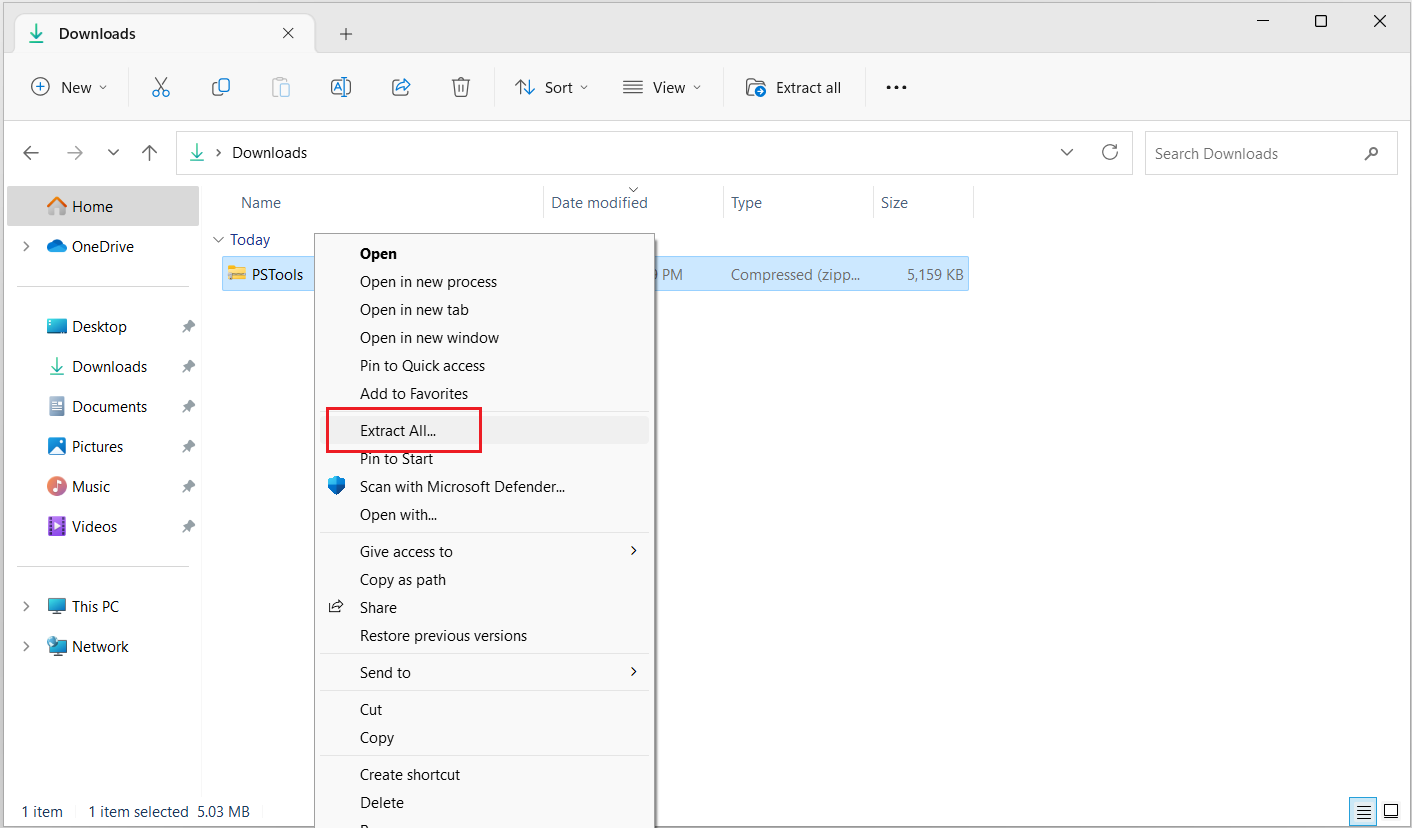
Next, we will need to extract the downloaded PSTools.zip file.
Executing the PowerShell script
Next, we run the following command to launch a CMD window in system context:
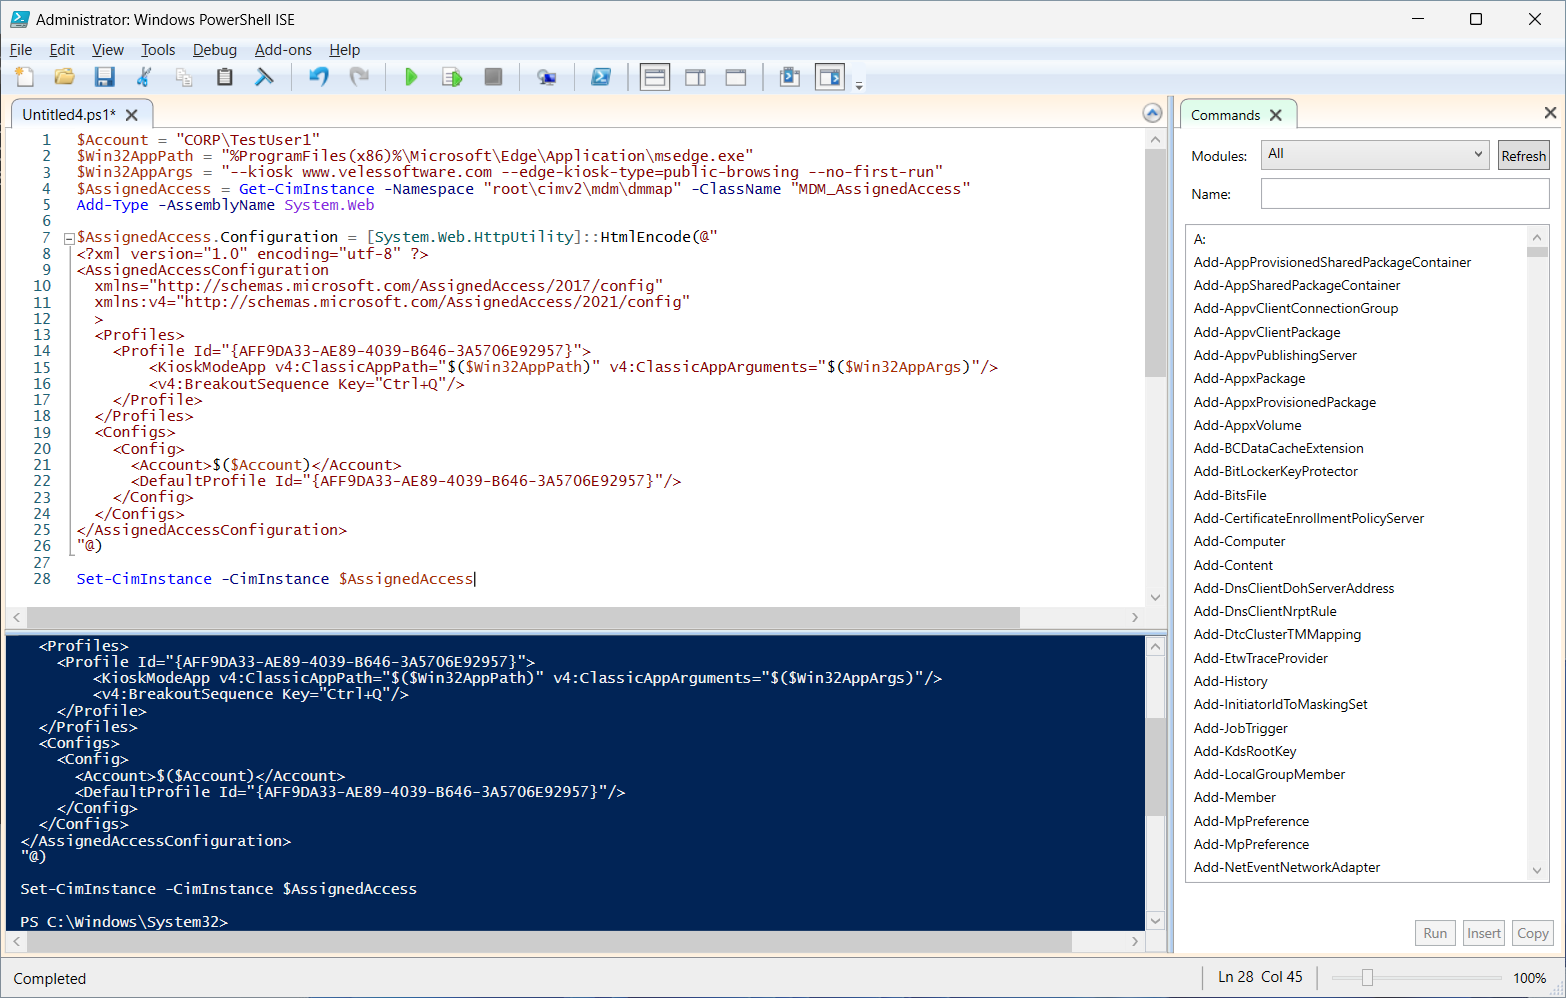
From here, we can launch PowerShell or PowerShell ISE from the CMD window. The following PowerShell script snippet will enable Kiosk mode with an AD user account using the MDM Bridge WMI Provider. The script also allows us to specify the desktop/Win32 app executable and the app arguments, and in this example, we are specifying Microsoft Edge with the Kiosk mode parameters. For more information of the Edge Kiosk mode parameters, seeConfigure Microsoft Edge kiosk mode | Microsoft Learn.
This script uses the assigned access configuration XML for the MDM_AssignedAccess WMI class and in this example, we are using the Microsoft Edge Kiosk XML. For a reference of the various assigned access XML configurations, seeAssigned Access configuration kiosk XML reference (Windows 10/11) | Microsoft Learn.
Restarting and testing
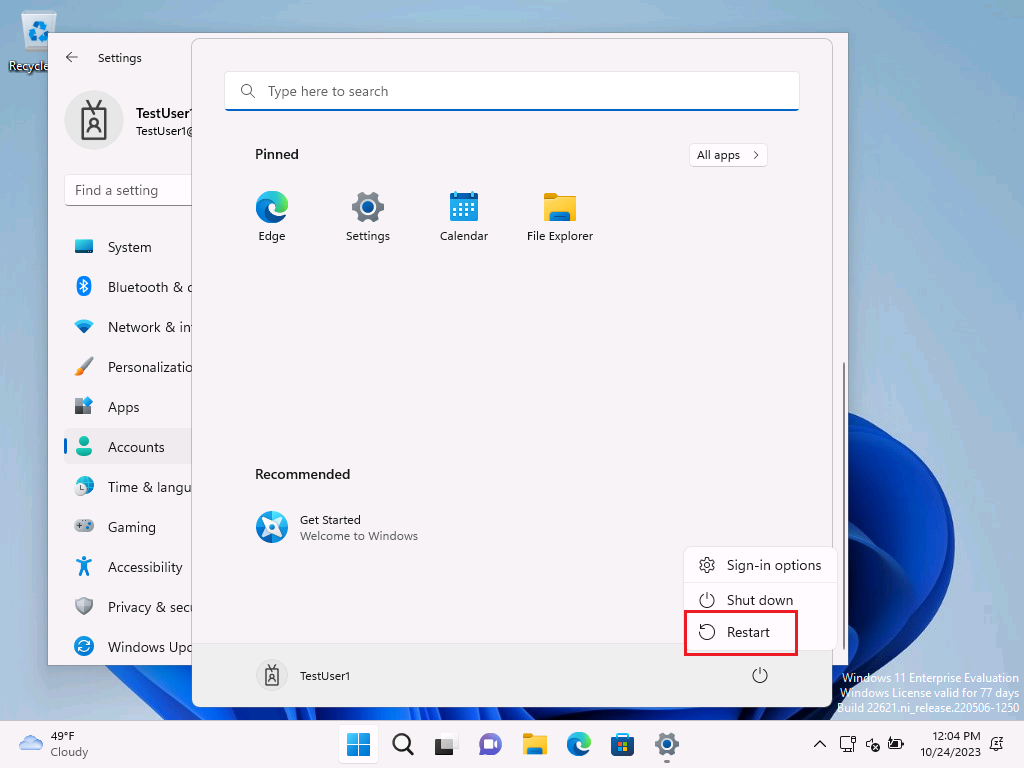
Once the PowerShell script has been executed, restart the device.
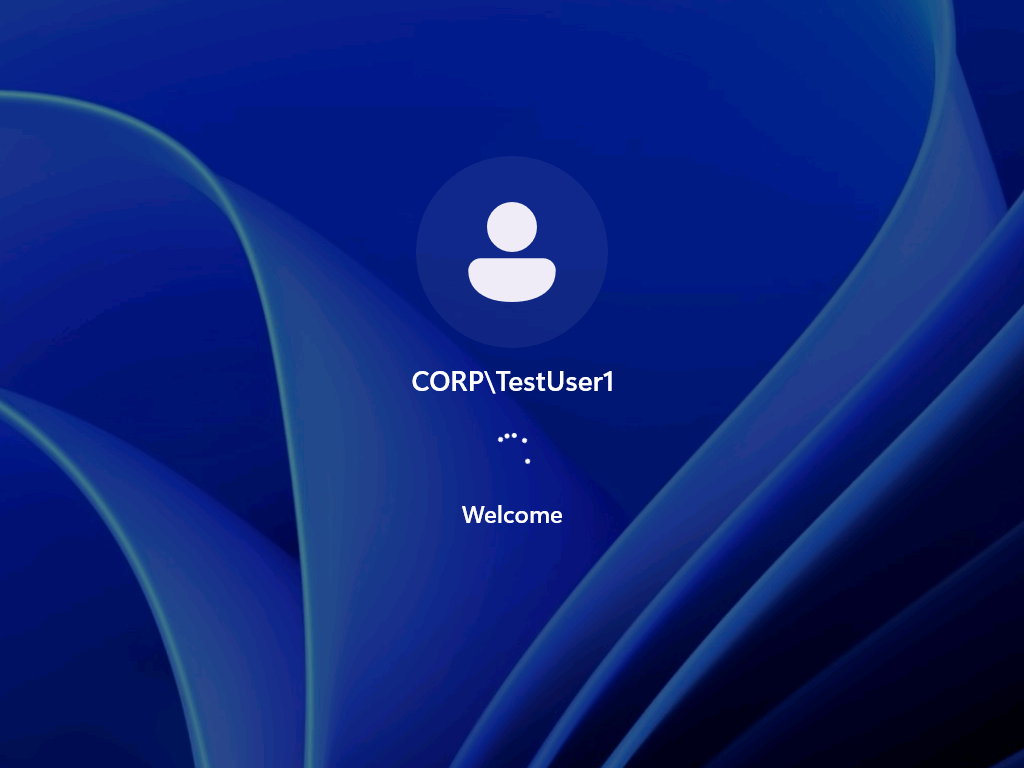
After the device has restarted, sign in with the designated AD user account specified in the PowerShell script.
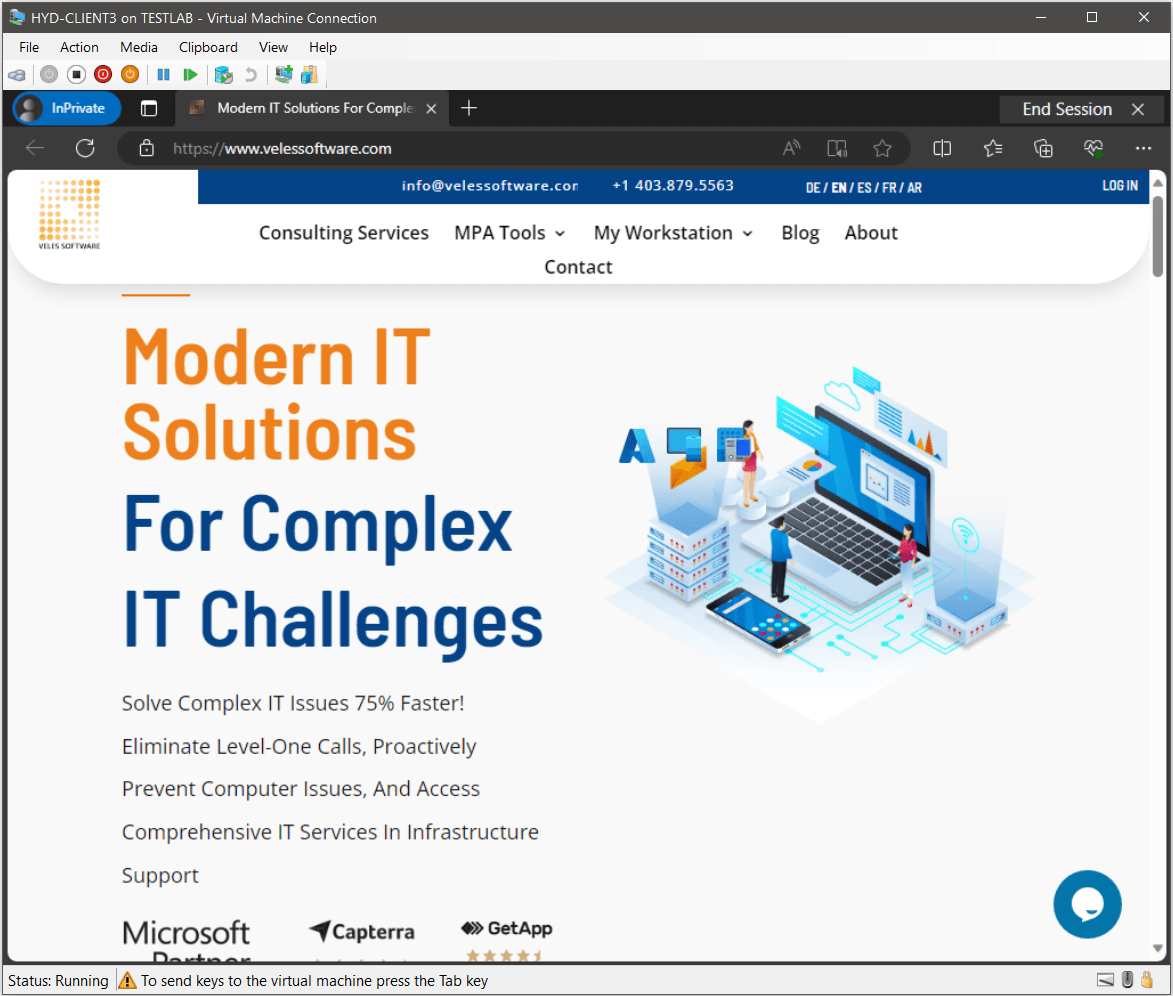
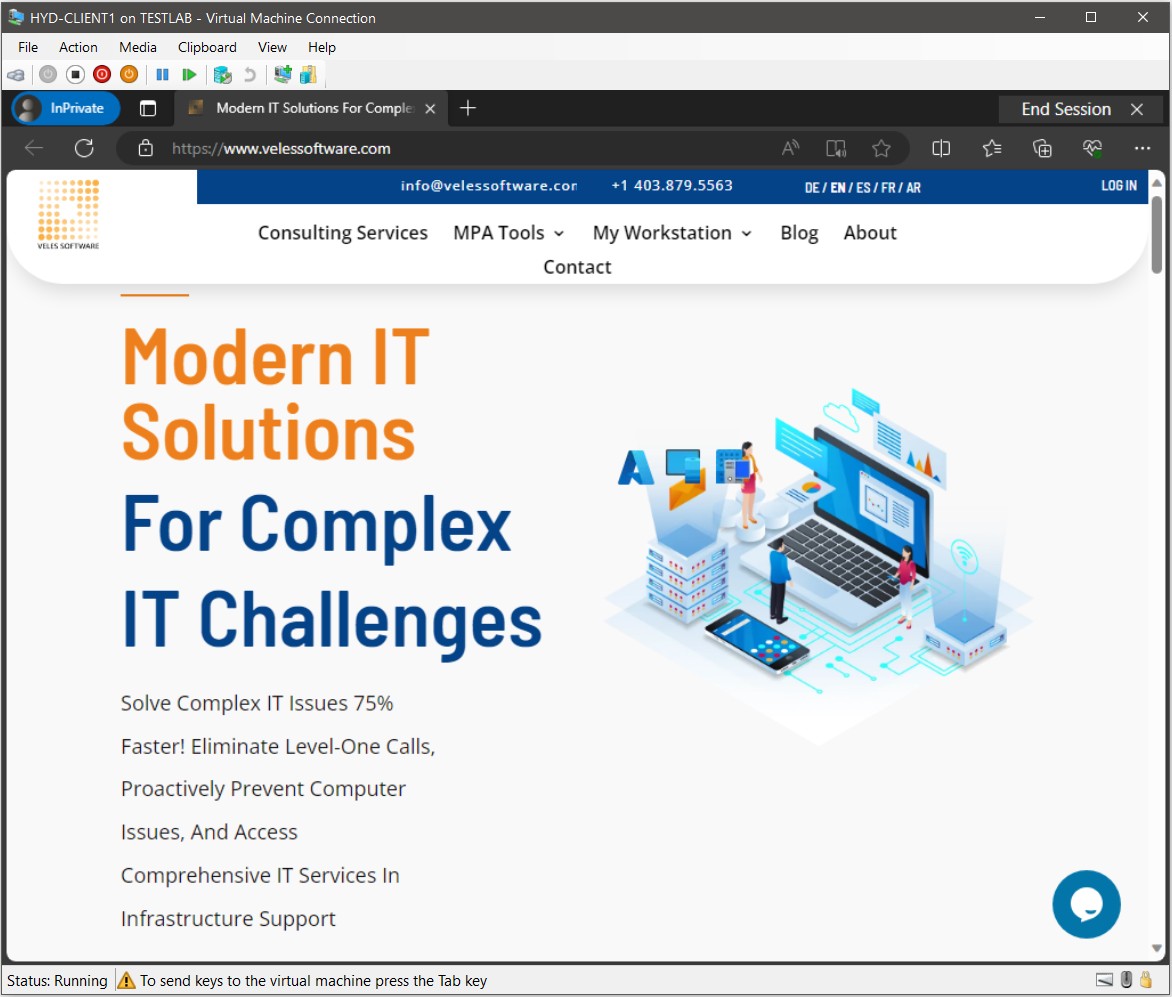
Once the Kiosk account has signed in, the Edge browser window will load in Edge kiosk mode, which provides an InPrivate browser session with the toolbar, tabs and navigation buttons. The kiosk mode prevents access to the Start menu or anywhere else on the desktop and all keyboard shortcuts will be disabled.
Note: With this method, Ctrl+Alt+Del is blocked and therefore will not work. Instead you have to use the key combination specified in the below XML line to break out of the Edge Kiosk mode i.e.<v4:BreakoutSequence Key="Ctrl+Q"/>
Disabling Kiosk mode
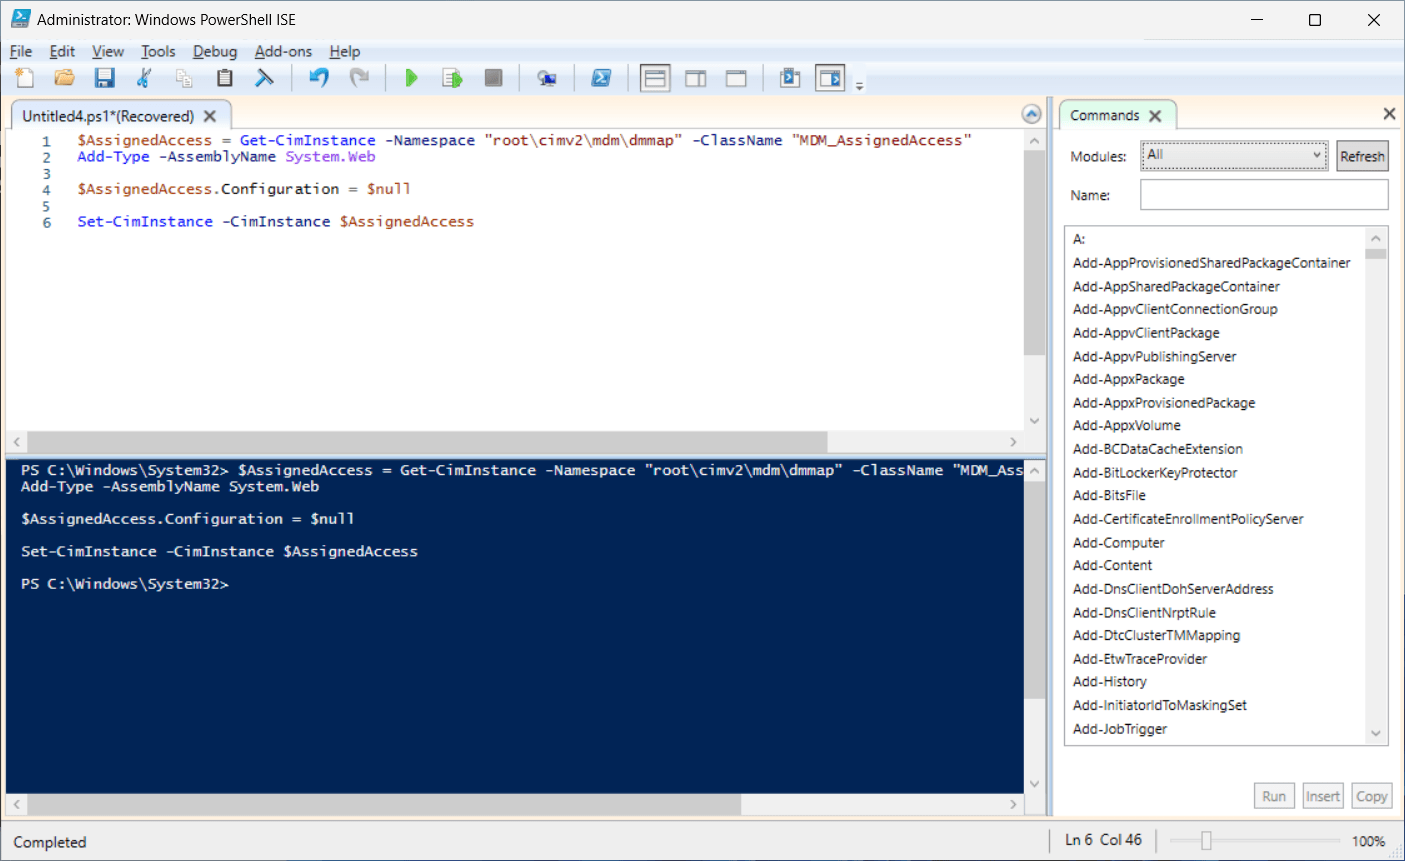
To deactivate the Kiosk mode, the following PowerShell script can be used. Same as before, the script will be required to be run in system context.
Implementing Autologon
You may also want to set up automatic logon for your kiosk device. This way, whenever your kiosk device restarts, whether it be from an update or power outage, you can configure the device to sign into the assigned access account automatically.
While Intune and the XML configuration for the MDM Bridge WMI Provider allows you to set up an Auto Logon Account for your Kiosk mode, it doesn't however provide support to enable automatic sign in for either an Azure AD (Entra ID) or AD user account. For this, we will use the Autologon tool by sysinternals.
Important: Automatic logon can be enabled with the AutoAdminLogon, DefaultDomainName, DefaultUserName, and DefaultPassword registry keys or it can be enabled with Group Policy. However, the password is stored in the registry in clear text. We therefore recommend using Autologon as the password is encrypted in the registry as an LSA secret. That said, a user with administrative rights can easily retrieve and decrypt it. (For more information seeProtecting the Automatic Logon Password - Win32 apps | Microsoft Learn )
Downloading and extracting Autologon
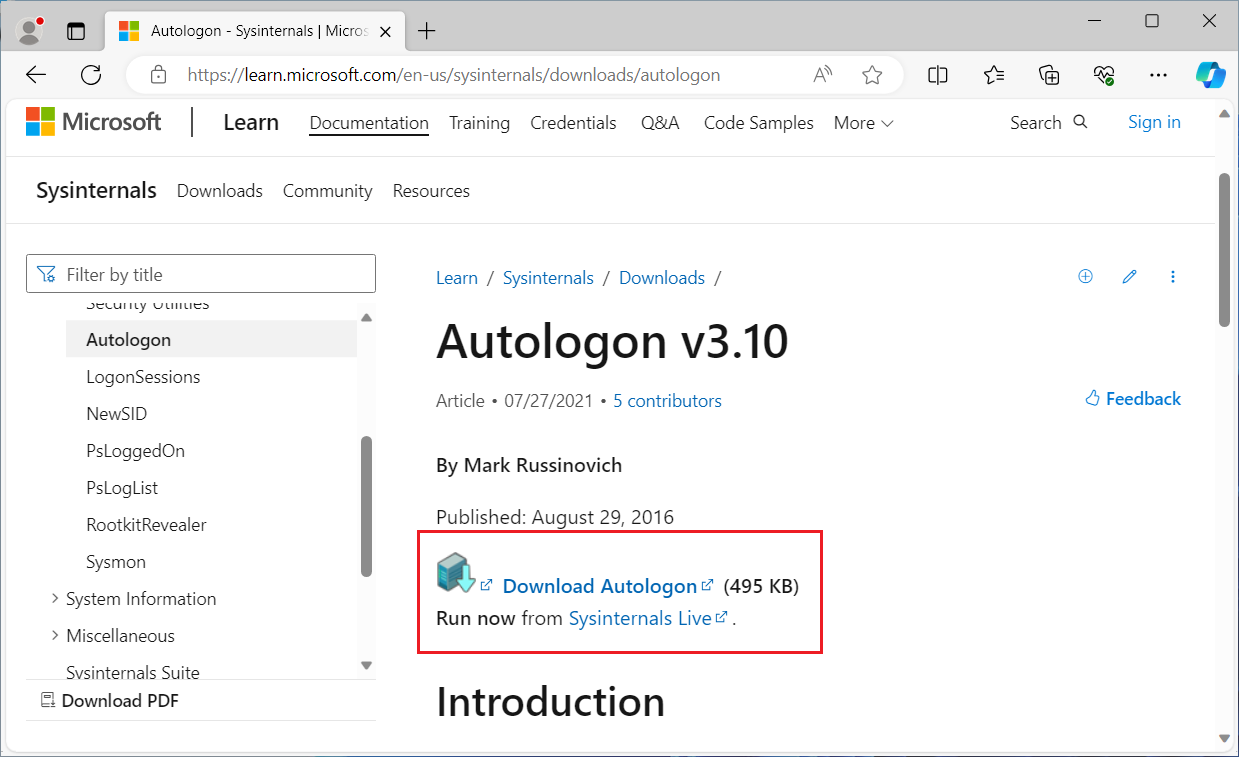
In your browser, navigate to the following URL and click on the link to Download Autologon:Autologon - Sysinternals | Microsoft Learn
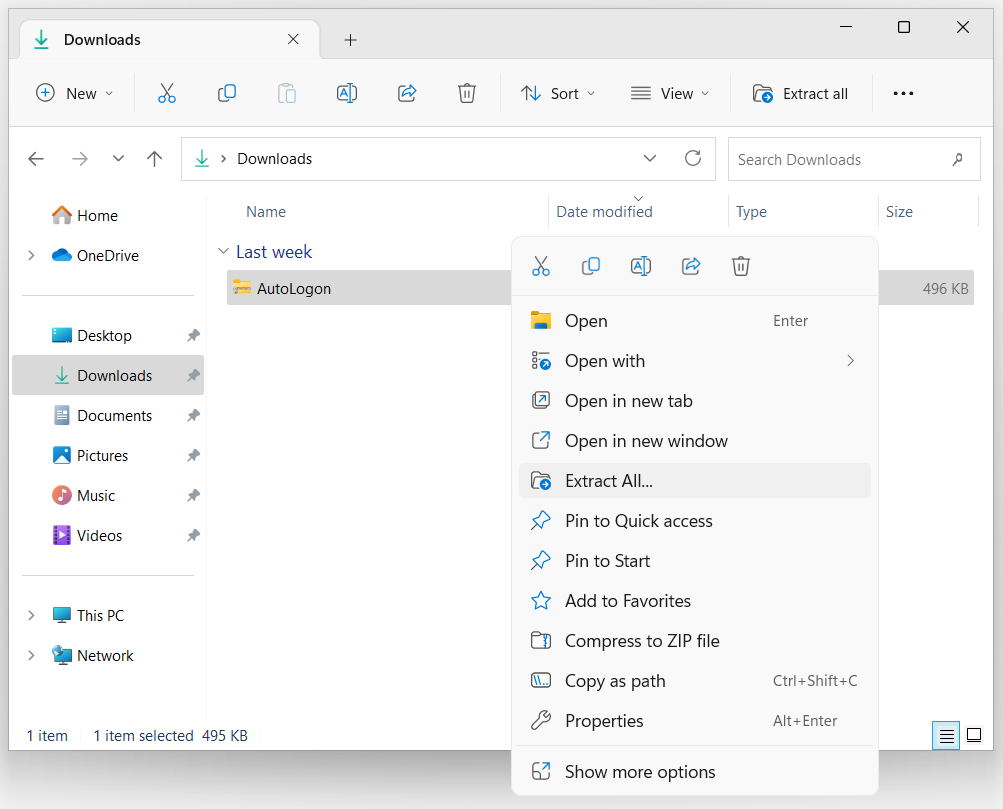
Right-click the downloaded zip file and select Extract All.
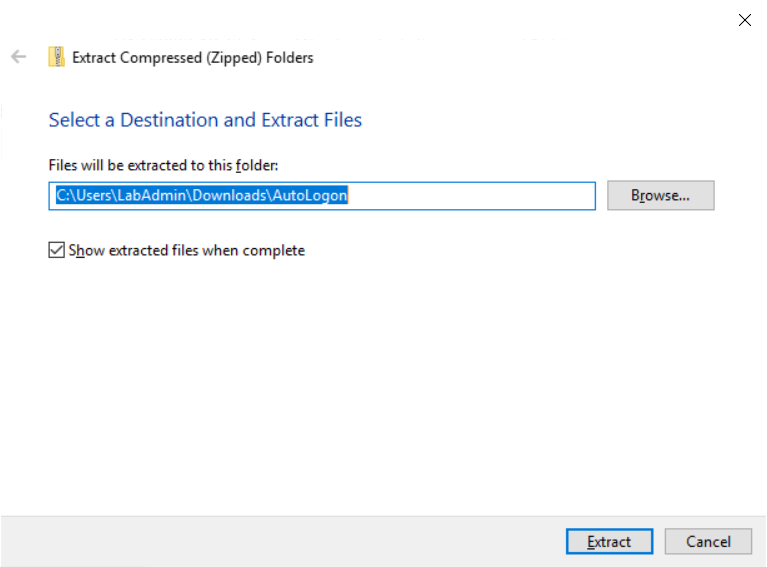
Select your destination path and then click the Extract button.
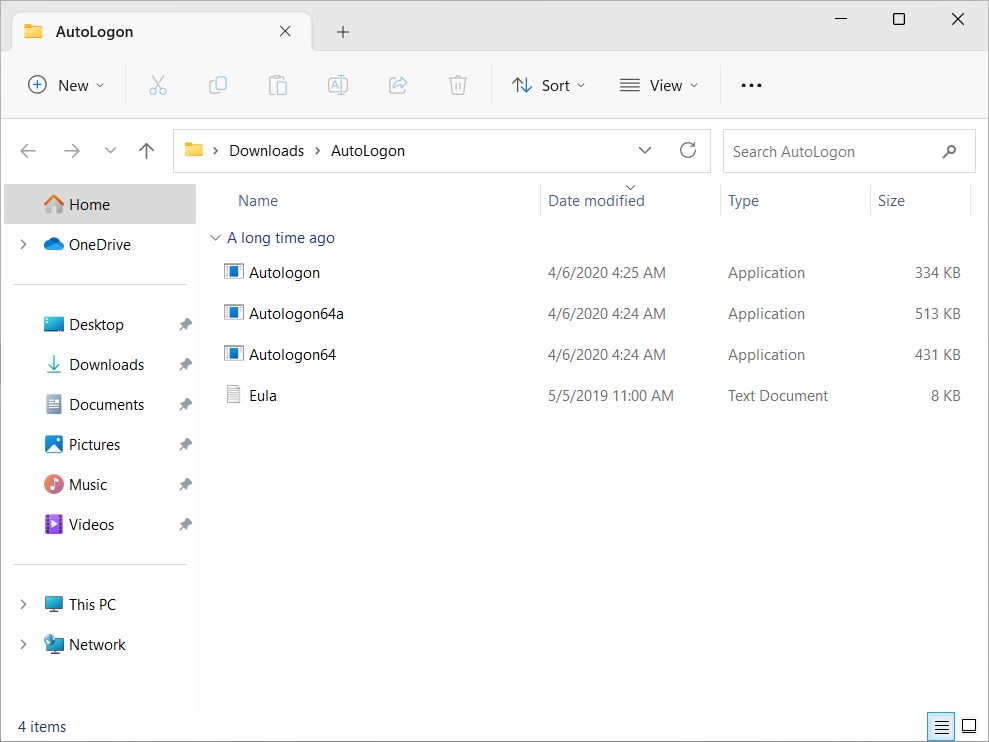
The resulting extracted folder should appear as follows.
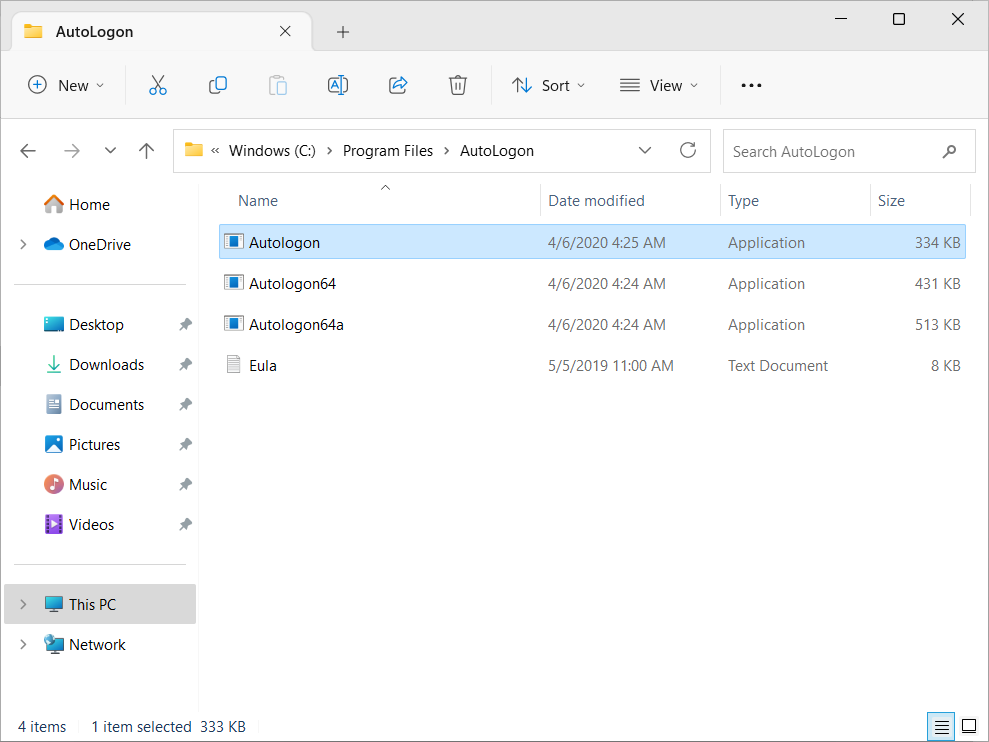
Copy the Autologon folder to C:\Program Files.
Configuring and enabling Autologon
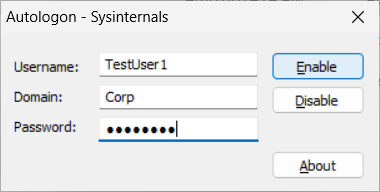
On the kiosk device, log on with an administrator account and launch Autologon.exe from the Program Files location. Enter the account username, domain and password that will be used for Autologon and then click the Enable button.
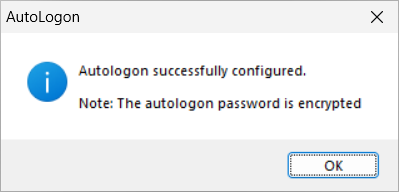
The confirmation prompt will appear. Click OK.
Restarting and testing
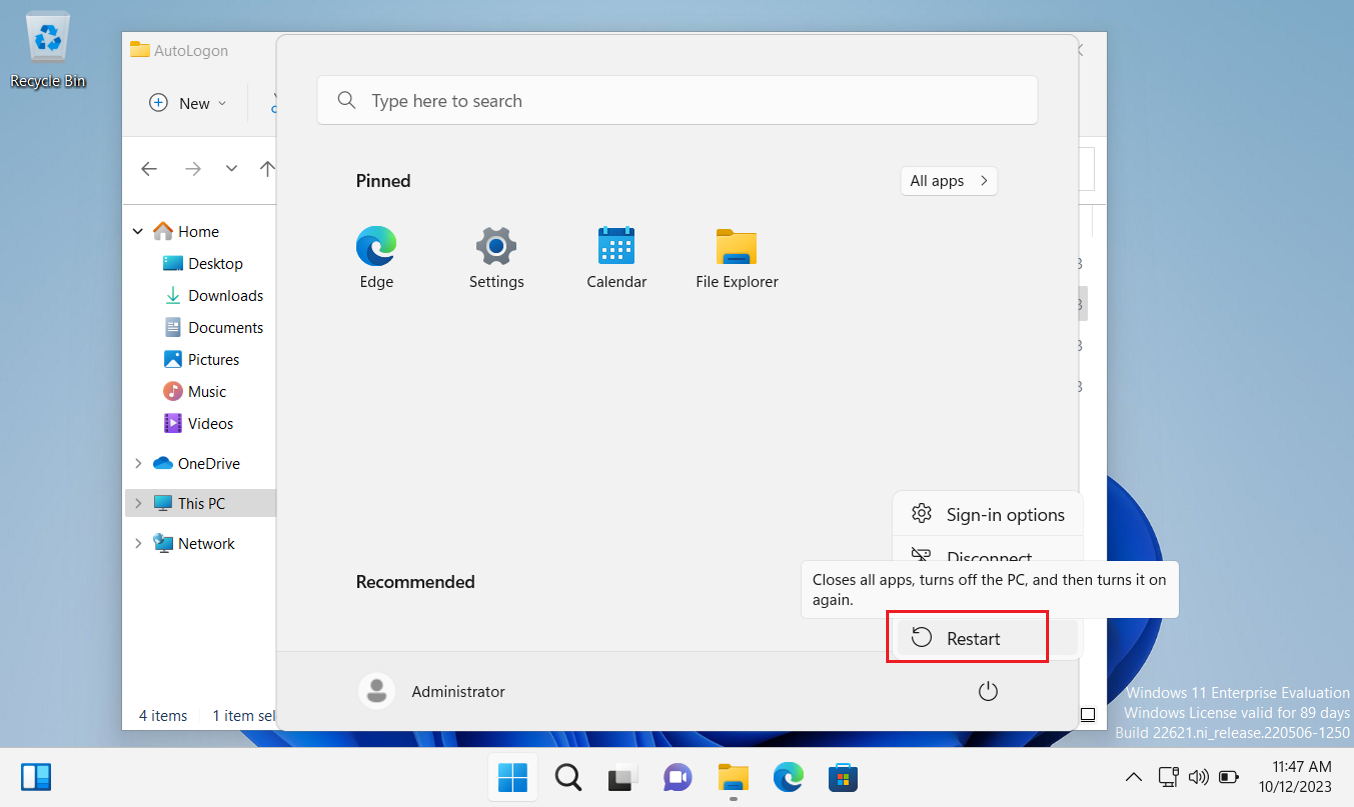
Restart the device for the changes to take affect.
Once the device has restarted, the user account will automatically log on.
When the device is configured with kiosk mode, the selected kiosk application will launch (as shown below). Otherwise, the device will load the full desktop experience.
In the last post in the series, we will look at how todeploy Windows Kiosk mode and Autologon with MPA Tools