
Welcome back to our extendedKiosk mode series on configuring kiosk mode in Windows 11! We're thrilled to present the fifth and final installment. Building upon the previously discussed methods, we will demonstrate how to useMPA Tools to deploy Kiosk mode in Windows 11 with the MDM Bridge WMI Provider. And we will set up the Kiosk mode to use an AD user account and the desktop/Win32 version of Edge. We will also deploy PsExec (which is required to execute the script) and we will deploy Autologon.
If you need help designing and rolling out secure shared-device deployments,Veles IT Solutions helps organizations implement kiosk and shared workstation solutions.
Downloading PsExec and Autologon
First we will need to download both PsExec and Autologon by Sysinternals.
Creating the PowerShell script
Next, we will save the PowerShell script snippet from above as a PS1 script file that can be deployed. In this example, we will give the script the file name of Set-MDM_AssignedAccess.ps1 and we will save it somewhere locally on the host computer (where MPA Tools is installed).
Creating the action workflow in MPA Tools
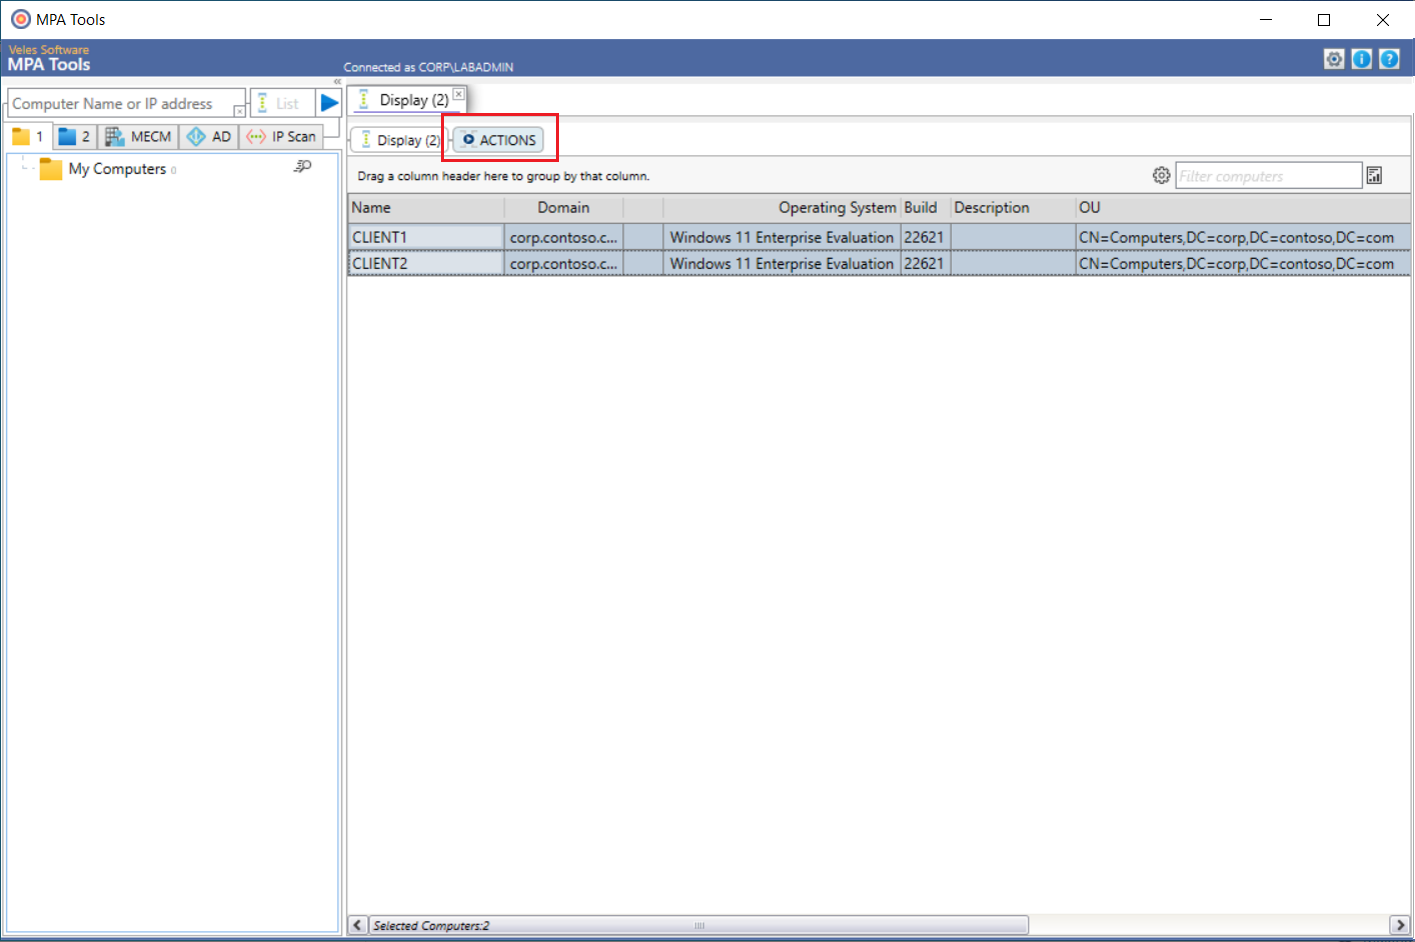
In MPA Tools, select the computers that you would like to deploy Kiosk mode to and then click the Actions button.
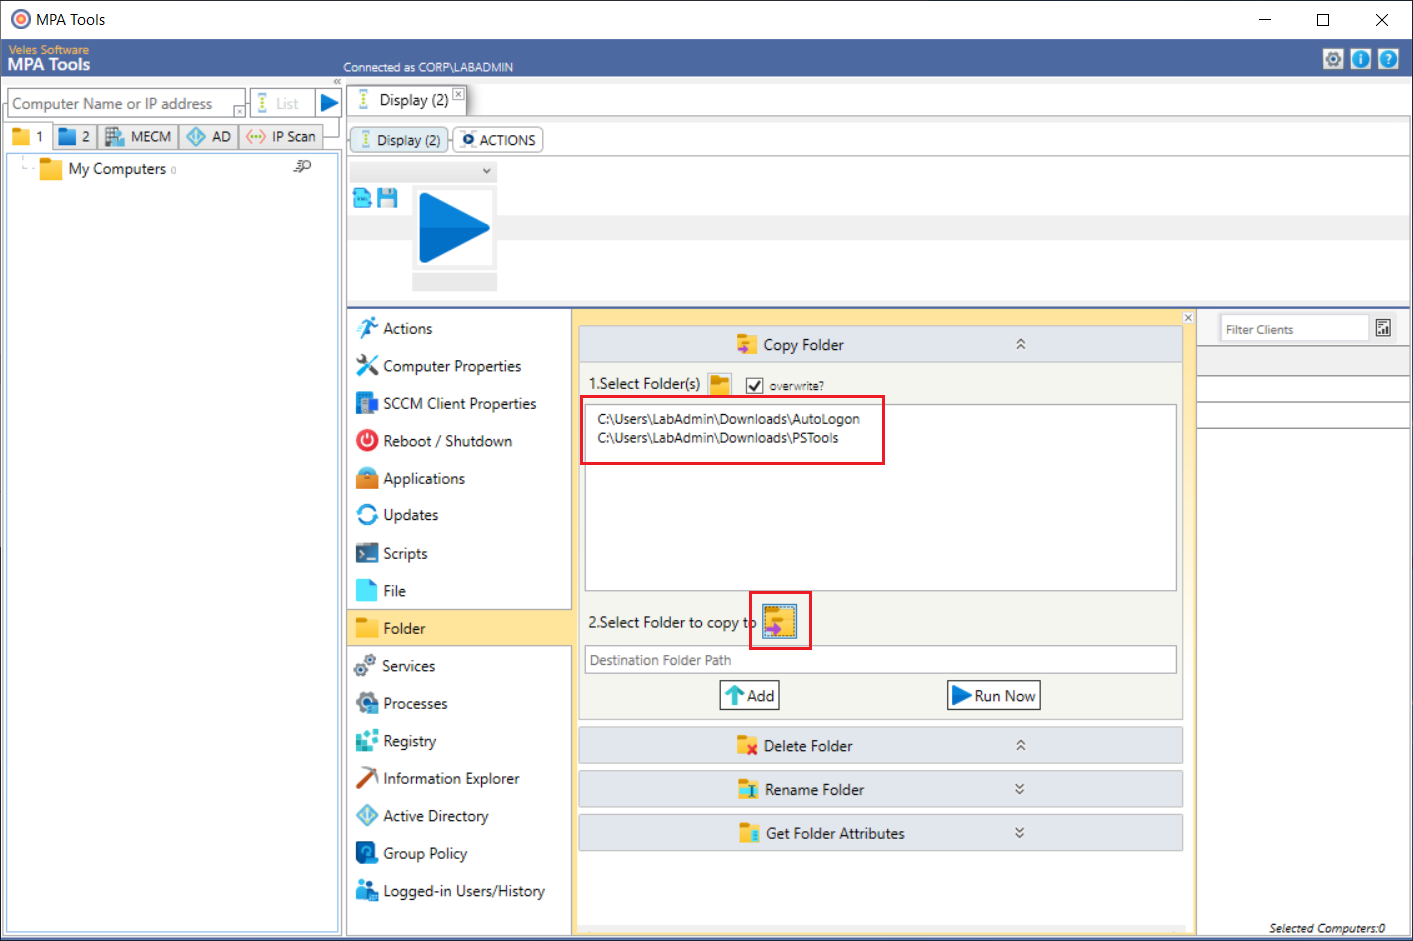
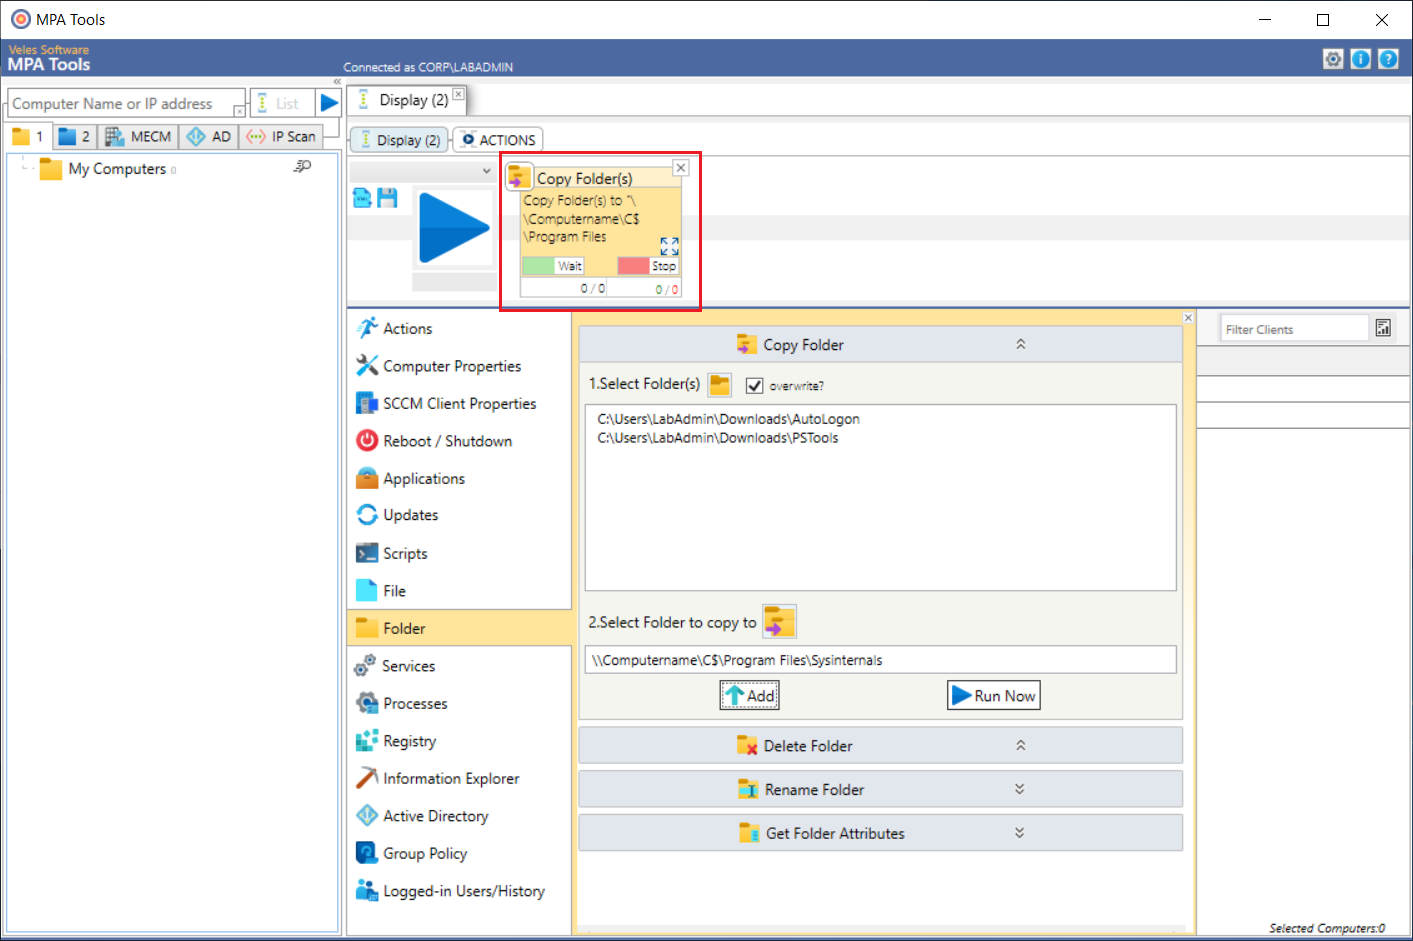
Select Folder from the action type list. Enter the source folder path in the “1. Select Folders" field or navigate to the folder using the folder icon button. Then next to “2. Select Folder to copy to", click on the folder icon button.
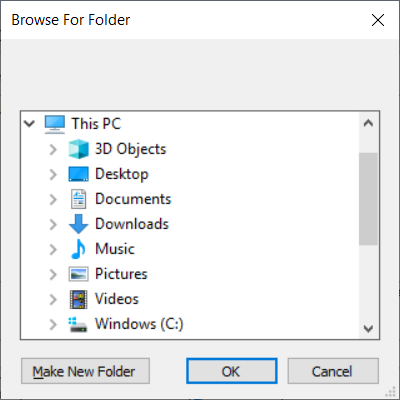
Navigate to the desired destination folder.
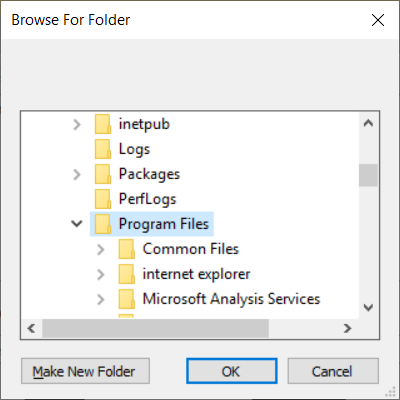
This will use the host computer (where MPA Tools is installed) as a reference and it will populate the destination field with “\Computername\C$\<Path>". The path in the destination field can be edited once the root folder is selected. For example; you may want to change the path to \Computername\C$\Program Files\Sysinternals and then when the action is executed, MPA Tools will automatically create the Sysinternals sub folder and then copy the Autologon and PSTools folders beneath it.
Once the destination path has been entered, click the Add button.

This will add the folder copy action to the workflow.
Adding the PowerShell script to the action workflow
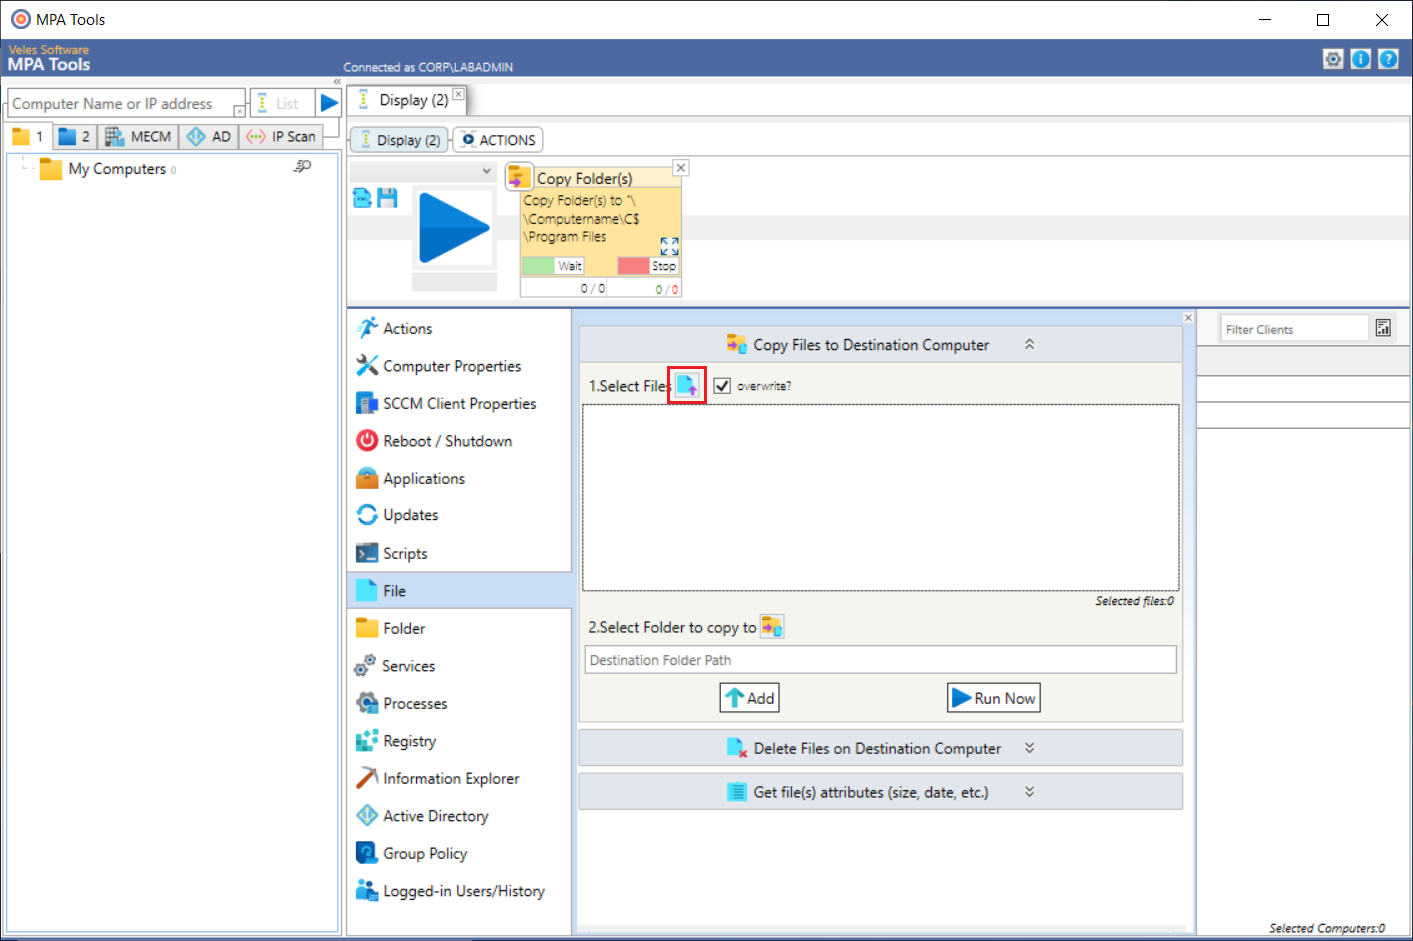
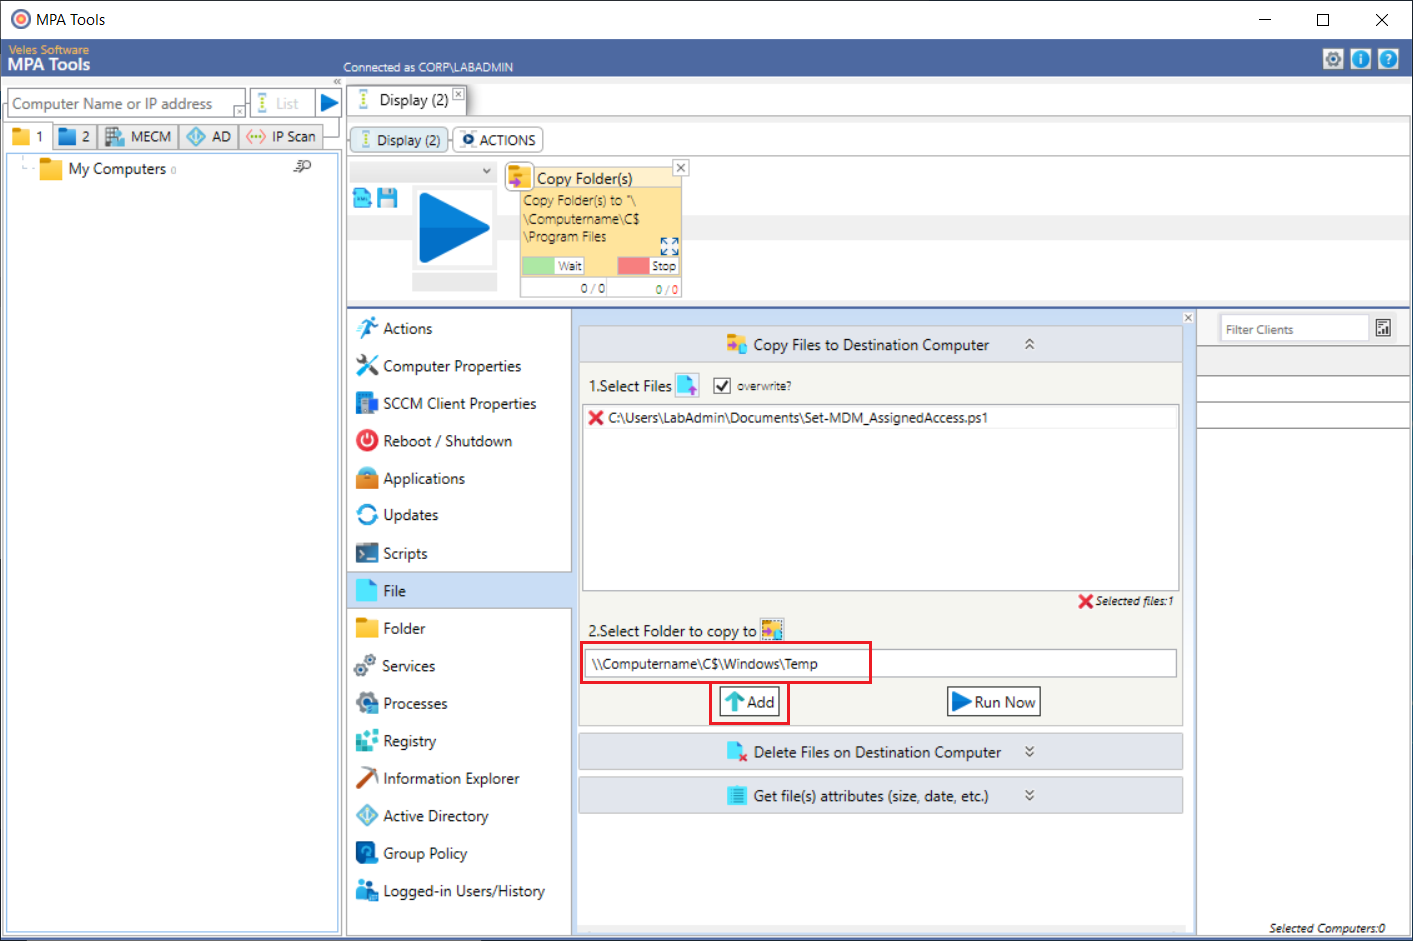
Next, we will add a file copy action to copy the Set-MDM_AssignedAccess.ps1 script to the Kiosk devices. Select File from the action type list. Click the File browse button next to the “1. Select Files" option.
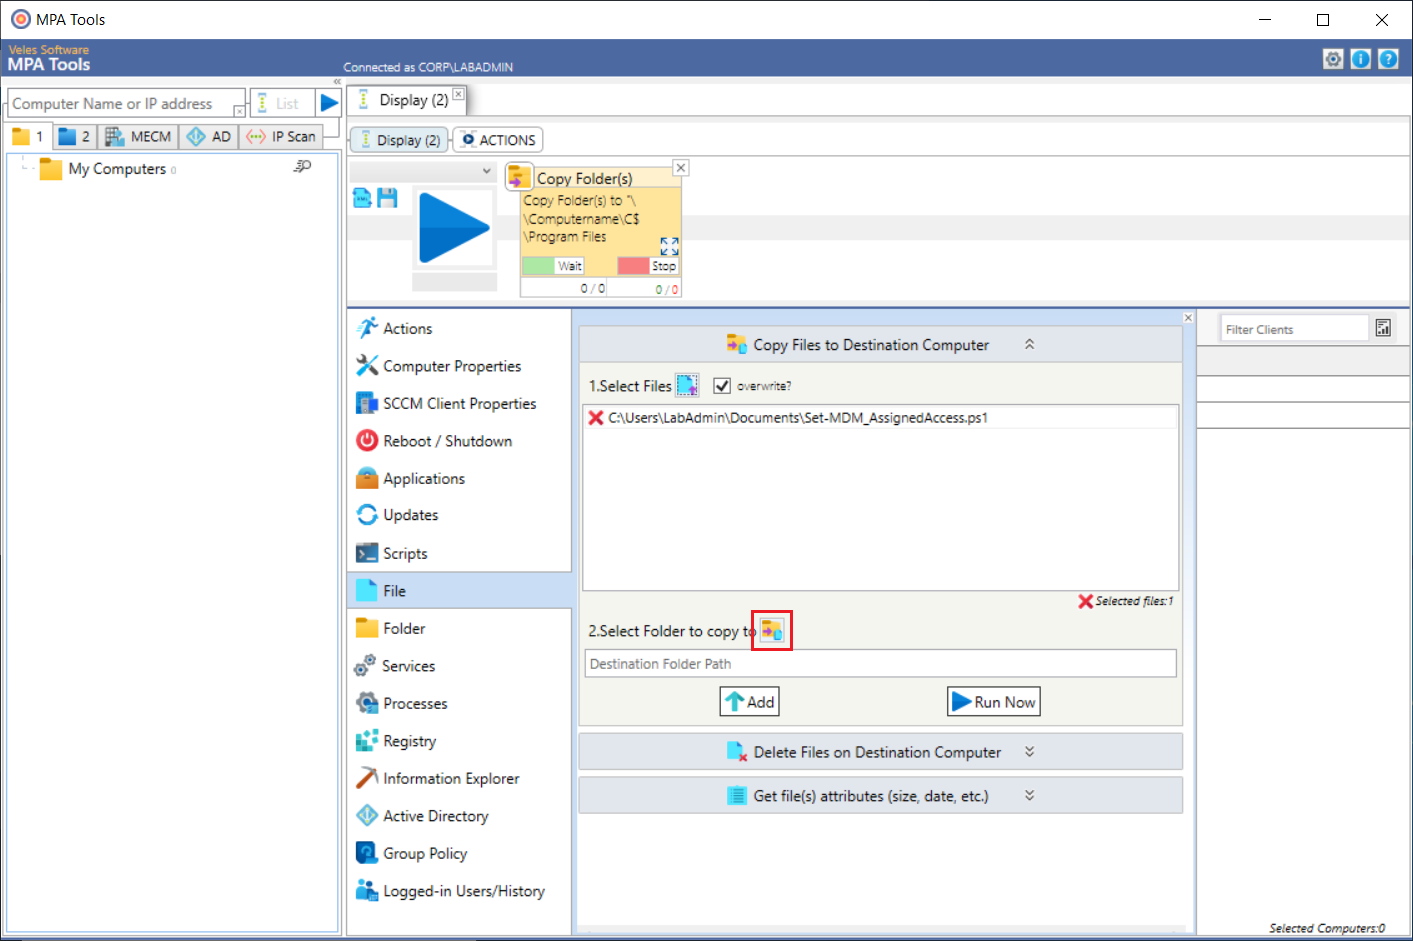
Navigate to the Set-MDM_AssignedAccess.ps1 script file and then click Open.

Then beside the option “2. Select Folder to copy to", click on the folder icon button.
Navigate to the desired destination folder.
This will use the host computer (where MPA Tools is installed) as a reference and it will populate the destination field with “\Computername\C$\<Path>". The path in the destination field can be edited once the root folder is selected. For example, you may want to change the path to \Computername\C$\Windows\Temp.
Once the destination path has been entered, click the Add button.
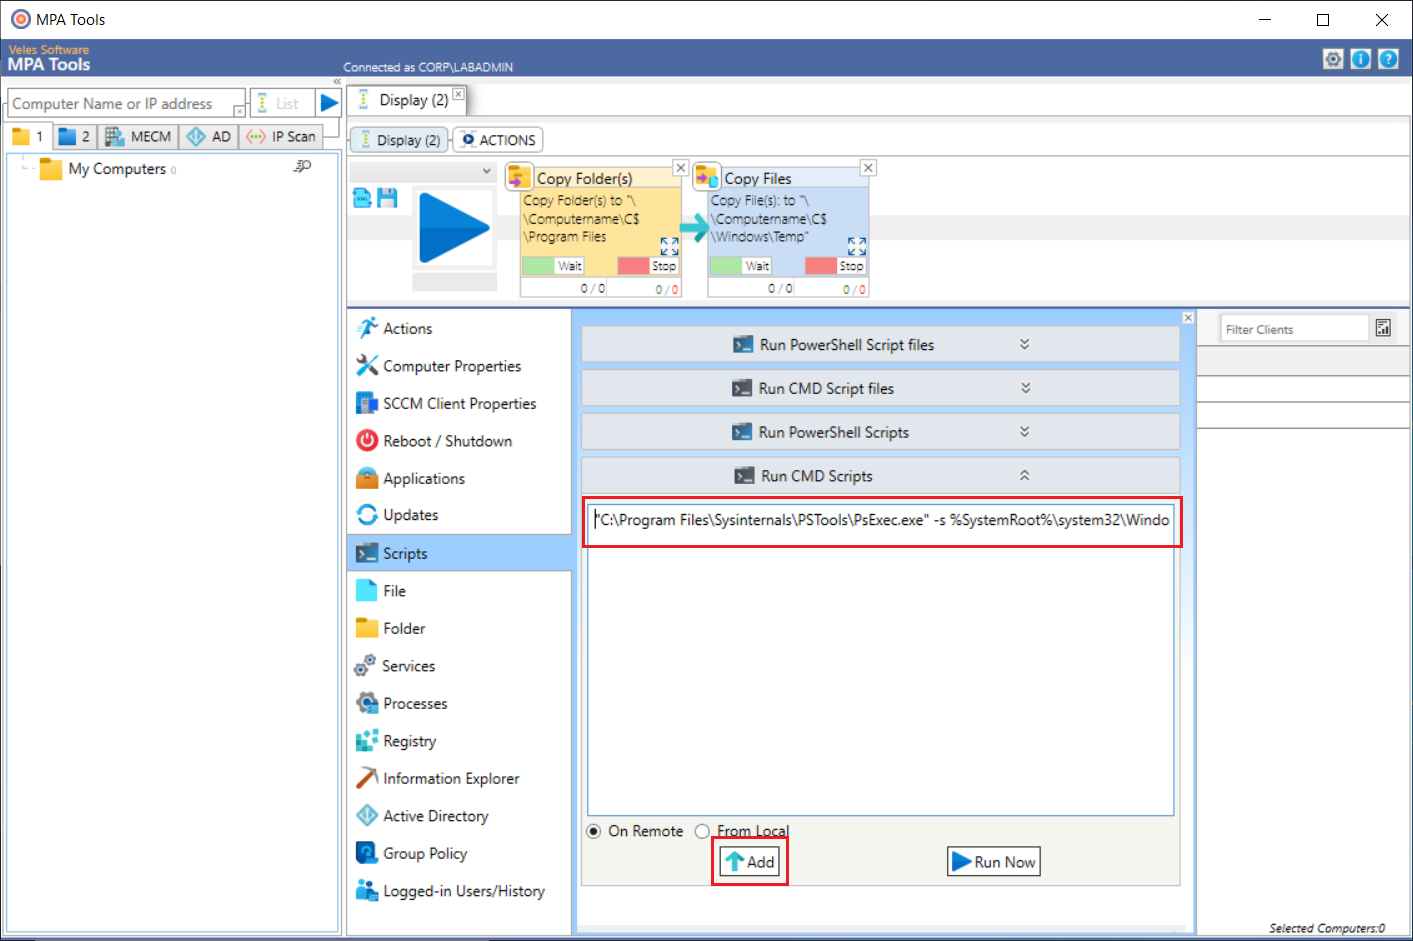
Next, we will add a CMD script action for executing the PowerShell script using PsExec using the below command line:
In the action list in MPA Tools, select Scripts. Scroll down and expand “Run CMD Scripts". Then we will enter the above command line. Then click Add.
Adding Autologon to the action workflow
Next, we will add a CMD script action for automatically enabling Autologon. For this, we will need the silent command syntax for Autologon which is presented by executing Autologon.exe /?
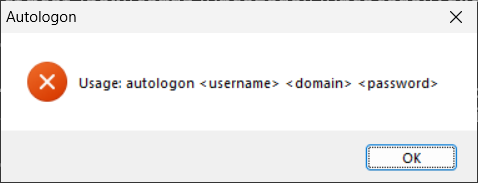
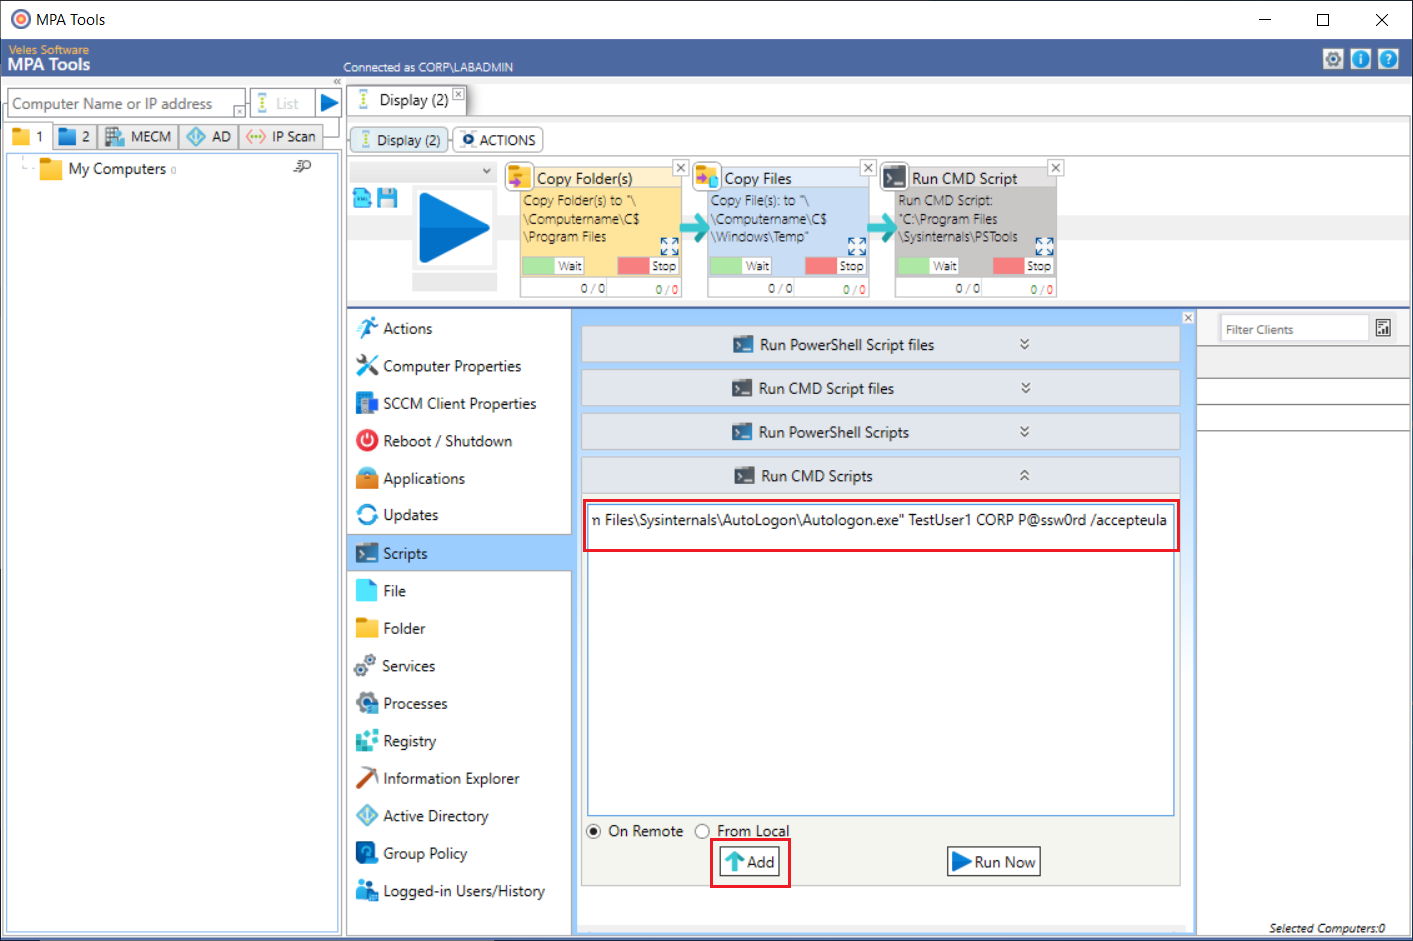
Note: as with all Sysinternals tools, the silent command also requires the “/accepteula" parameter which is not shown in the syntax help window. This means that for this example, the full command will be as follows:
In the action list in MPA Tools, select Scripts. Scroll down and expand “Run CMD Scripts". Then we will enter the Autologon silent command with the username, domain and password specified. Then click Add.
Adding a restart to the action workflow
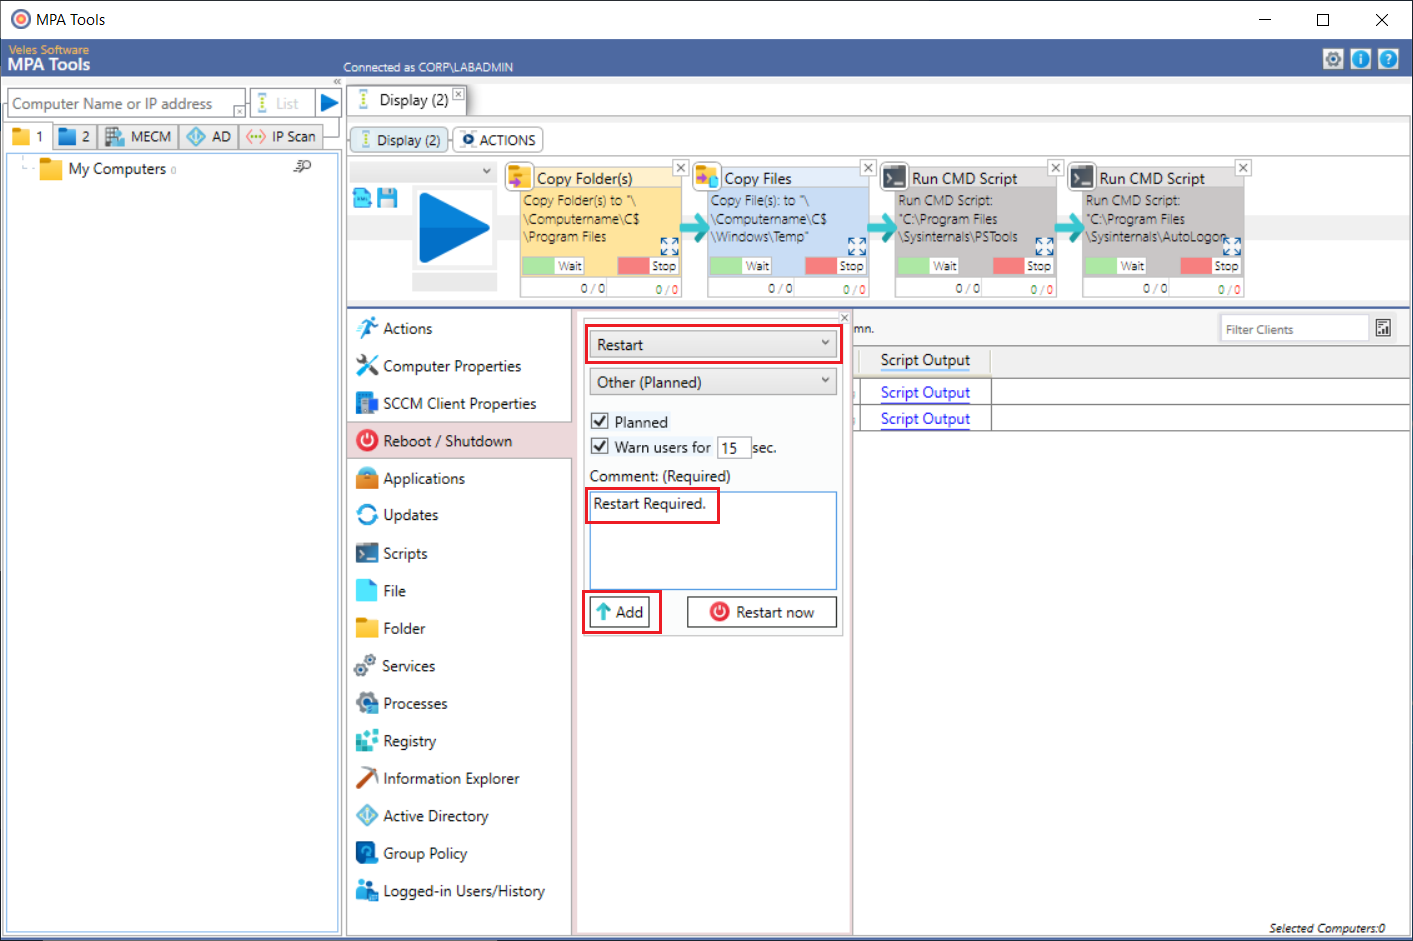
Finally, we will add a computer restart to the workflow. Under the action list select Reboot / Shutdown. Select Restart, enter a comment (this is a message that will be displayed to the end-user on the device) and then click Add.
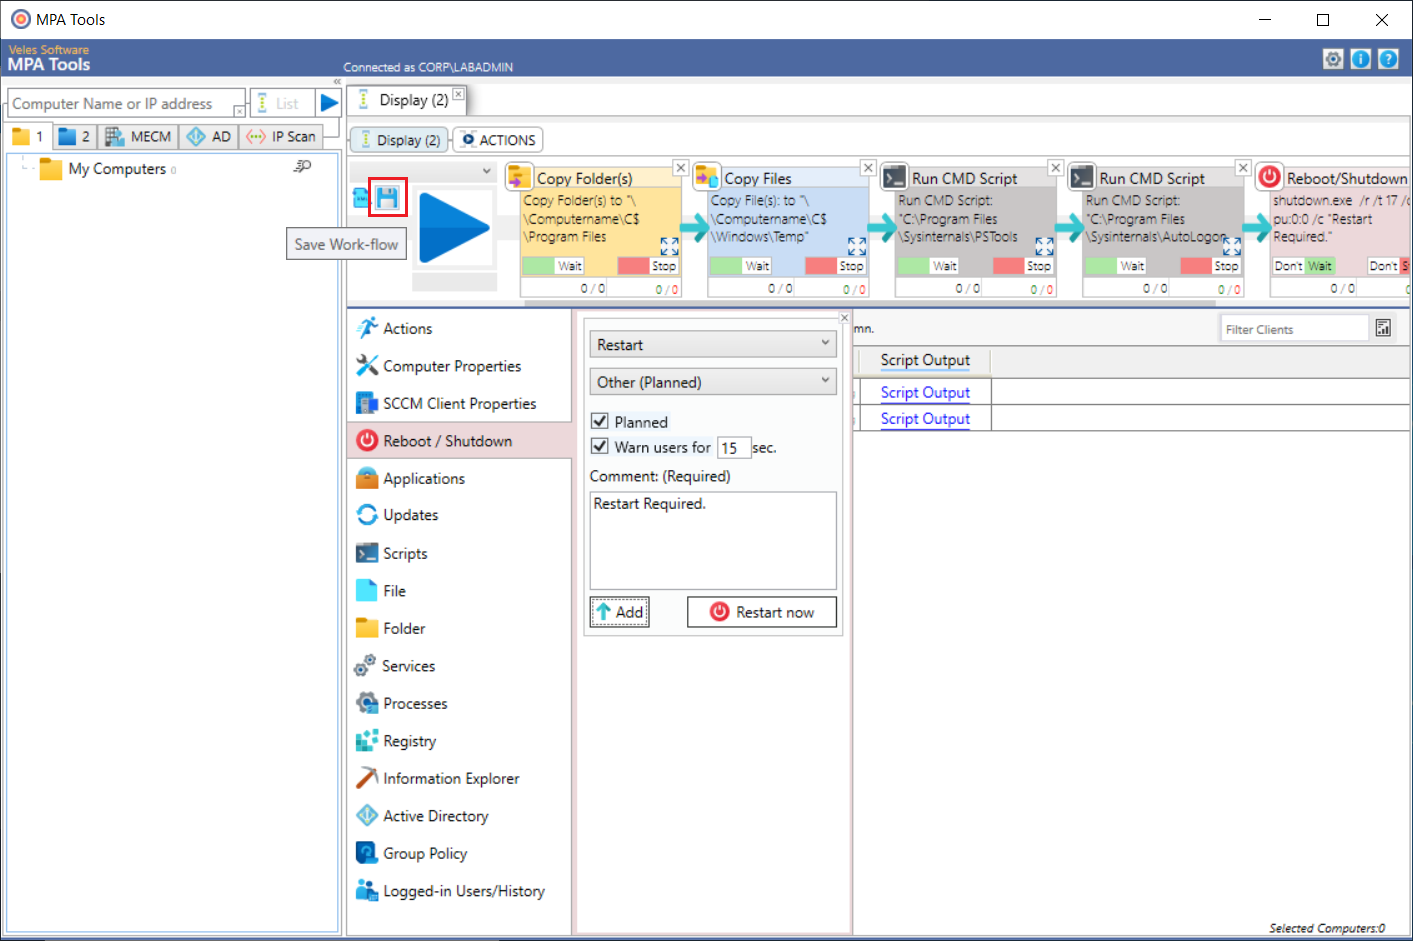
Saving the action workflow
You can save the workflow so that it can be re-used later for any other devices.
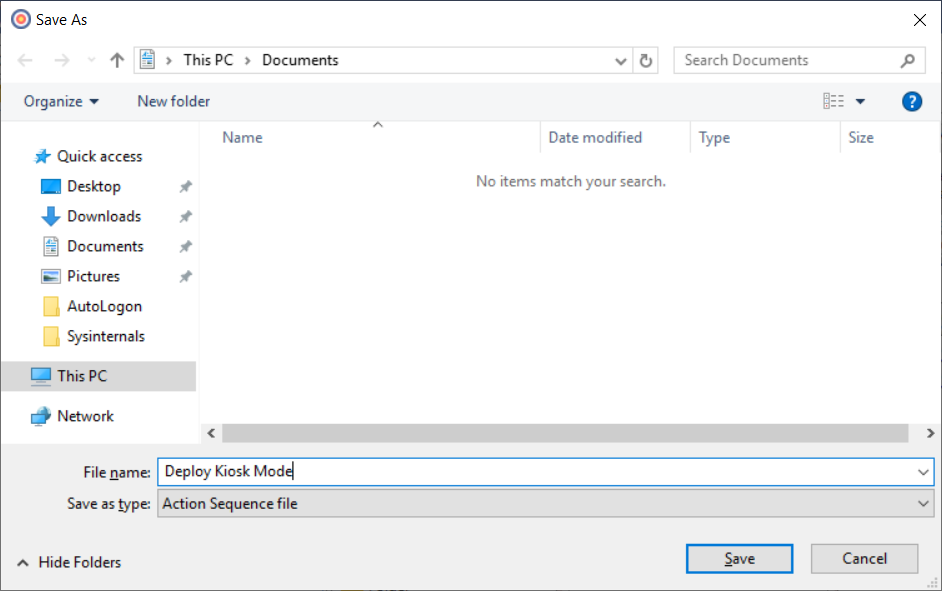
Specify a file name for the action sequence file and then click Save.
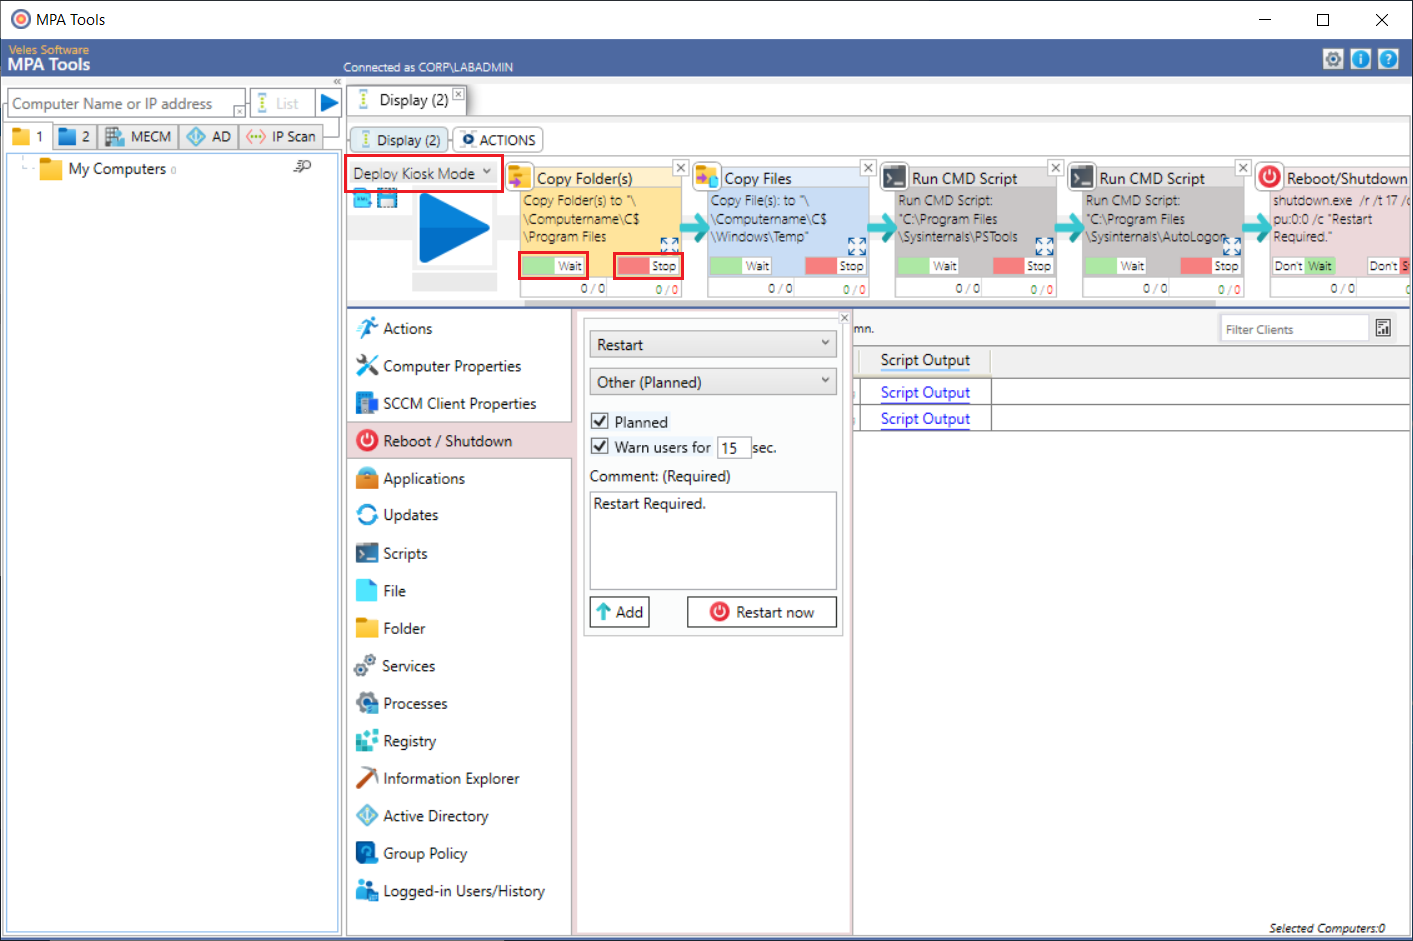
The saved action sequence will now appear in the drop-down list. This can be re-loaded at any point.Note: Each action has a Wait and a Stop button. This allows you to set the action to wait until it is completed before moving on to the next action. And it allows you to stop the action sequence if the action fails. The reboot/shutdown action defaults to “don't wait" and “don't stop".
Executing the action workflow
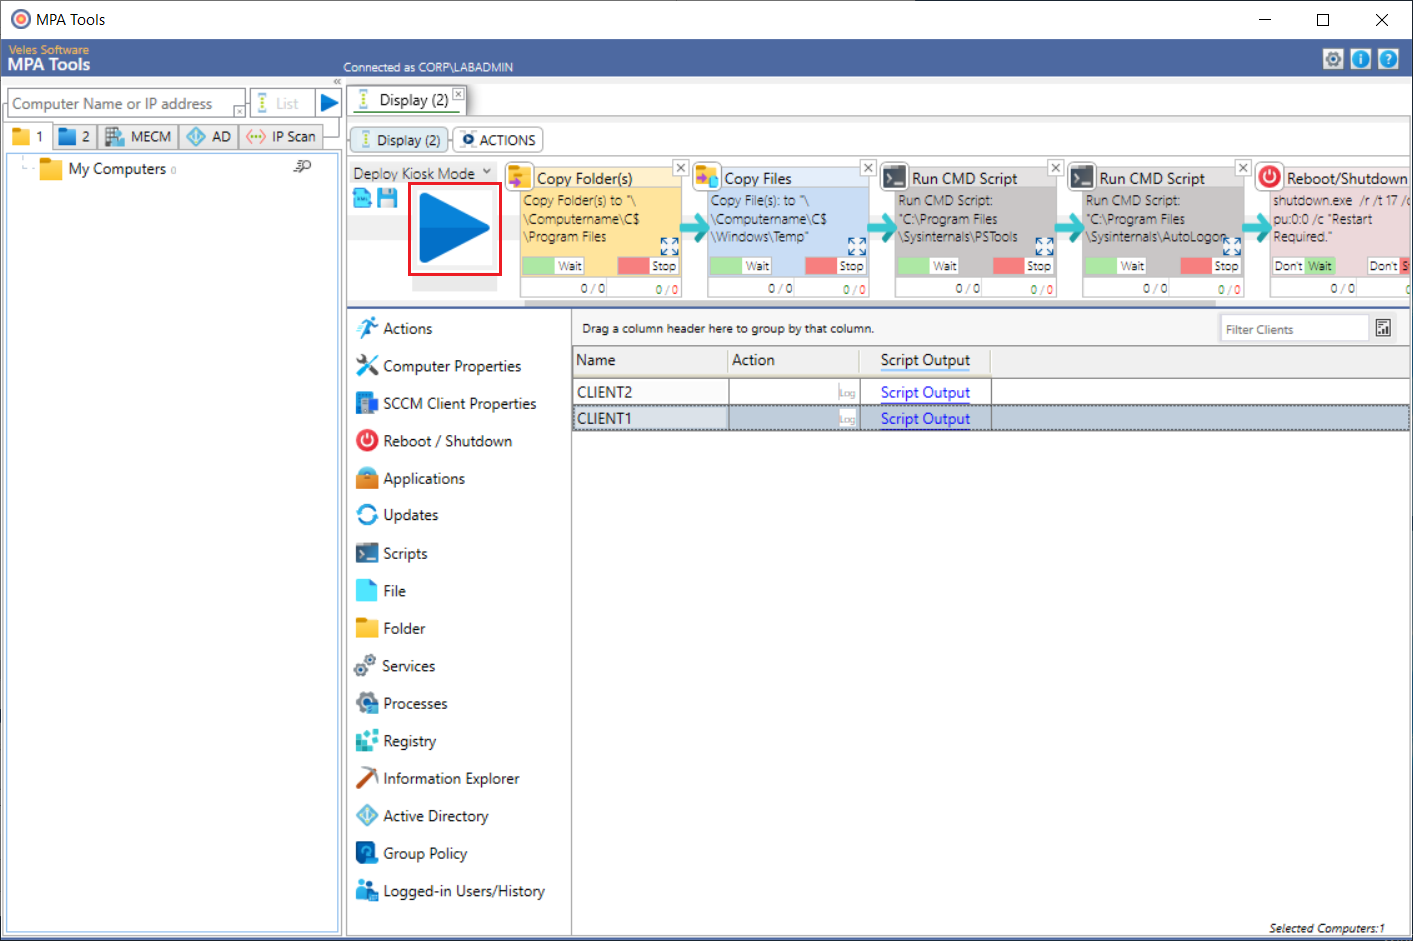
To execute the action workflow, select the computers that you would like to deploy Kiosk mode to and then click the blue play button.
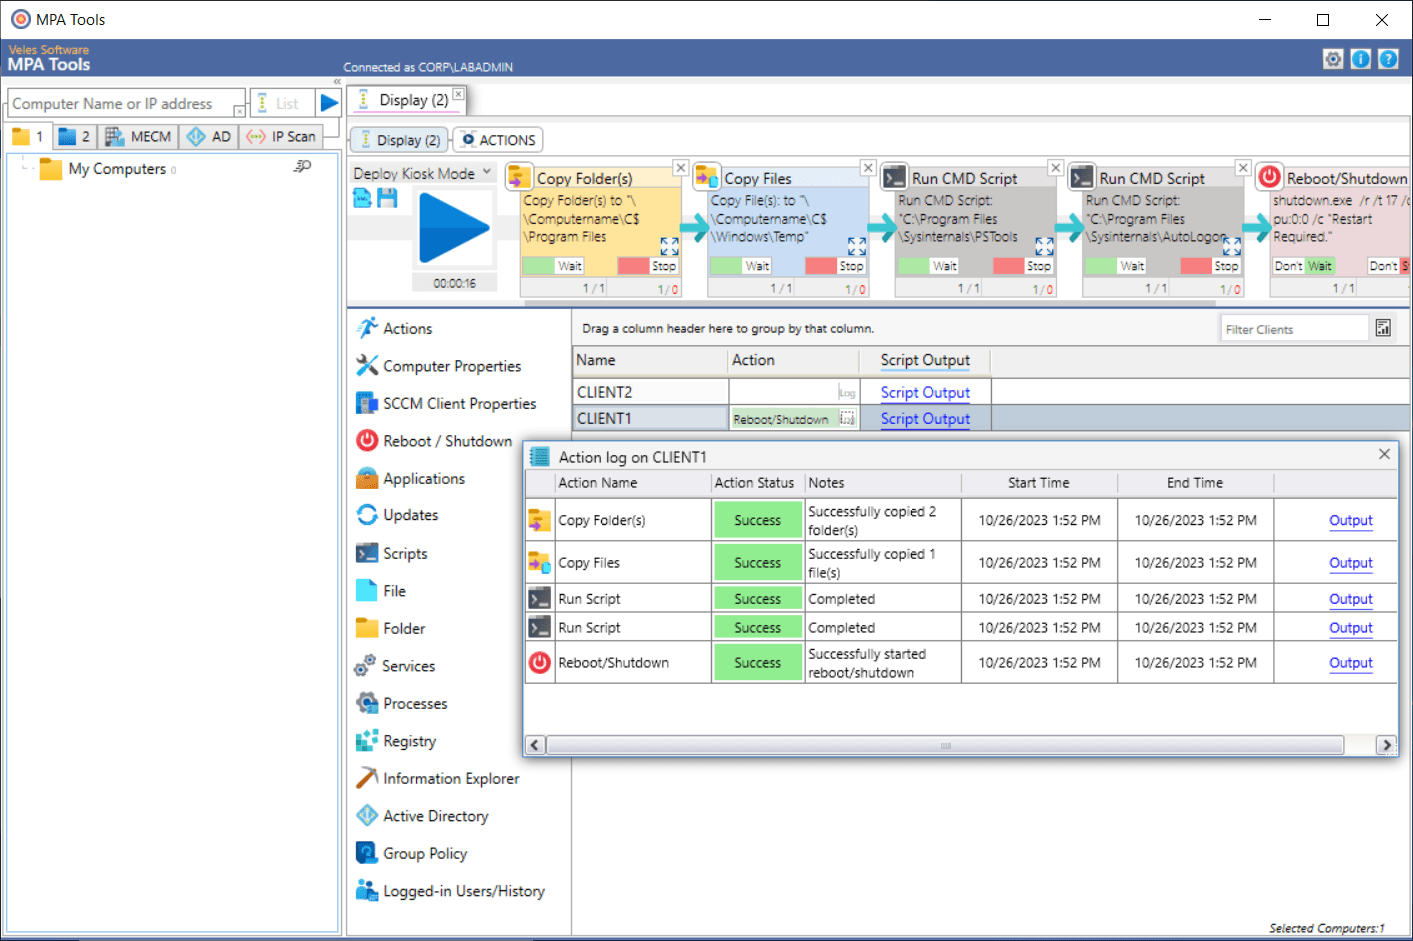
The action status will now appear for the selected devices.

If we click on the log button, we can see that both the folder and file copy actions and the CMD script actions were successful on CLIENT1.
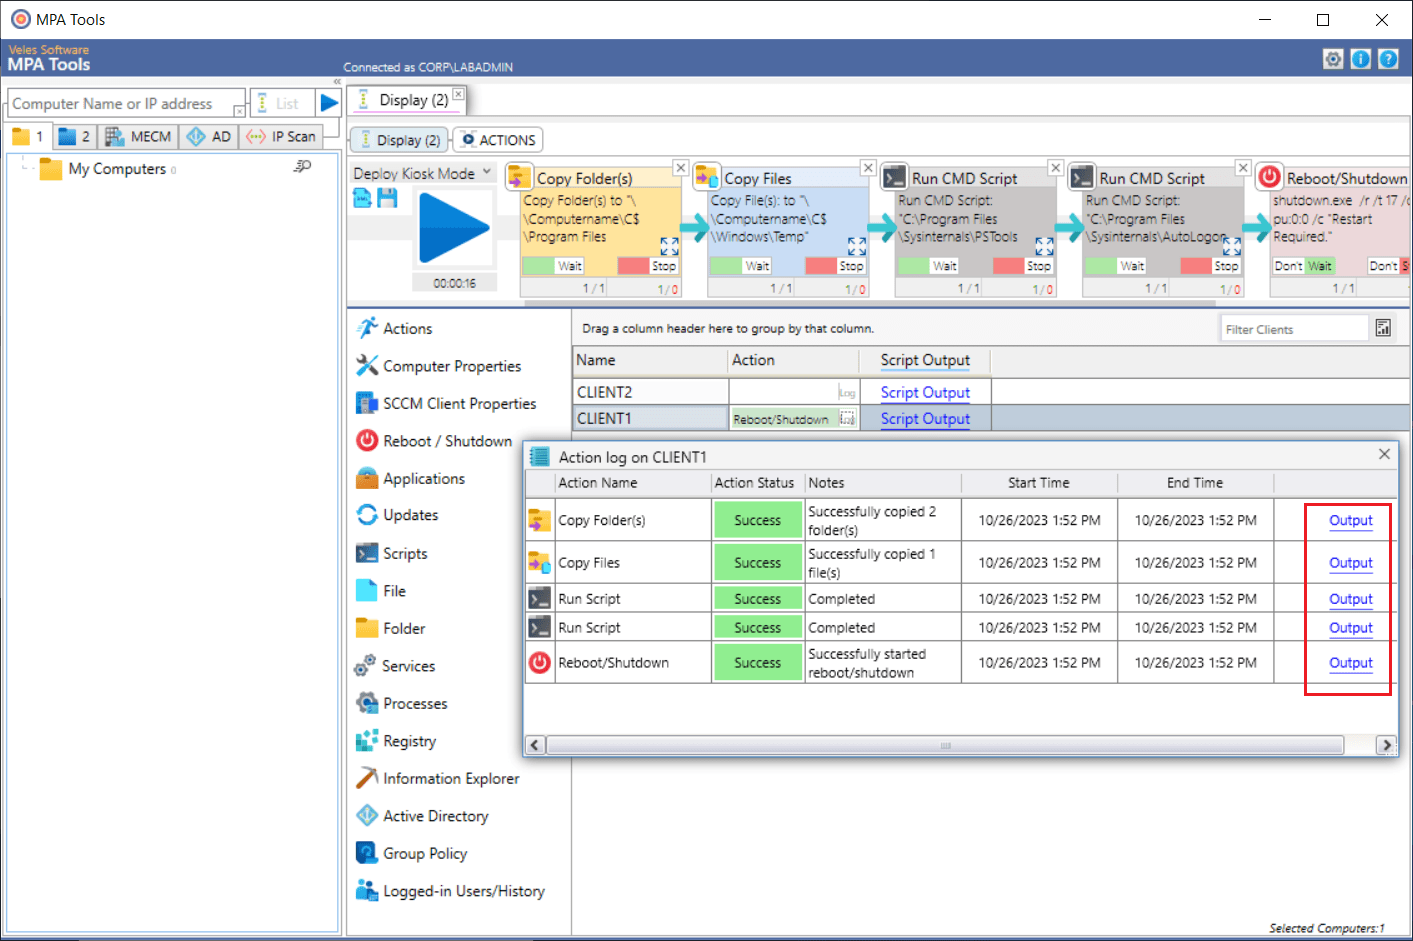
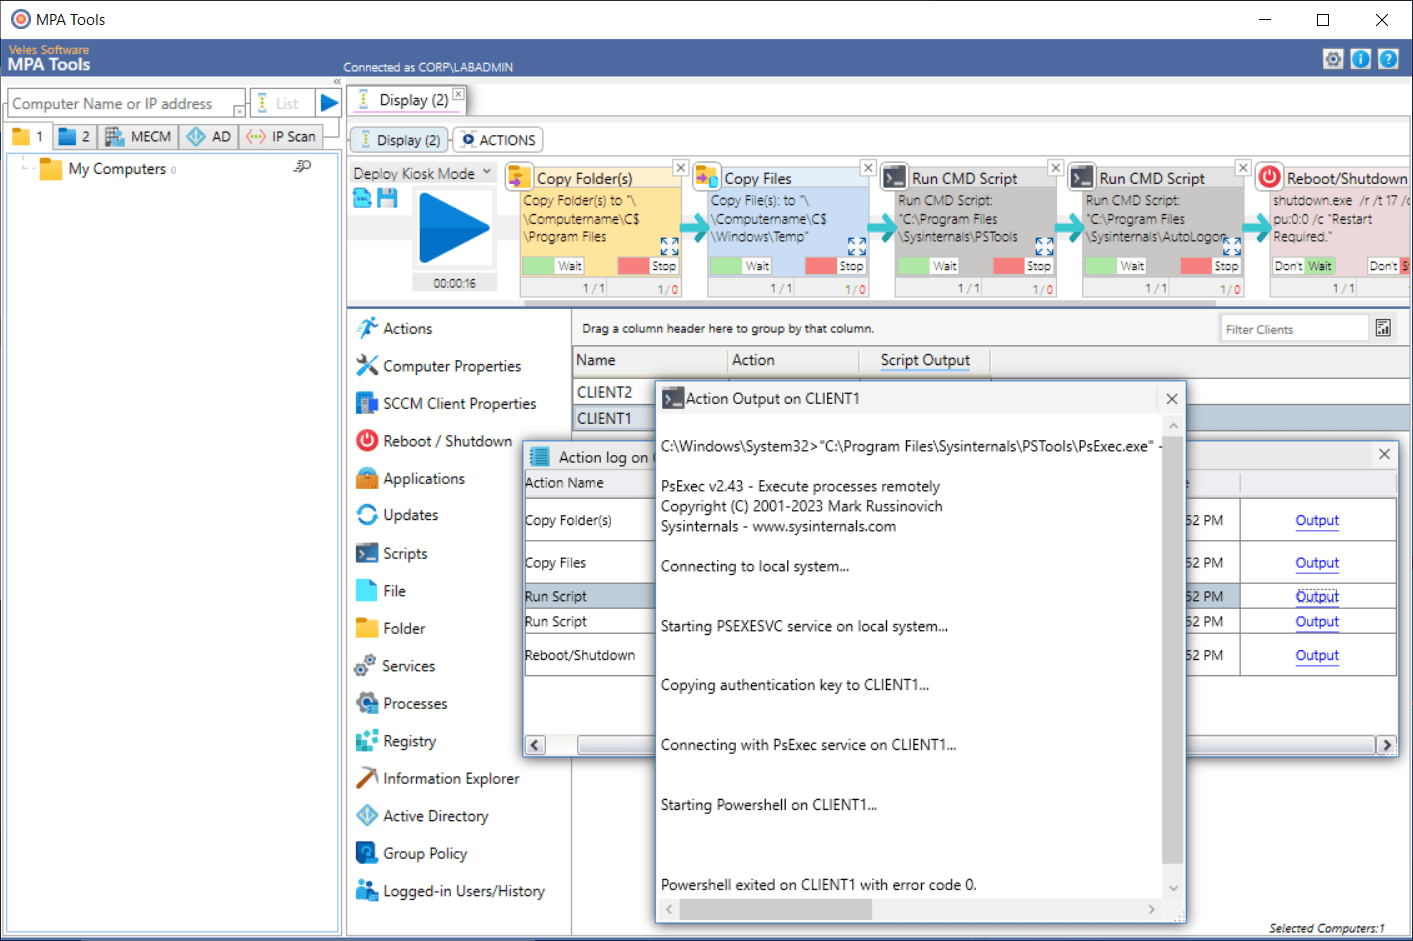
If we click on the Output link in the action log, we can see the full output from each command (as shown below).
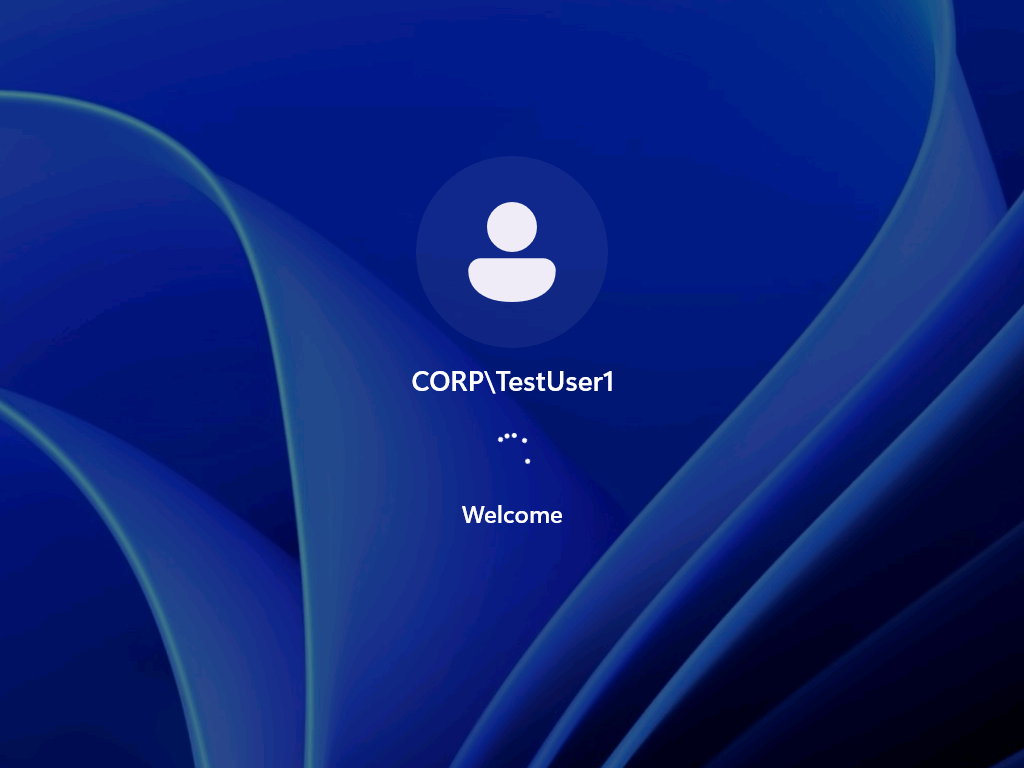
Once the device has restarted, the user account will automatically log on.
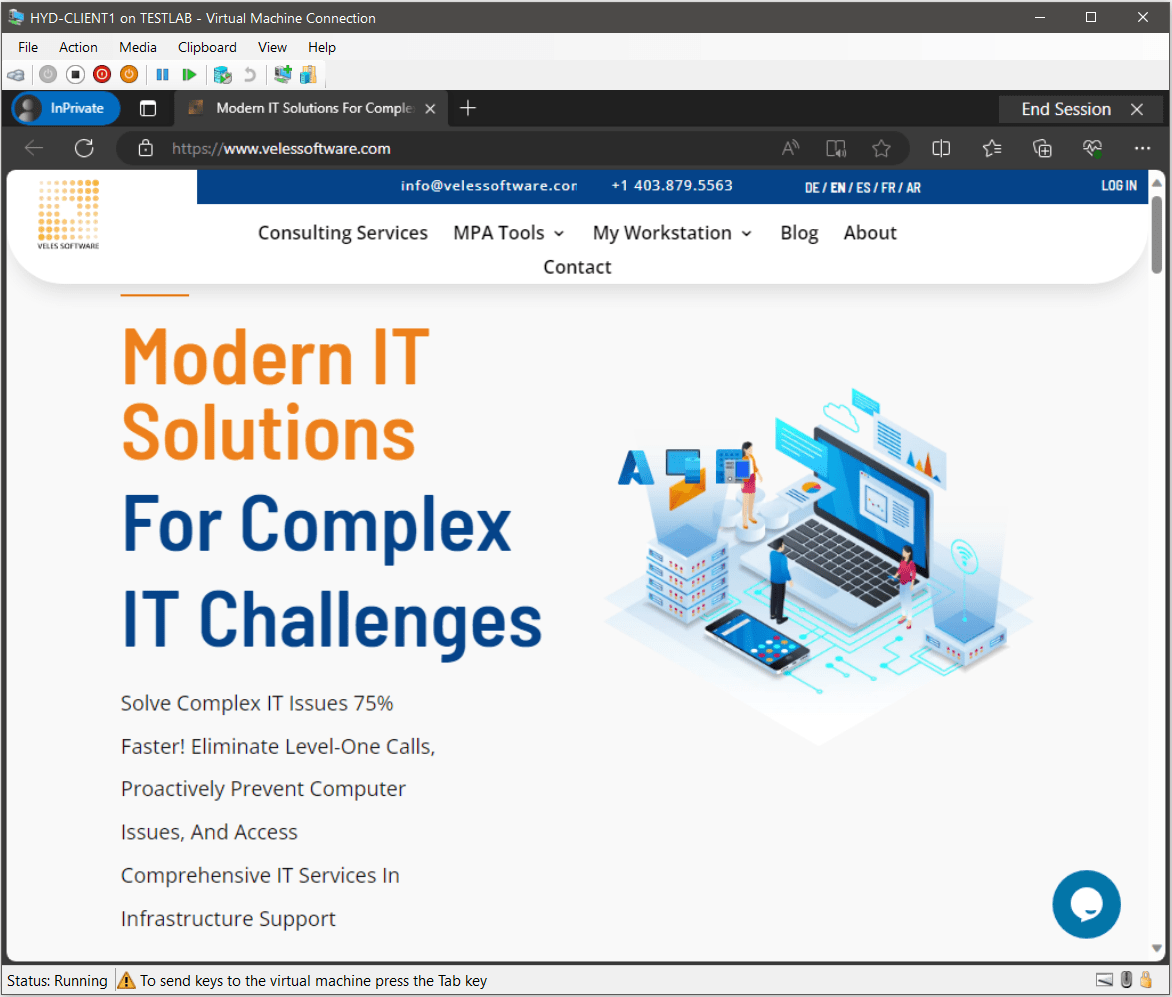
Microsoft Edge will automatically load in kiosk mode (as shown below).
There you have it, a comprehensive guide to deploying Kiosk mode in Windows 11 and once again MPA Tools can simplify the deployment process!
As we conclude this series on configuring kiosk mode in Windows 11, we hope these guides have been helpful in aiding your understanding and implementation. Remember to adapt these techniques to suit your specific needs and explore additional functionalities or optimizations.
Stay tuned for more insightful content, and thank you for joining us on this journey!
