In this post, we will show you how toenable Windows firewall rules with Group Policy. With a Group Policy Object (GPO) configuration, we could either manually add each firewall rule or we can import the firewall rules from a reference computer.
Following our earlier post onhow to enable the WMI firewall rules for client accessibility inMPA Tools,we will demonstrate the option to import the WMI firewall rules from a reference computer.
What is Group Policy?
Group Policy is a feature of Microsoft's Active Directory infrastructure that allows you to implement managed configurations for users and computers in a Windows environment. Group Policy provides centralized management and configuration of Windows operating systems, applications, and end-user settings. For more information, seeGroup Policy Overview | Microsoft Learn.
Exporting the firewall rule policy
On a reference Windows 10 or Windows 11 computer, open the Windows Defender Firewall with Advanced Security management console. Right-click the top-level Windows Defender Firewall with Advanced Security node and select Export Policy.
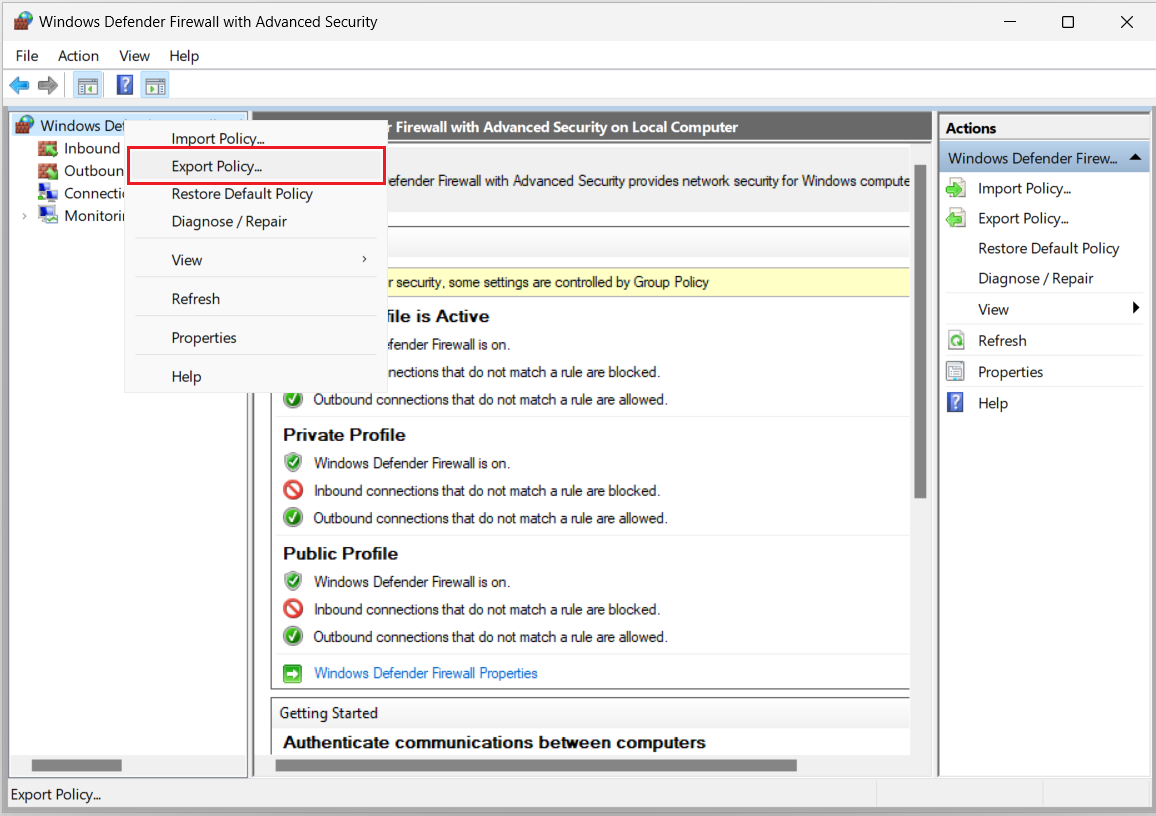
Specify a file name and then save the file in a location that is accessible to the computer where the Group Policy Management console can be used.
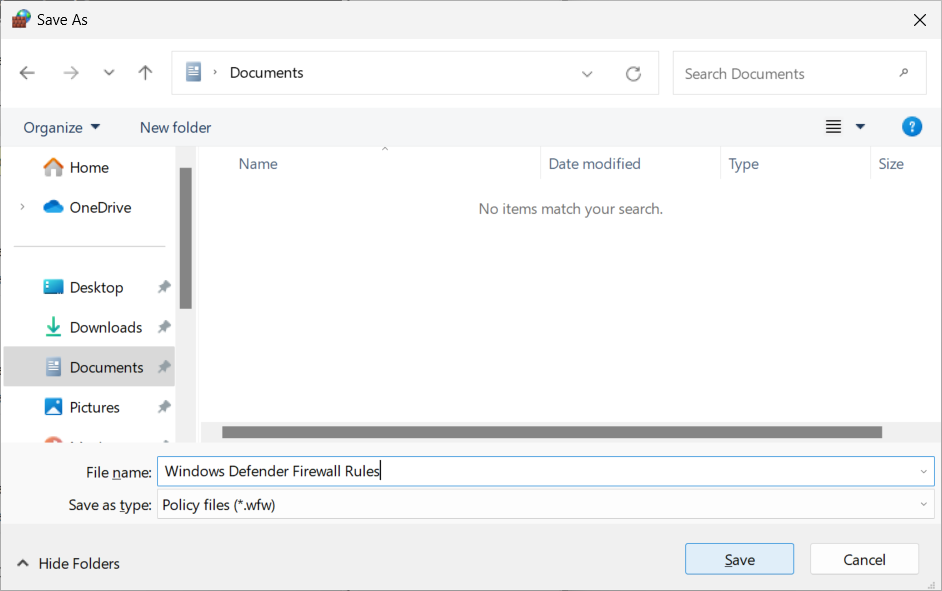
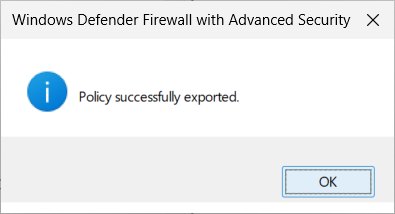
This will generate a policy file with a .wfw extension. Click OK.
Creating the Group Policy Object (GPO)
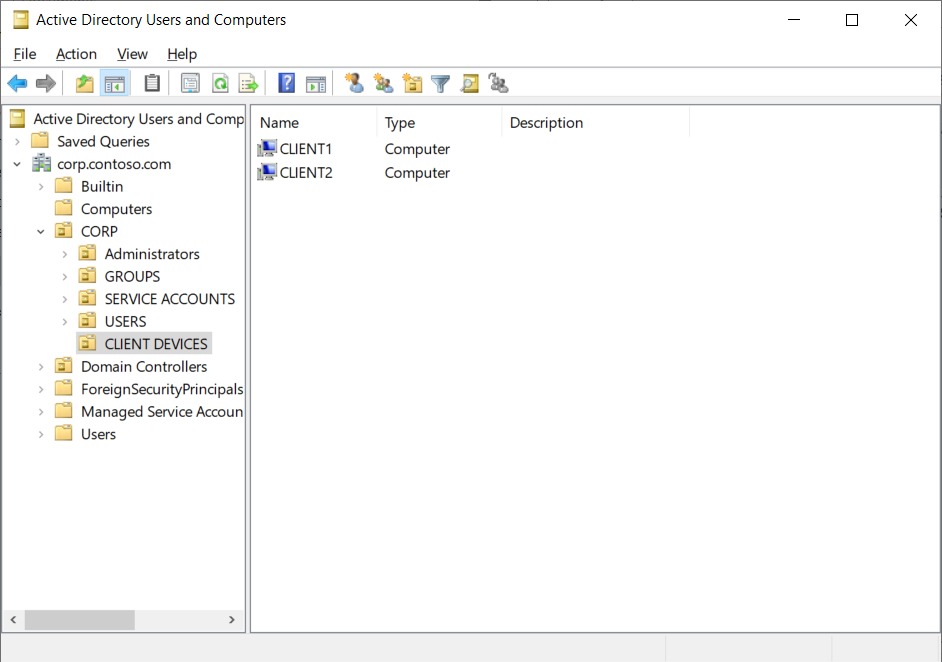
Next, to create the GPO, we will need to determine the relevant OU where the GPO will be assigned. In this example, we will link the GPO to the CLIENT DEVICES Organizational Unit (OU).
In the Group Policy Management console, navigate to the chosen OU and right-click and select Create a GPO in this domain, and Link it here…
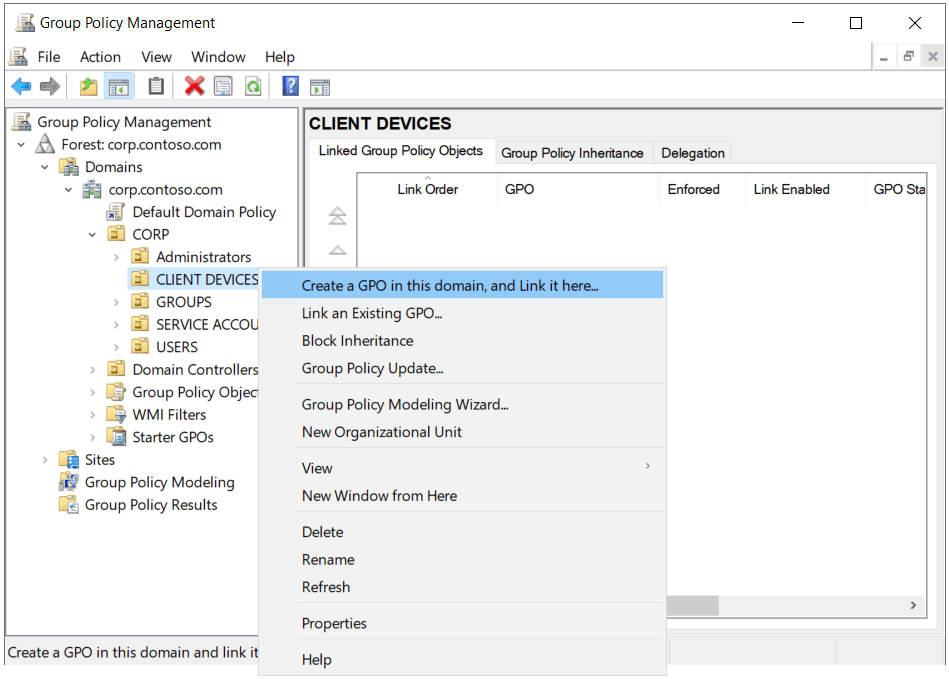
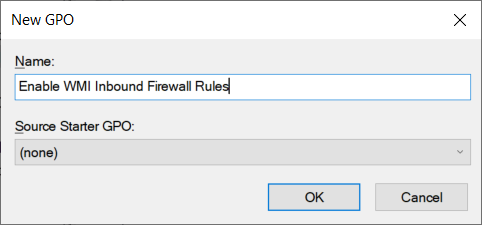
Specify the GPO name and then click OK.
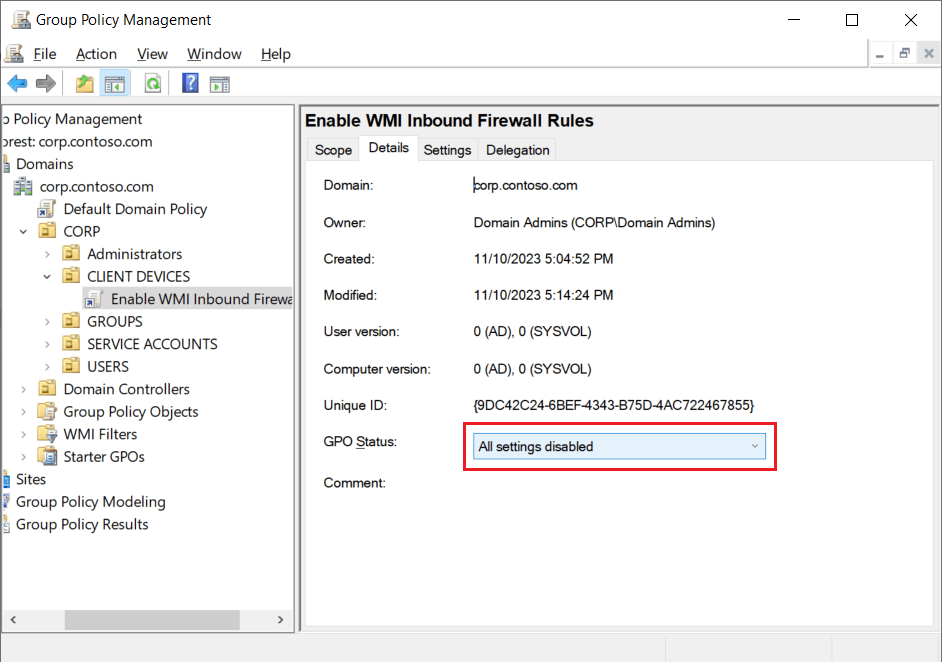
Important: Since this GPO is now actively linked, any changes we make to the GPO at this point will effectively start applying to the devices in the selected OU. So, to be careful, we will disable all settings in the GPO status, until the GPO is fully configured. Alternatively, we could have first created the GPO and link it to the OU later. Both methods are acceptably safe.
Filtering the assignment to a global group
If you would like to assign the GPO to a subset of devices in the OU (for example, test or pilot devices) then create a domain global group that contains only these test or pilot devices. Then under the Scope tab, in the Security Filtering pane, remove Authenticated Users and then add the global group.
Note: Since this GPO will be using the Computer Configuration, the membership of the global group should only contain computers (and not users).

Importing the firewall rule policy
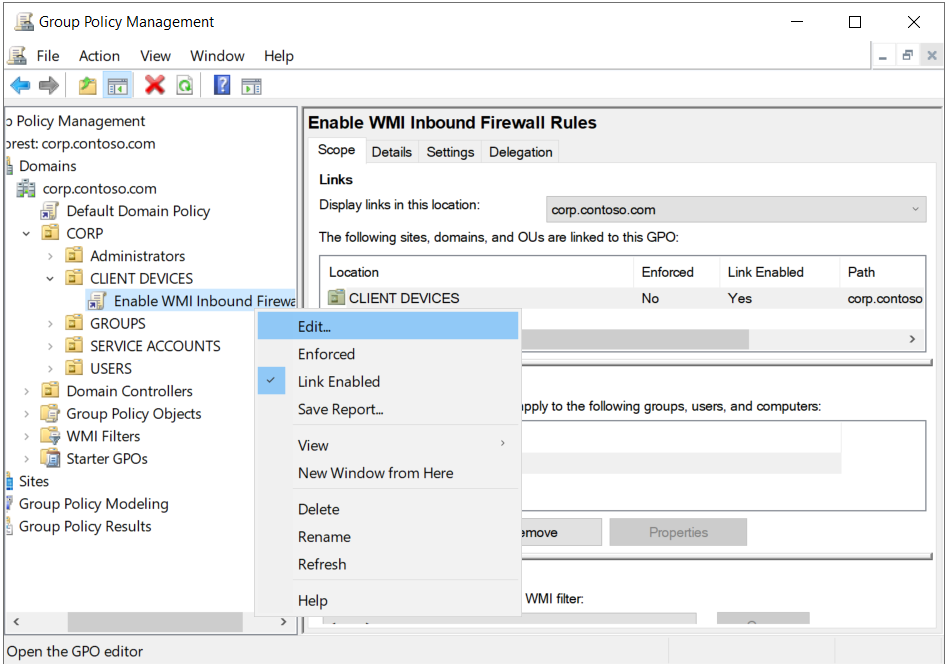
Next, right-click on the new GPO link and then select Edit.
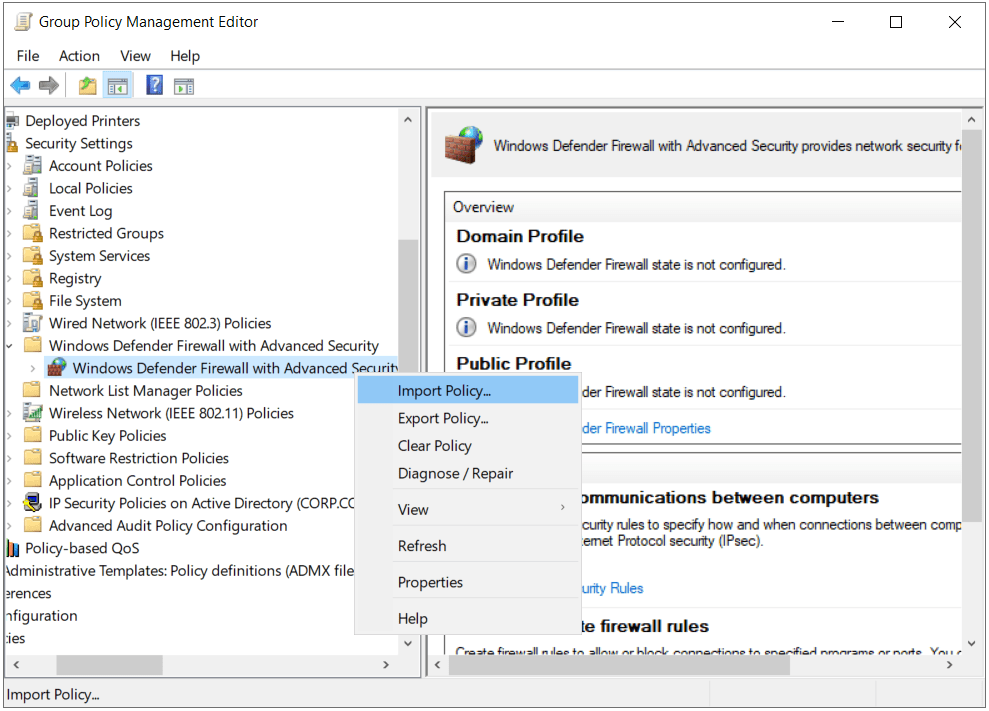
In the Group Policy Management Editor window, navigate to Computer Configuration\Policies\Windows Settings\Security Settings\Windows Defender Firewall with Advanced Security. Right-click and select Import Policy.
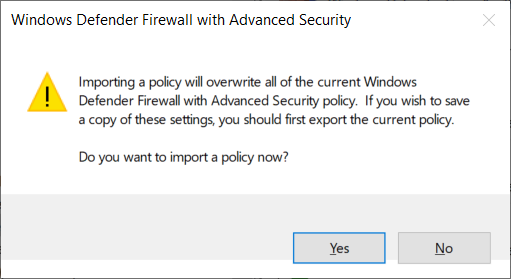
Since we do not have any firewall rules defined in this new GPO yet, we can ignore this message. Click Yes.
Note: If we imported the policy to an existing GPO, then the imported firewall rules would overwrite any existing firewall rules in the GPO.
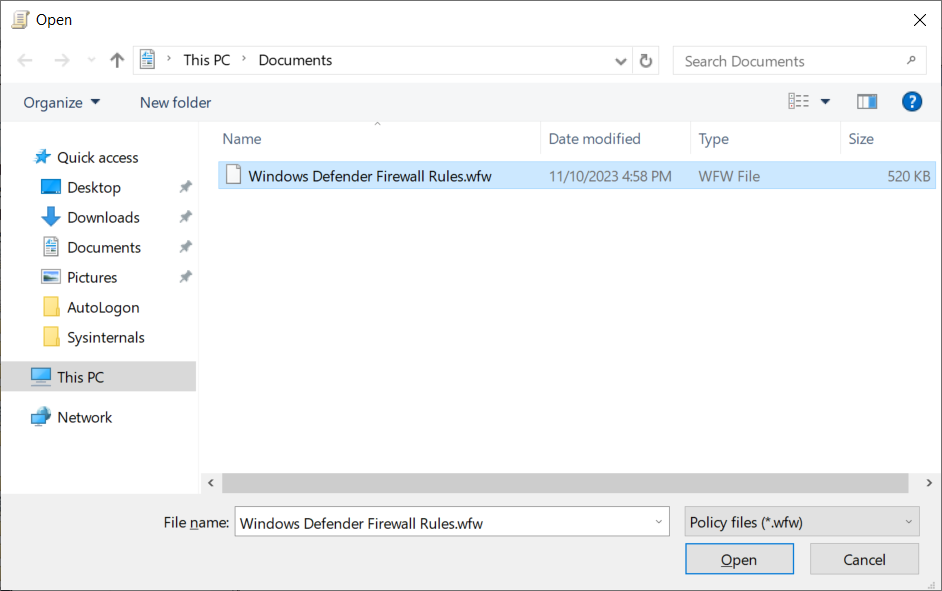
Navigate to the policy file (.wfw) that was previously exported on the reference device. Select the file and then click Open.
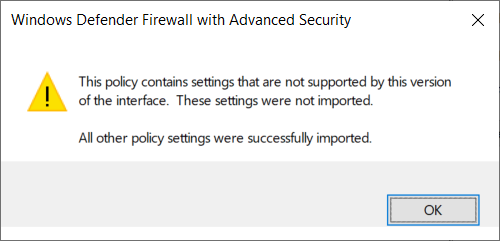
Click OK.
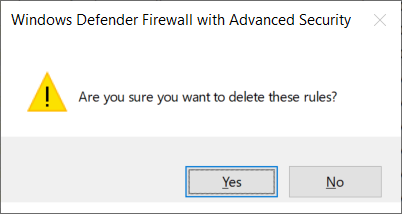
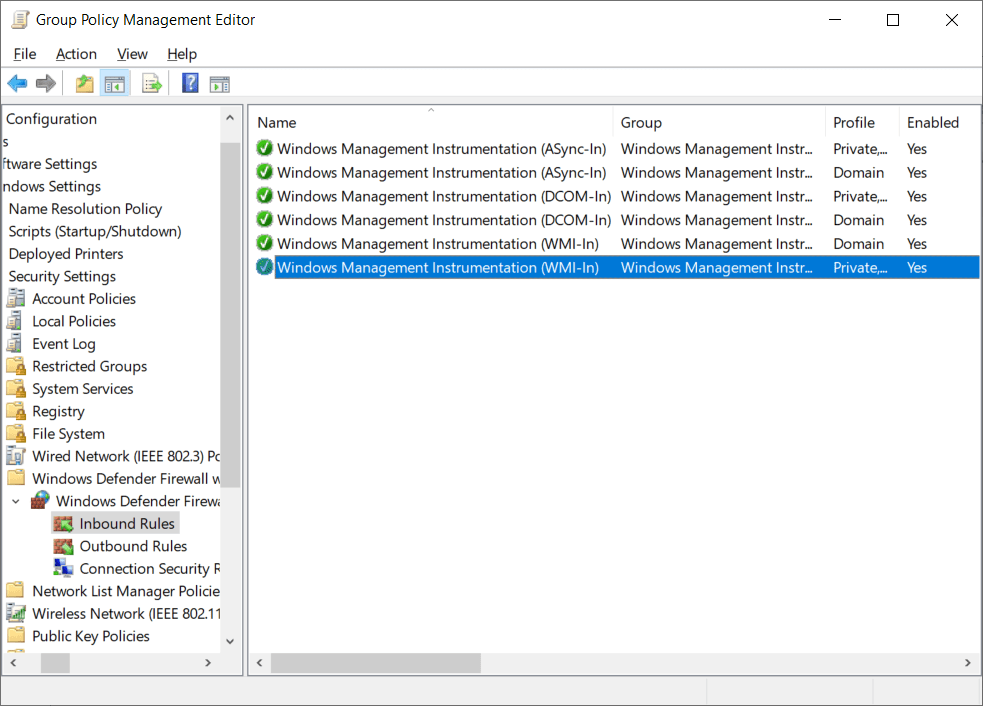
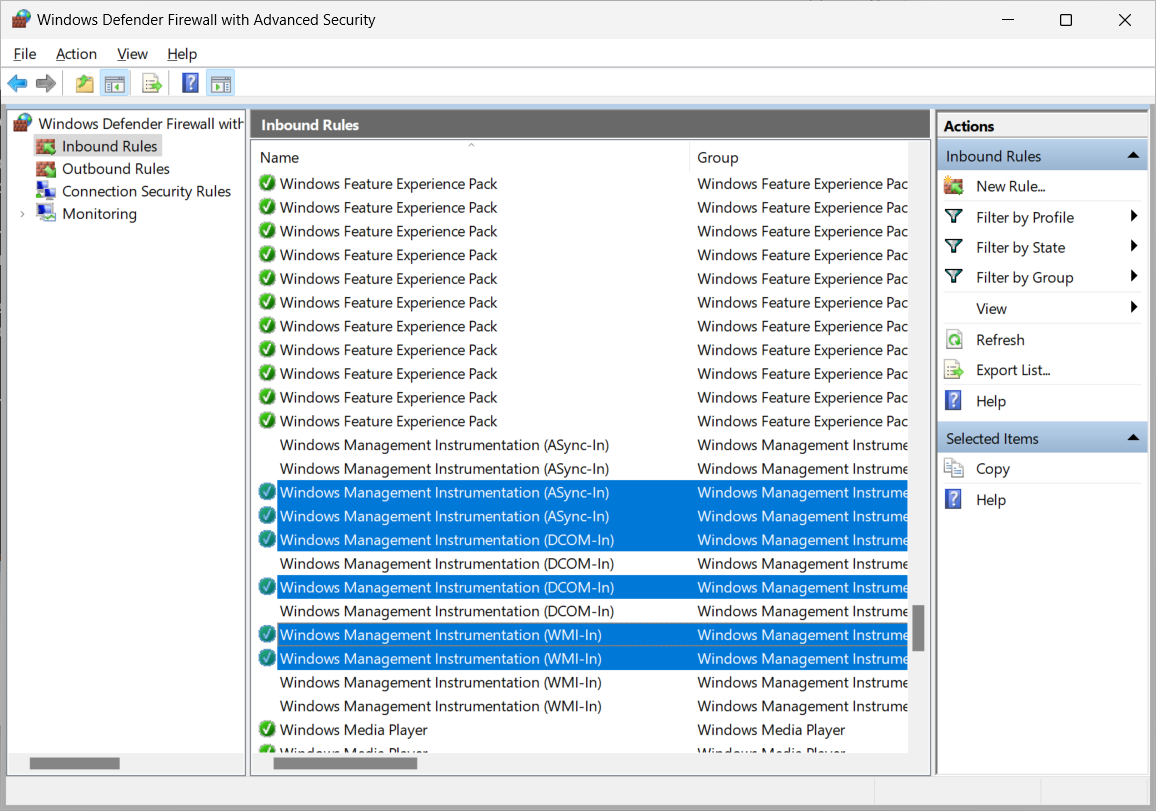
On the left-hand navigation pane, select Inbound Rules. Select all the firewall rules except the rules within the group “Windows Management Instrumentation (WMI)", right-click and then select Delete.
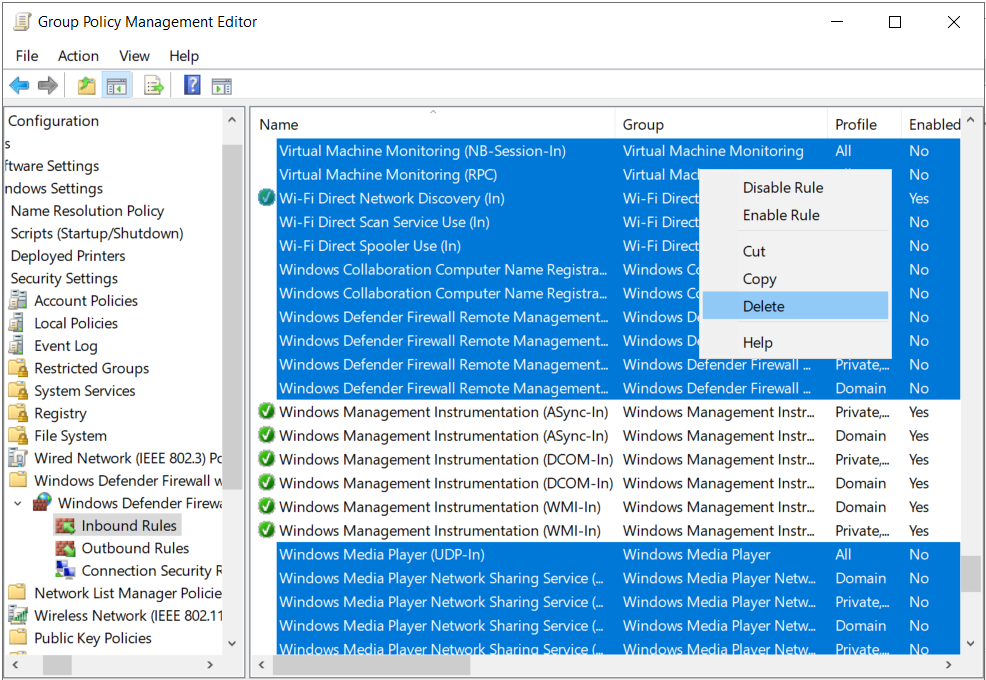
Click Yes.
This should leave just the 6x inbound WMI firewall rules. Ensure that the firewall rules are enabled, otherwise select all the rules and then right-click and select Enable Rule.
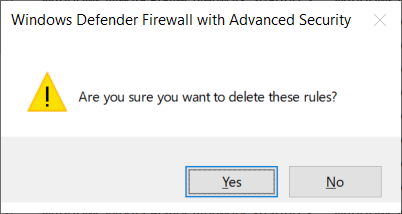
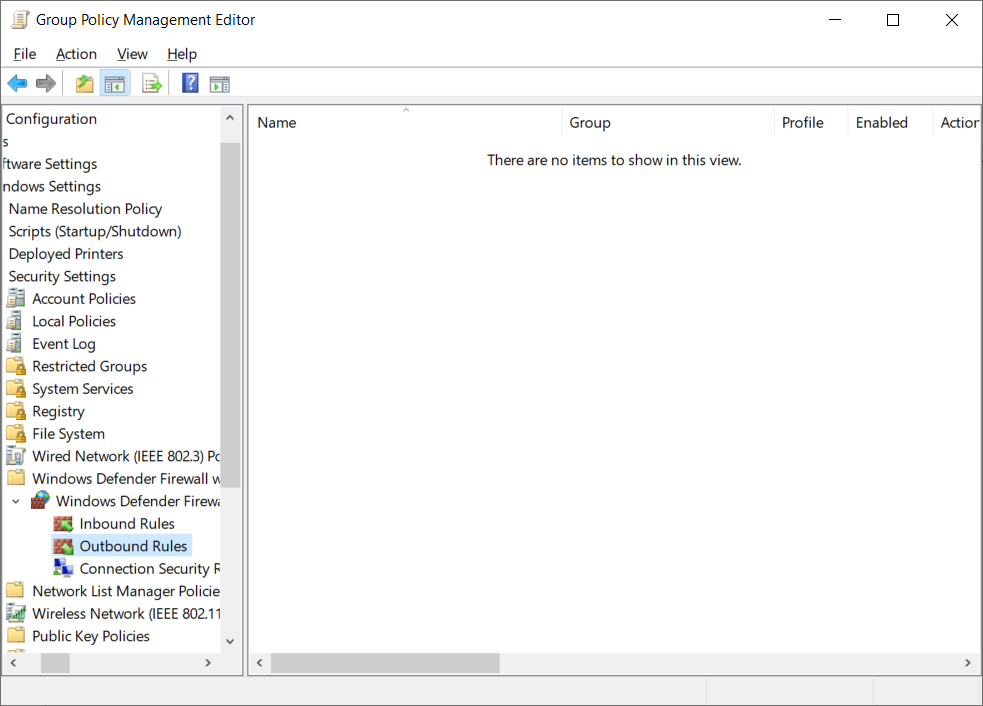
On the left-hand navigation pane, select Outbound Rules. Select all the firewall rules, right-click and then select Delete.
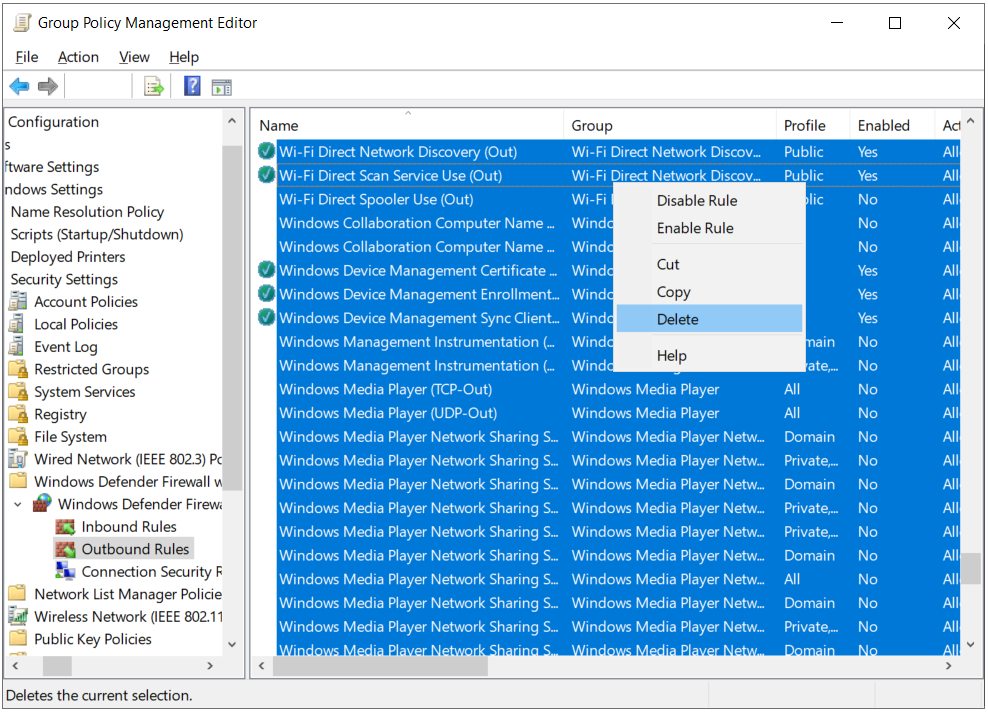
Click Yes.
There should be no outbound firewall rules configured. The Group Policy Management Editor window can now be closed, and the settings will be saved.
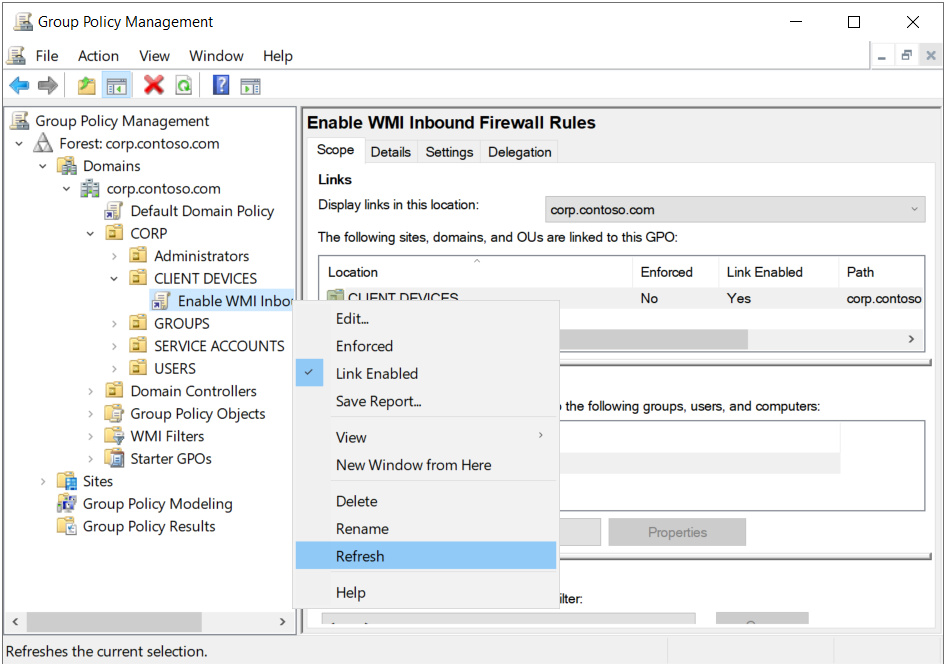
Select the GPO link, right-click and select Refresh to refresh the settings.
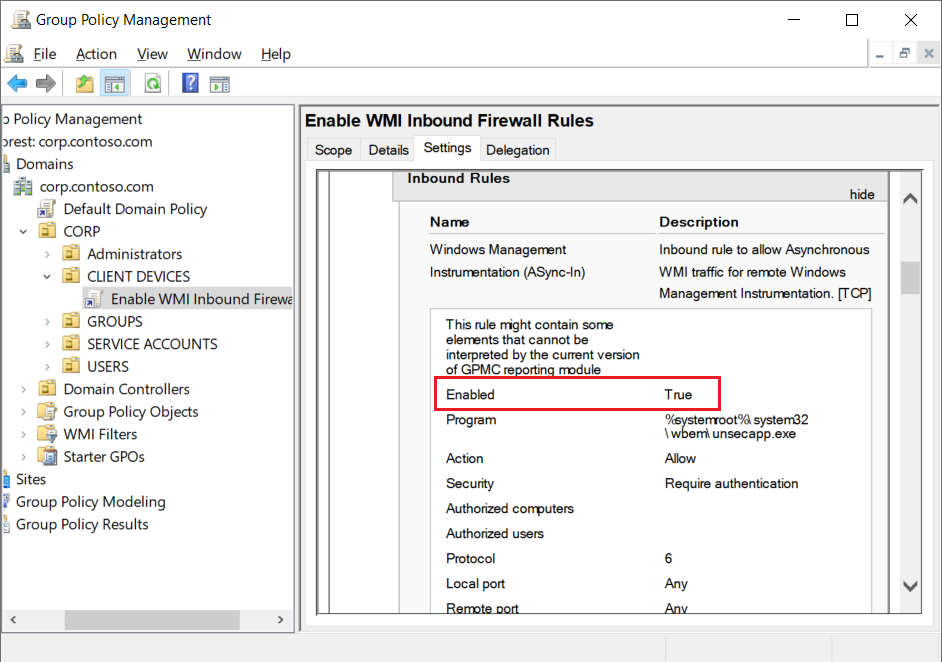
Then select the Settings tab, scroll through, and confirm that all 6x inbound rules are configured and are enabled.
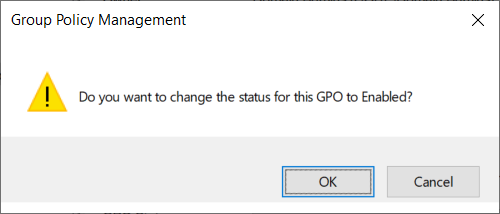
Enabling the GPO
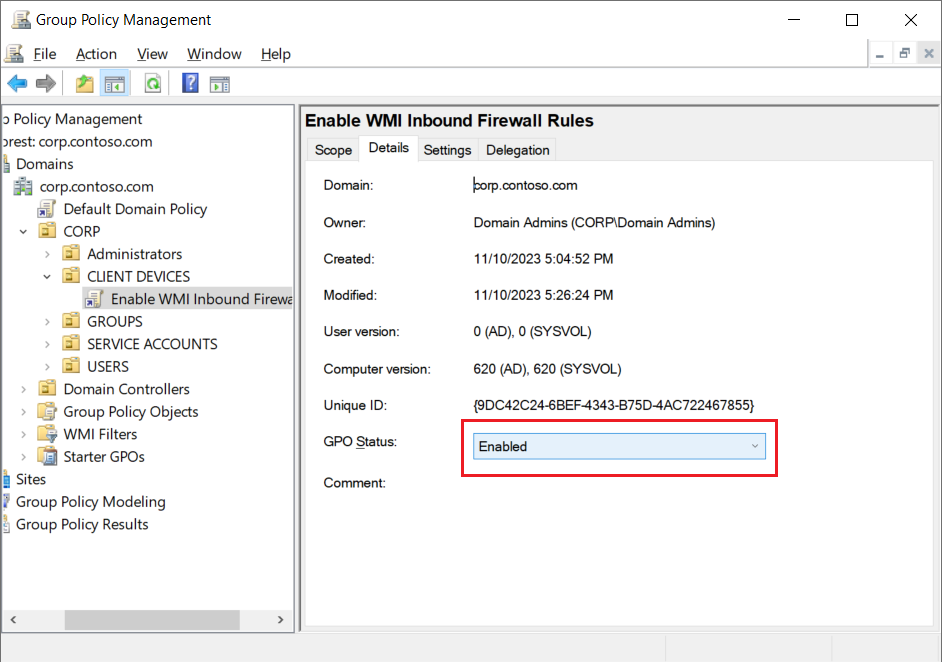
Now we can re-enable the GPO in the GPO status on the Details tab.
Click OK.
Testing the GPO
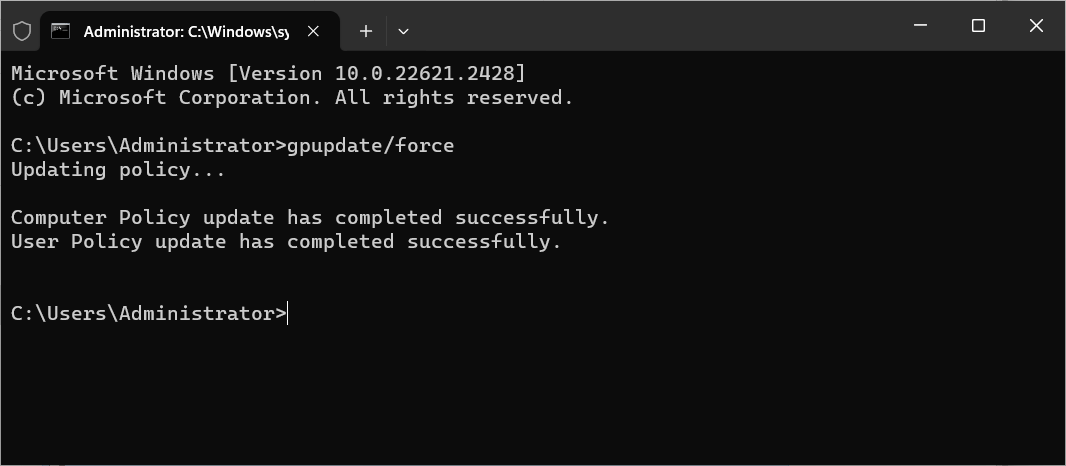
The GPO should now begin applying to all devices in the linked OU at the next group policy refresh interval. To accelerate the process on a test or pilot device, you can execute the group policy update command in an Administrator CMD window.
Then on the applicable clients, you can confirm in the Windows Defender Firewall with Advanced Security management console, that all the firewall rules within the group “Windows Management Instrumentation (WMI)" are enabled and have a green check icon next to them.
Note: This GPO method will cause a duplication of the WMI firewall rules, however, the domain GPO defined firewall rules will override the locally configured ones.
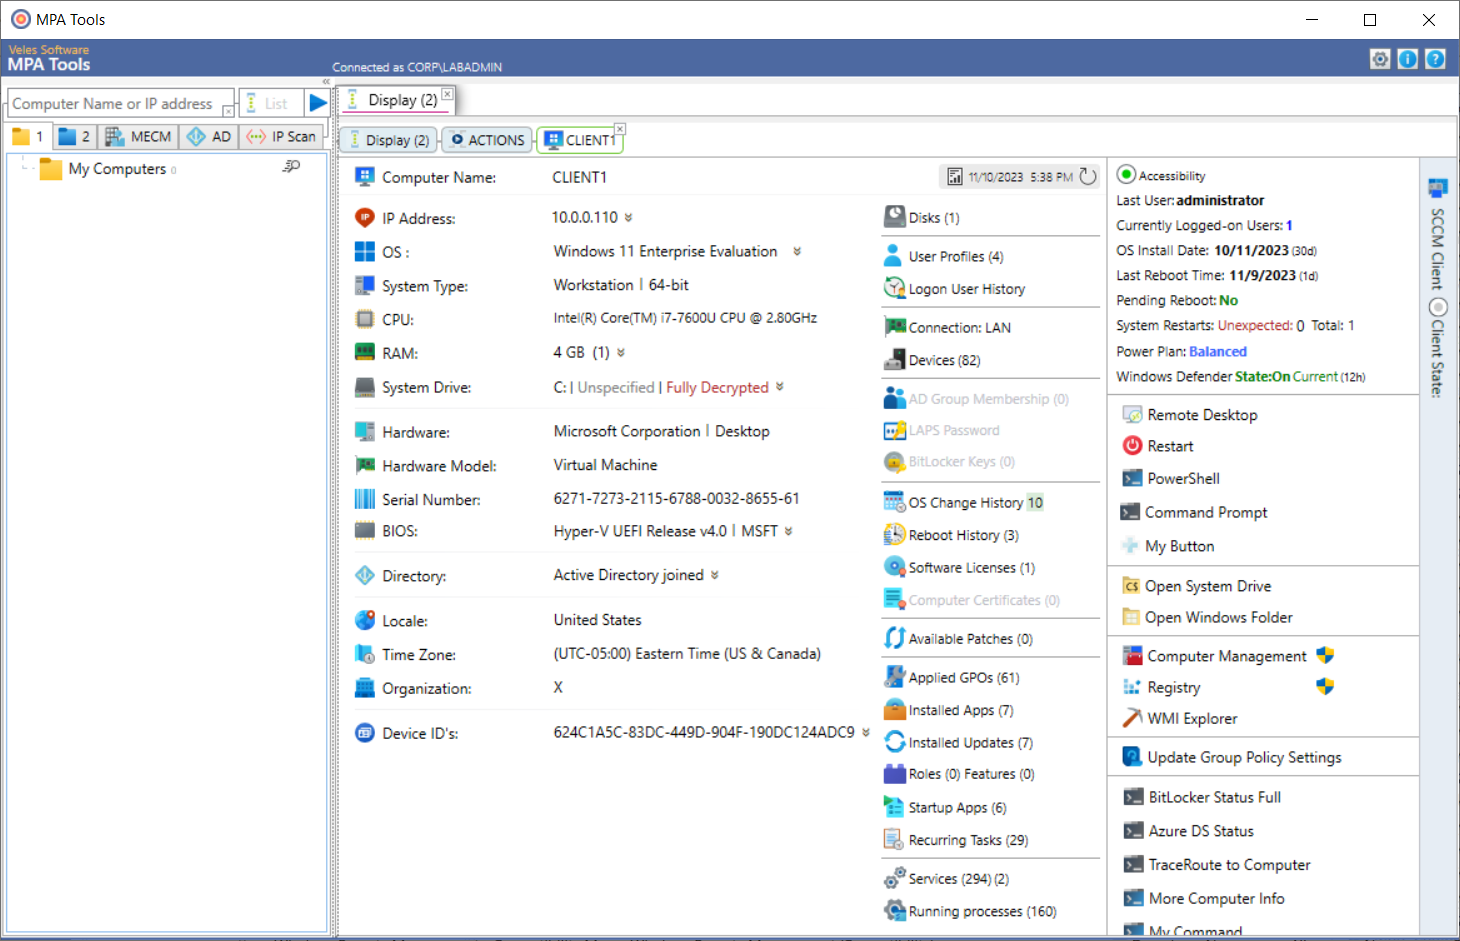
Finally, we can confirm thatMPA Tools should now be able to retrieve all management data from the client and all the client fields will now be populated with the relevant data and the status icon for the client accessibility should now be green (as shown below).
This concludes the comprehensive series forenabling the WMI firewall rules for client accessibility in MPA Tools. Remember if you encounter any issues, please reach out to us for support.